


🔎 Reverse Image Search
Image search techniques made simple: upload a photo or paste a URL and search 6 engines at once. 100% free, nothing stored.
🔒 Your image is never stored on our servers longer than 24 hours and is never shared.
Quick Answer: Yes — you can reverse image search a blurry photo. First sharpen or upscale the image, crop to the clearest detail, then search it with Google Lens, TinEye, Yandex Images and Bing Visual Search. If one engine finds nothing, try another — each one indexes different images.
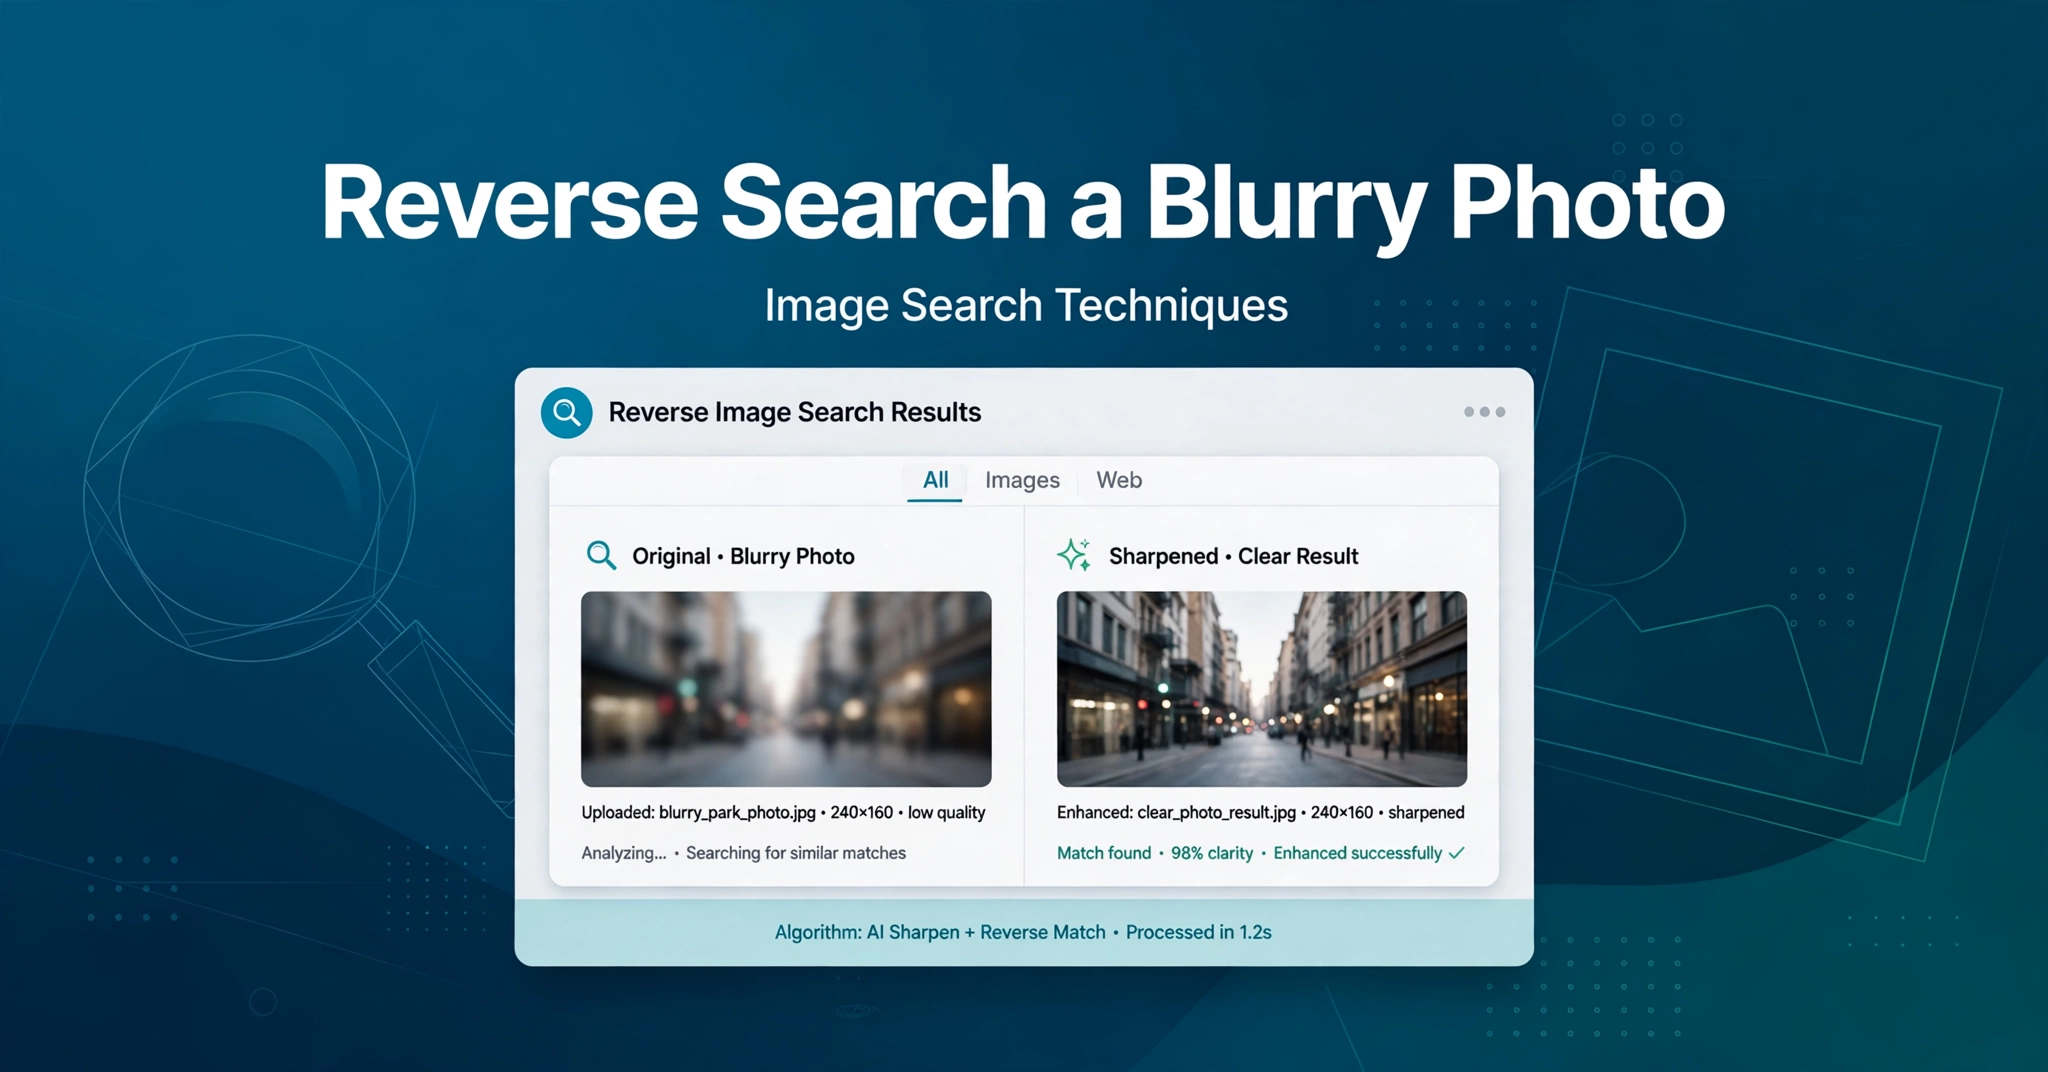
A blurry photo can feel like a dead end. Learning how to reverse image search a blurry photo is easier than it looks once you know the fixes. You have an image you want to trace, but the details are soft, the edges are smeared, and every search seems to return the wrong thing or nothing at all. It happens all the time. People try to reverse image search a blurry photo from an old screenshot, a saved meme, a low-quality download, a compressed chat image, or a photo that was shared and re-shared until almost all of its detail was lost. The good news is that a blurry image is not always a lost cause. With a little preparation, the right crop, and more than one search engine, you can often find the original, a clearer copy, or at least a page where the image first appeared.
This guide explains how to reverse image search a blurry photo, why blur makes reverse image search harder, how to clean up an image before you search it, and how to use four free tools step by step. It also includes a comparison table, troubleshooting tips, privacy advice, and answers to the questions people ask most often. For a broader overview of the methods used here, see our image search techniques guide. If you want to try a search right away, you can use the free reverse image search tool on our homepage.
Why Blurry Photos Fail a Reverse Image Search
Reverse image search works by matching patterns. A search engine looks at edges, shapes, colours, texture, and the arrangement of objects in your picture, then compares that fingerprint with the images it has already indexed. A sharp photo gives it plenty of information to work with. A blurry photo gives it much less.
Blur removes the fine detail that helps a system tell one image from another. A face becomes a smooth oval, text becomes an unreadable smudge, a logo loses its letters, and a building loses the windows and lines that make it distinctive. When those clues disappear, the engine has to guess from broad shapes and colours alone, and broad shapes match many different pictures. That is why a blurry search often returns lookalikes instead of the exact image.
Compression and small size make the problem worse. Every time an image is saved, sent through a messaging app, or uploaded to a social network, it may be compressed again. Compression throws away detail to make the file smaller, and it can add blocky artefacts around edges. A small image has the same problem in a different form: there are simply fewer pixels to describe what is in the picture. A thumbnail enlarged to full screen will always look soft, because the missing detail was never there. A screenshot of a screenshot is even harder, because it adds screen glare, moiré patterns, and another round of compression on top of the original blur.
None of this means the search is impossible. It means you need to give the engine the best possible version of the image, and the clearest possible part of it, before you expect a match.
Fix the Image Before You Search
Do not search the worst copy first. Spend five minutes preparing the image, and your results will usually improve straight away. Work on a copy, keep the original safe, and try the search again after each improvement so you can see what helped.
- Save the best original copy. Go back to the source if you can. Download the original file instead of a screenshot of it, ask the person who sent it for the original, or check whether the app where you found it offers a higher-quality download. The largest, least-compressed version is always the best starting point.
- Upscale or sharpen with a free enhancer. Use a free image enhancer or upscaler to increase the size and sharpen the edges. These tools use software to rebuild some of the lost detail and to make edges clearer. Do not expect a miracle: an enhancer cannot invent detail that was never recorded. It can, however, make shapes, text, and outlines clear enough for a search engine to recognise them.
- Crop to the clearest detail. Cut away the blurriest edges, empty sky, plain walls, and busy background. Keep the part of the image that is most distinctive: a face, a logo, a sign, a building, a product, or an unusual object. A tight crop gives the engine a smaller, clearer subject to match.
- Straighten and correct rotation. Rotate the image so that horizons are level and text reads the right way up. A tilted or upside-down photo is harder to match, because the engine has to allow for the rotation as well as the blur.
- Remove heavy filters or text overlays if possible. Strong filters, stickers, captions, and watermarks can confuse a search. If you have a version without them, use that version. If you cannot remove an overlay, crop around it so that it does not dominate the picture.
- Save as PNG or high-quality JPG. Save your cleaned-up image as a PNG, or as a JPG at the highest quality setting. Avoid saving it again and again at low quality, because each save can add more compression and undo the work you have just done.
After these steps, compare the new version with the original. If it looks clearer and the main subject is easy to recognise, it is ready to search. If it still looks like a smudge, try a different crop before you move on.
Method 1: Google Lens
Google Lens is a good first choice for everyday photos, because it is widely used, easy to reach, and strong at recognising objects, places, products, and text. It is also forgiving with imperfect images, as long as the main subject is visible.
- Go to lens.google.com.
- Upload your cleaned-up image, or drag it into the search box.
- Wait for the first results to load, then look at the crop box Lens places over your image.
- Drag the crop box to the clearest area, and resize it so that it covers the main subject and as little background as possible.
- Check the matching images and the pages listed beside them. Open the most promising results to see whether they show the same photo in higher quality.
- If the first crop gives poor results, try a second crop on a different detail, such as a logo, a sign, or a distinctive object.
Google Lens often finds visually similar images even when it cannot find an exact copy. Those similar results can still lead you to the source, especially if they come from the same event, product page, or article. Try the free reverse image search tool on our homepage as a quick starting point, then use Lens for a deeper check.
Method 2: TinEye
TinEye is different from Google Lens. It focuses on finding exact and near-exact copies of an image, rather than visually similar images. That makes it useful when you want to know where a photo has already been published, and when you want the oldest or highest-quality version.
- Go to tineye.com.
- Upload your image, or paste the image URL if you have one.
- Wait for TinEye to search its index and list any matches.
- Sort the results by oldest or by best match. The oldest result is often the original source, while the best match may be the clearest copy.
- Use the crop tool to search a smaller part of the image if the full image returns nothing. A tight crop on a clear detail can succeed where the whole blurry image failed.
- Open the matching pages and compare them with your image before you decide that you have found the source.
TinEye can be stricter than other engines, so a very blurry image may return no results even when another engine finds a match. That is not a failure. It simply tells you that the image needs more cleaning up, a tighter crop, or a different engine.
Method 3: Yandex Images
Yandex Images is often the strongest choice for blurry photos, especially for faces and similar scenes. It is known for finding matches that other engines miss, and it can be surprisingly good at recognising a person, a place, or a scene even when the image is soft or low in resolution.
- Go to yandex.com/images.
- Click the camera icon to upload your image, or paste an image URL.
- Wait for Yandex to show matching images and similar images.
- Look through the exact matches first, then the similar images. Similar images can reveal the same scene photographed from a slightly different angle, or the same person in a different photo.
- Try a tighter crop if the first search returns only generic results. Focus on a face, a distinctive building, or a unique pattern.
- Use the size and date filters, where available, to narrow the results to larger or older copies.
Because Yandex is strong with faces and scenes, it is a good second or third engine to try when Google Lens and TinEye have not found the source. For more detail on this engine, read our Yandex reverse image search guide.
Method 4: Bing Visual Search
Bing Visual Search is a useful fourth option, particularly for products and objects. It is easy to use, it handles cropped searches well, and its visually similar results can be helpful when an exact match is not available.
- Go to bing.com/images.
- Click the camera or visual search icon and upload your image.
- Wait for Bing to suggest a crop, or draw your own crop around the clearest detail.
- Check the main results first, then scroll to the visually similar images.
- Click a similar image to see where it appears online, and whether it leads to a clearer copy or the original product or page.
- If the results are too broad, crop tighter and search again with only the product, logo, or object in the frame.
Bing is not always the best engine for a very blurry face, but it can be excellent for a blurry product photo, a piece of furniture, a gadget, or an item of clothing. Pinterest also offers visual search features that can help with products and ideas; see the Pinterest help article on using visual search features if you want to try that route as well.
Which Engine Works Best for Blurry Photos?
No single engine wins every time. Each one indexes different images, uses different matching methods, and performs better with different kinds of pictures. The table below gives a quick summary, but the practical rule is simple: if one engine finds nothing, try another.
| Engine | Best for | Blurry-photo strength |
|---|---|---|
| Google Lens | Everyday photos | Strong |
| TinEye | Exact copies | Medium |
| Yandex Images | Faces and scenes | Strong |
| Bing Visual Search | Products and objects | Medium |
Google Lens and Yandex Images are usually the strongest pair for blurry photos, because they are good at recognising a subject from partial detail. TinEye is best when you need an exact copy or the earliest publication, and Bing Visual Search is a strong backup for products and objects. If you are searching for a wallpaper, our guide to reverse image search for wallpapers shows how the same cropping and engine-switching approach works for that kind of image.
What to Do When Nothing Matches
A blank result does not always mean the image is not online. It may mean the search engine has not indexed it, the crop was too broad, or the blur is still hiding the key detail. Work through these steps before you give up.
- Try a different crop. Crop to a different detail, a different object, or a smaller area. A background object that looked unimportant may be the most distinctive part of the picture.
- Search a second engine. Try Yandex Images if you started with Google Lens, or try TinEye and Bing Visual Search next. Each engine indexes different images, so a new engine can find what the first one missed.
- Upscale again and retry. Run the image through an enhancer once more, or try a different enhancer. A slightly clearer version can be enough to tip a near-match into an exact match.
- Search by image URL if you have one. If the image is already online, copy its direct link and paste it into the search engine instead of uploading a downloaded copy. The URL version may be higher in quality than the copy on your device.
- Add keywords describing the image in a normal web search. Search for what you can see, such as a place name, a product name, a colour, a logo, or words visible in the image. Combine those keywords with a date or an event if you know them. A normal web search can find the page that contains the image, even when image search cannot.
If you are trying to find more images like the one you have, our guide on how to find similar images explains how to use similar-image results to track down a source.
Troubleshooting
- No results at all: Crop tighter, try Yandex, and check that you uploaded the cleaned-up version rather than the original blurry thumbnail.
- Wrong matches only: Crop out background clutter, and focus on the most distinctive detail in the image.
- Upload fails: File too large — compress or resize the image, then try the upload again.
- Image too small: Upscale first, never search a thumbnail, and avoid enlarging a tiny image without an enhancer.
Privacy and Safety
Reverse image search is a powerful tool, and it should be used with care. Do not upload private photos of other people, especially photos they have not shared publicly or have not agreed to share. Use a URL search or a trusted tool for sensitive images, and delete uploads where the tool allows it. Some tools keep uploaded images for a short time to improve their service, so check the tool’s privacy policy before you upload anything personal.
Never use a stranger’s blurry photo to identify them without consent. Even if a search engine returns a name, a social media profile, or a personal page, that does not give you permission to contact them, share their details, or publish what you found. If you are trying to verify an image for safety reasons, such as checking whether a profile photo is genuine, focus on the image itself and the source page, and do not use the result to harass or expose anyone.
Frequently Asked Questions
Can Google Lens find a blurry photo?
Yes, Google Lens can often find a blurry photo, especially if you sharpen or upscale the image first and crop to the clearest detail. It works best when the main subject is still recognisable, even if the fine detail is soft.
Does sharpening a photo really help reverse image search?
Yes, sharpening and upscaling can help, because they make edges and shapes clearer for the search engine to match. The improvement is usually modest, but it can be enough to turn a failed search into a match, especially when combined with a tight crop.
Which reverse image search engine is best for blurry photos?
Learning how to reverse image search a blurry photo usually starts with Google Lens and Yandex Images. Lens is strong for everyday photos, while Yandex is strong for faces and similar scenes. TinEye and Bing Visual Search are useful backups, and trying more than one engine often gives the best result.
Can I reverse image search a blurry screenshot?
Yes, you can search a blurry screenshot, but start with the best copy you can find. Crop out phone menus, status bars, and other screen clutter, straighten the image, upscale it if it is small, and then search it with Google Lens or Yandex Images.
Why does reverse image search return no results for my photo?
No results can mean the image is too blurry, too small, or too heavily cropped, or that the search engine has not indexed the original. Try a different crop, a different engine, a sharper version, or a keyword search describing what you can see in the image.
Is it safe to upload a blurry photo to a reverse image search tool?
It is generally safe to upload a non-sensitive photo to a well-known tool, but do not upload private photos of other people or sensitive personal images. Use a trusted tool, check its privacy policy, and delete the upload where that option is available.
Related Guides
- Image search techniques guide
- Reverse image search for wallpapers
- Yandex reverse image search guide
- How to find similar images
Blurry photos do not have to be the end of the search. Clean up the image, crop to the clearest detail, and try more than one engine. Start with Google Lens, then try Yandex Images, TinEye, and Bing Visual Search. One of them may recognise the picture that the others missed. To begin, try the free reverse image search tool on our homepage, and see whether a sharper crop brings the original into view.
