


🔎 Reverse Image Search
Image search techniques made simple: upload a photo or paste a URL and search 6 engines at once. 100% free, nothing stored.
🔒 Your image is never stored on our servers longer than 24 hours and is never shared.
You ran a reverse image search and something did come back — it just wasn’t right. The results are full of lookalikes, vaguely similar scenes, or pages that have nothing to do with your photo. That is a different problem from a search that finds nothing at all, and it usually has a fixable cause: the engine matched the wrong part of your image, worked from a poor copy, or simply wasn’t the best engine for that type of picture.
This guide is an optimisation playbook for exactly that situation. The golden rule throughout: change one thing at a time, so you know what actually made the difference.
Change One Thing at a Time
Reverse image search engines analyse colours, shapes, textures and objects across the whole frame. When you change several things at once — a new crop, a different engine, a flipped version — you can’t tell which change helped, and you can easily make results worse without knowing why.
Instead, run a small sequence of controlled tests. Start with your original image on your usual engine. Then change only the crop. Then, keeping that crop, change only the engine. Then try a rotated or flipped version. Each run takes under a minute, and by the end you will know what this particular image responds to — a repeatable technique, not a lucky hit.
Crop Tight to the Main Subject
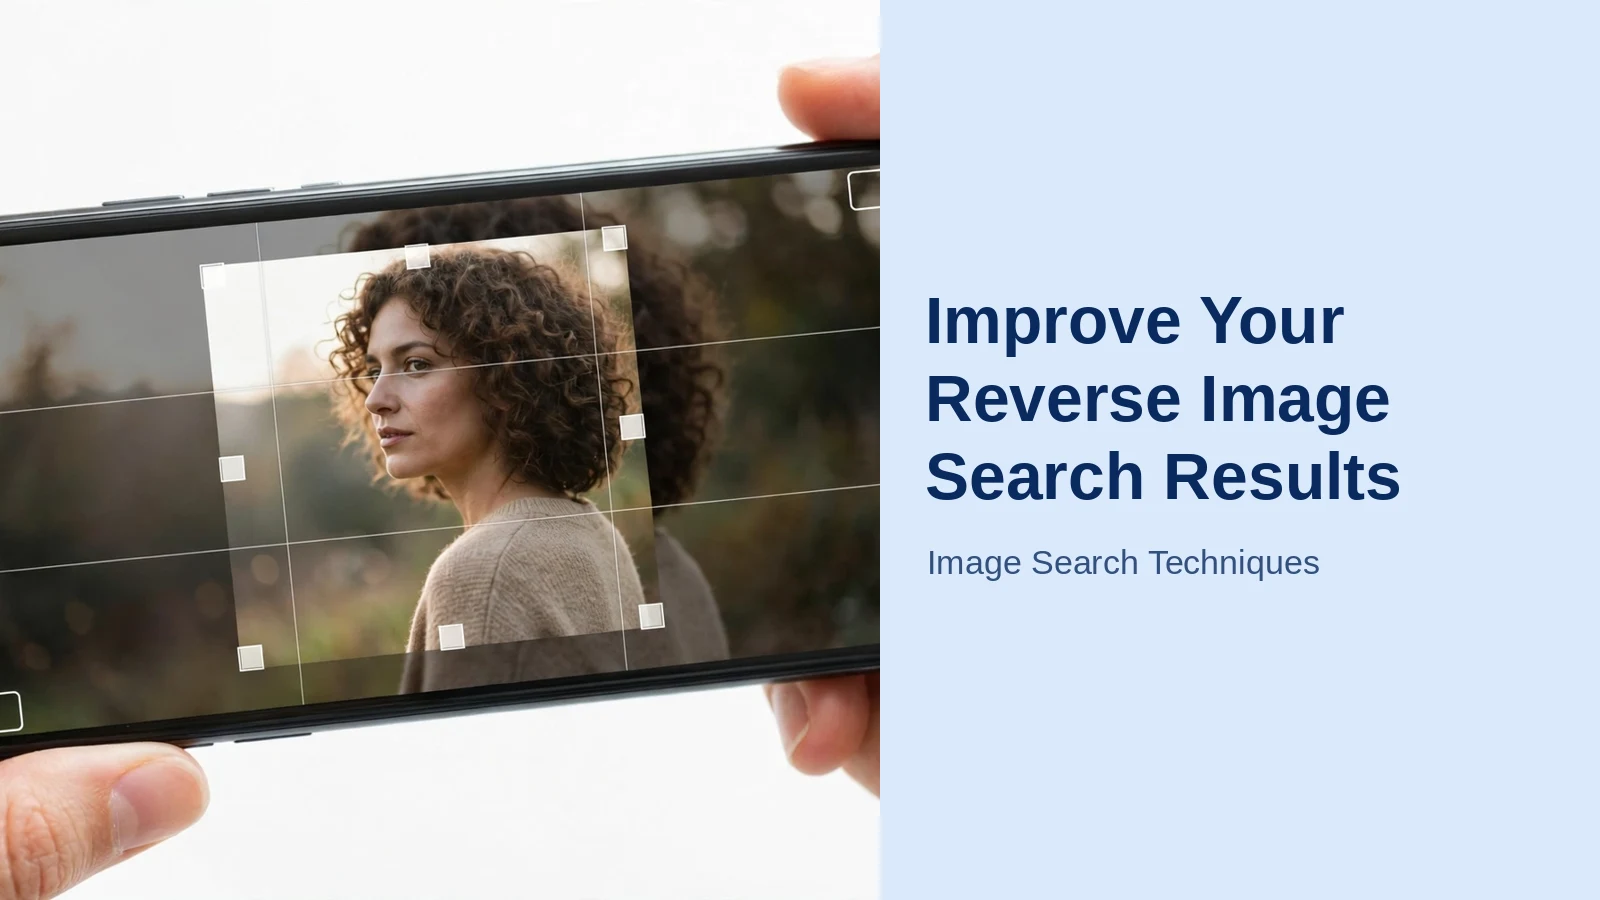
The single most effective fix is cropping. If your photo shows a product on a cluttered desk, a person in a busy street, or a logo on a crowded page, the engine spreads its attention across everything in the frame — and returns matches for the background instead of the subject.
- Crop to the subject only. Cut away everything that isn’t the thing you actually want identified, leaving just a small margin around it.
- Try two or three different crops. A very tight crop, a medium crop with a little context, and a crop of one distinctive region can each return completely different results.
- Search separate regions separately. A group photo, a collage or a screenshot with several objects contains several searches in one. Crop each element and search them one by one.
One caution: cropping helps when you are choosing what to search from a complete photo. If the only copy you have is already a cut-out fragment of a larger picture, the technique is different — our guide to reverse image searching a cropped photo covers that situation specifically.
Clean the Image Before You Upload
Anything in the frame that isn’t part of the original photo confuses matching. Before uploading, remove:
- Screenshot clutter — status bars, browser chrome, play buttons, chat bubbles and app buttons around the edges.
- Borders and frames — white or black bars added by social apps, letterboxing, and decorative frames.
- Text bars and stickers — caption strips, watermarks from reposting apps, emoji and overlay text, unless the text itself is what you are searching for.
Also use the cleanest, largest copy of the image you have. A small, heavily compressed version downloaded from a messaging app has lost much of the detail engines match on. Go back to the original file, the full-size download, or the source page rather than a thumbnail. And if your copy is soft or out of focus to begin with, start from the fixes in our guide to reverse image searching a blurry photo — sharpening your source first makes every step in this guide work better.
Rotate and Flip the Image
Copies of a photo don’t always circulate in its original orientation. Reposts are often mirrored to dodge detection, saved sideways from a phone, or rotated in a collage. Most engines are reasonably tolerant of rotation, but a sideways or mirrored version can still weaken the match.
Make a few cheap variants and test them: rotate the image 90 degrees each way if it appears sideways, and create a horizontally flipped (mirror) copy. Run the flipped version as its own search — text and logos will read backwards, but shapes, faces and objects still match, and mirrored copies are surprisingly common on resale and social sites. This takes seconds in any photo app, and it is one of the most overlooked ways to improve reverse image search results.
Pick the Right Engine for the Image
Every engine keeps its own index and is trained to be good at different things, so switching engines is not a last resort — it is a core part of the technique. Use this short matrix to pick your starting point:
- Exact copies of a specific photo: TinEye, which specialises in finding where the same image appears, including edited versions.
- General identification, products and places: Google Lens, which is strongest at recognising objects, landmarks and shopping items. Google’s own Lens help pages explain how it interprets what it sees.
- Faces, people and objects in photos: Yandex, whose image index often surfaces copies and similar shots that the others miss.
- Shopping and products: Bing Visual Search and Pinterest, both of which lean heavily towards product and lifestyle imagery.
If you want the deeper head-to-head before choosing, our comparison of the best search engines for images breaks down their strengths in full. For everyday use, though, the matrix above plus one backup engine is enough: when your first choice returns lookalikes, move the same prepared image to the engine that fits the image type.
Search a Distinctive Detail, Not the Whole Scene
Sometimes the whole photo is too generic to match — one beach, office or street looks much like another. In that case, stop searching the scene and search a detail within it: a logo, a building sign, an unusual pattern, a tattoo, or the specific product in someone’s hand. Crop tightly around that detail and search it on its own. Distinctive details have far less competition in the index, so pages containing them rank much higher — and usually show the full scene too, confirming the match.
Keep Notes and Work the Checklist
When a search matters — verifying a seller, tracing your own photo, checking a suspicious profile — keep a simple note of what you tried: which version, which crop, which engine, and what came back. It stops you repeating dead ends, and the pattern of near-misses often tells you what to try next. A good order is: original on your main engine, tight crop, flipped version, second engine, then a distinctive-detail crop.
You can run several of those attempts quickly with our free reverse image search tool, which searches six engines from a single upload — try it now with your original image, then again with your best crop, and compare the difference it makes.
And if, after all this, a search returns absolutely nothing — no lookalikes, no near matches — that is a separate situation with its own playbook. Read our guide to what to do when reverse image search finds no results at all before giving up on the photo.
FAQs
Why does reverse image search show lookalikes instead of my exact photo?
Because the engine matched the overall composition, colours or a background element rather than the exact file. Crop tightly to the main subject, remove borders and screenshot clutter, and try an engine built for exact copies, such as TinEye, instead of one optimised for visually similar images.
Does cropping an image really improve reverse image search results?
Yes — it is usually the single biggest improvement. Cropping tells the engine exactly which part of the frame matters, so it stops matching backgrounds and bystanders. Try two or three crops at different tightness, because the best one varies by image.
Which reverse image search engine should I try first?
Match the engine to the image: TinEye for exact copies, Google Lens for general objects, products and places, Yandex for faces and hard-to-find copies, and Bing or Pinterest for shopping. If the first engine returns poor results, run the same prepared image through the next best fit rather than re-uploading unchanged.
Can flipping or rotating a photo change the results?
It can. Copies online are frequently mirrored or saved sideways, and a flipped or correctly rotated version of your image can match those copies far better. Create the variants, search them individually, and compare — it only takes a few seconds per version.
