


🔎 Reverse Image Search
Image search techniques made simple: upload a photo or paste a URL and search 6 engines at once. 100% free, nothing stored.
🔒 Your image is never stored on our servers longer than 24 hours and is never shared.
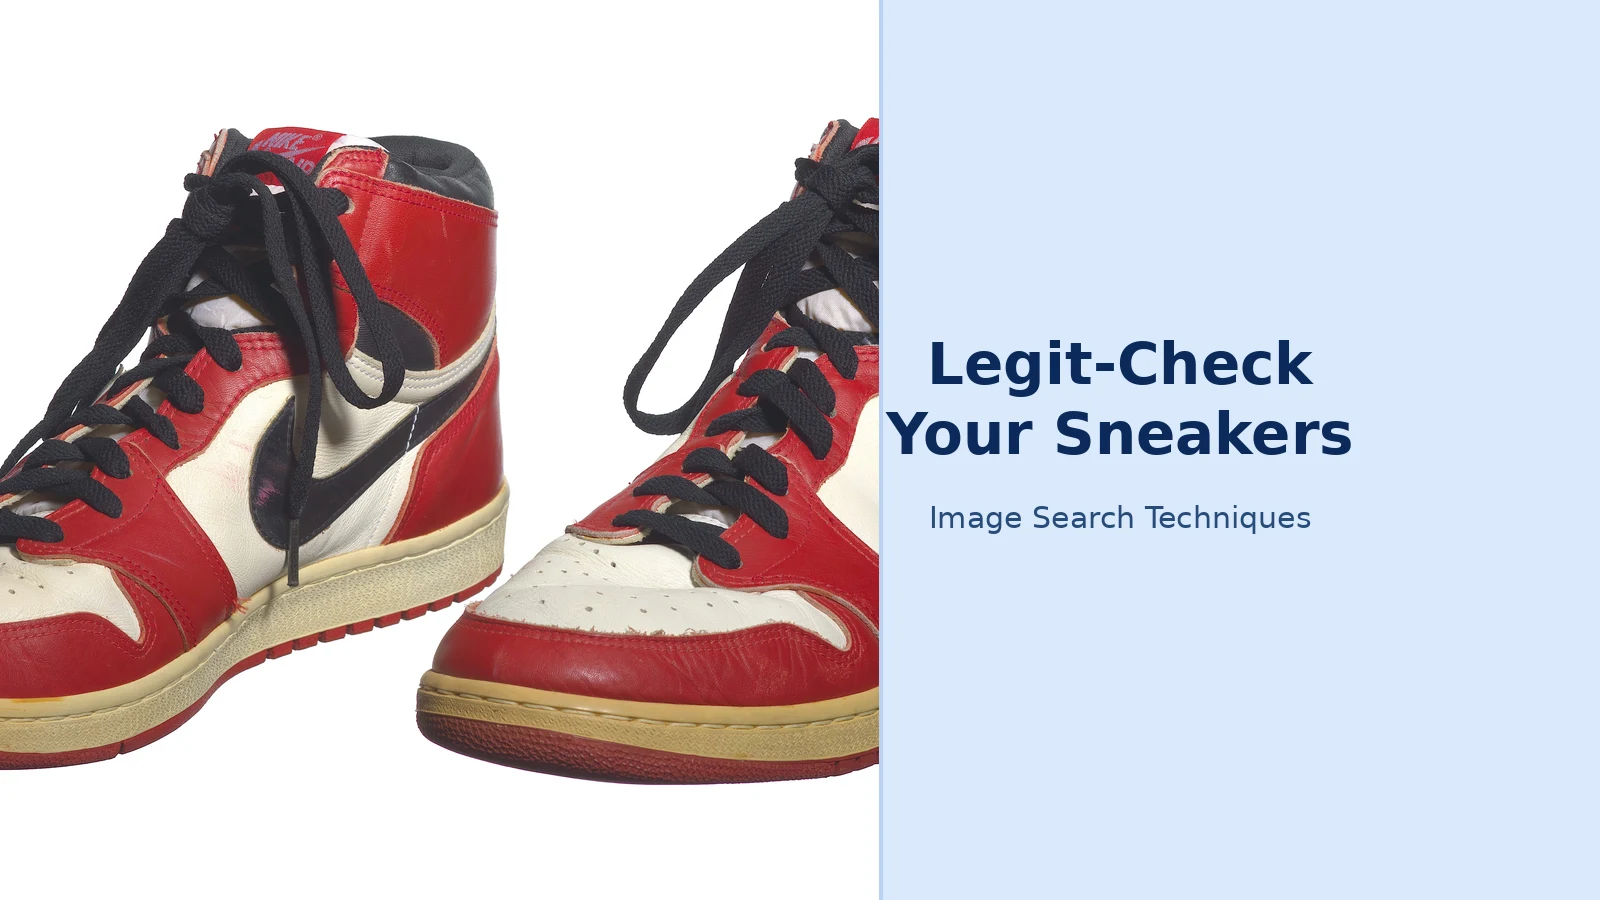
A sneaker legit check is a check of a pair of trainers against known details of the genuine release, using photos, to decide whether the pair is authentic or fake. You can do a free version yourself with a careful photo checklist, or you can pay a human authentication service such as CheckCheck or Legit App to give a verdict from your photos.
Short answer: To legit-check sneakers from photos, first confirm the model with a photo search, then compare the pair against genuine pairs using close-up photos of the stitching, logos, labels and box, and finally send those photos to a paid authenticator such as CheckCheck or Legit App if you still need certainty before you pay.
That short answer is the whole method in one paragraph. The rest of this guide shows you how to run it properly, what photos each step needs, what the paid services actually do with your pictures, and how to check a seller’s photos before any money changes hands. This article answers one question only — “is this pair real?” If you first need to work out which model a pair is, read our guide on how to identify sneakers from a photo instead, then come back here.
What Is a Sneaker Legit Check?
A sneaker legit check is an authenticity check carried out from photographs. An authenticator — either you, working through a checklist, or a trained human at a service — compares the pair in the photos with the genuine release: the shape, the materials, the stitching, the fonts on the labels, the box, and the small details that factories making fakes usually get slightly wrong.
It is important to be clear about what a photo check can and cannot prove. A photo check can show that a pair matches the genuine release in every visible detail, or it can expose a detail that proves the pair is fake. What it cannot do is prove, beyond all doubt, that a pair is genuine, because a photo only shows what the camera captured. A very good fake can pass a photo check. That is why the honest services describe their result as a verdict based on the photos supplied, not a guarantee, and why you should treat a “pass” as strong evidence rather than absolute proof.
There are three levels of checking, and most buyers should use them in this order. First, the free self-check: you compare the pair against genuine pairs yourself, using photos you take or photos the seller sends. Second, the paid photo authentication: you send a set of photos to a service such as CheckCheck or Legit App, and trained authenticators return a verdict with reasons. Third, the platform check: if you buy through a marketplace that authenticates in-house, such as StockX or GOAT, the platform checks the physical pair itself before it reaches you. This guide covers the first two, because those are the ones where photos do the work.
One more distinction matters. A legit check is not the same as a price check. A pair can be genuine and still be overpriced, and a pair can be cheap and still be fake. If you want to know whether the price is fair, use a photo search to find the same product cheaper and compare sold prices before you start worrying about authenticity.
For second-hand pairs from Japan, check sold prices from a photo with Mercari image search.
How Can You Legit-Check Sneakers from Photos for Free?
You can run a useful free sneaker legit check yourself in about fifteen minutes, provided you have clear photos of the right details. The method is simple: find a genuine pair to compare against, then work through the pair detail by detail and look for anything that does not match. Fakes usually fail on several small details at once, so you are looking for a pattern, not a single smoking gun.
Start by confirming the exact model and colourway. Search the model name and colourway on the brand’s own site or a trusted release database, and note the official product code, release date and retail price. Then use Google reverse image search on the seller’s photos. If the same photos appear in other listings under different seller names, in different cities, or at very different prices, treat that as a serious warning sign — the photos may have been copied from a genuine listing to sell a fake pair.
Then work through this free self-check list. You need close-up photos of each of these; if the seller will not provide them, that is itself an answer.
- Overall shape. Compare the silhouette with photos of a genuine pair from the same angle. Fakes often have a toe box that is too flat, too tall or too pointed, or a heel that curves the wrong way.
- Stitching. Genuine pairs have even, tight, straight stitching with consistent spacing. Look for loose threads, crooked lines, uneven stitch length or glue marks along the seams.
- Logos and branding. Check the size, spacing and font of every logo, including the tongue label, heel branding and any printed text. Fakes commonly use a slightly wrong font, a logo that is too large, or lettering that sits a millimetre too high or low.
- Materials. Compare the leather, suede or mesh with a genuine pair. Shiny plastic-looking leather, stiff suede or mesh with the wrong weave are common tells, and they are often visible in a good close-up.
- Size label inside the shoe. Photograph the label inside the tongue or the side of the shoe. Check the font, the spacing, the QR code if there is one, and that the size, product code and factory code match the genuine release.
- Insole and footbed. Ask for a photo of the insole removed from the shoe. Check the logo print, the glue pattern and the stitching underneath.
- Outsole and midsole. Compare the tread pattern, the colour of the midsole and any printed text on the sole with a genuine pair.
- Laces and lace holes. Check the lace tips, the lace length and the spacing of the eyelets. Fakes often ship with laces that are too long, too shiny or the wrong shade.
- Box and extras. Photograph the box label, the tissue paper, the spare laces and any tags. The box label should show the correct product code, size run and barcode, and the box itself should be the right colour and size for the release.
- Smell and feel, if you have the pair in hand. Genuine pairs smell of leather and glue; fakes often carry a strong chemical smell. This does not work from photos, but it is a useful final check when the shoes arrive.
If you find one small difference, do not panic — genuine pairs vary slightly between factories, and a single odd stitch proves nothing. If you find three or more differences, or one detail that is clearly wrong, such as a misspelt word on a label or a product code that does not exist, stop and either walk away or pay for a professional verdict before you buy.
What Photos Do Authenticators Need?
Paid authentication services work from photos alone, so the quality of your photos decides the quality of the verdict. Both CheckCheck and Legit App publish photo guides, and they ask for broadly the same set of images. Take the photos yourself in good daylight, on a plain background, with the camera held square to the shoe — not at an angle — and make sure every label and logo is sharp enough to read.
Follow these steps to build the photo set that authenticators expect.
- Shoot both shoes, outside and inside. Take a straight side view of each shoe, a top view, a front view of the toe box and a back view of the heel.
- Photograph every label. Capture the tongue label, the size label inside the shoe and the box label, each filling the frame so the text is readable.
- Close in on the details. Take close-ups of the stitching along the sole, the logo on the heel and tongue, the lace holes and the outsole tread.
- Show the extras. Photograph the box from all sides, the tissue paper, spare laces and any tags or cards that came with the pair.
- Include a full-pair shot. Finish with one clear photo of both shoes together, so the authenticator can judge the pair as a whole.
- Check every photo before you send it. Zoom in on each image on your phone. If a label is blurred or a logo is out of frame, retake it. A verdict is only as good as the photos behind it.
Most services will ask for more photos if something is unclear, and the timer restarts when you send them — CheckCheck says so on its own site. So it is faster to send a complete set the first time than to send five photos and wait for a request for the other ten. Never send screenshots of someone else’s photos, and never send photos downloaded from a listing. Authenticators need original photos of the actual pair you are buying, and a screenshot loses the detail they need.
CheckCheck vs Legit App: Which Service Fits Your Purchase?
CheckCheck and Legit App are the two best-known photo authentication services for sneakers, and they work in a similar way: you upload photos, human experts review them, and you get a verdict with reasons. The differences are in speed, price, certificates and how much explanation you get. According to CheckCheck’s own site, every item is checked by two independent experts, and turnaround times are as fast as five minutes, with 15-minute or four-hour options depending on what you select. According to Legit Check’s own site, its standard verification takes approximately 30 minutes, prices start at $10, and more than 200,000 items have been verified through the service.
| Feature | CheckCheck | Legit App (Legit Check By Ch) | Free self-check |
|---|---|---|---|
| Who checks | Two independent experts | Two teams of experts | You, with a checklist |
| Turnaround | As fast as 5 minutes | About 30 minutes standard | About 15 minutes |
| Price | Credit-based, varies by speed | From $10 | Free |
| Verdict detail | Pass or fail with reasons | 4 or more reasons per verdict | Your own notes |
| Certificate | Digital Certificate of Authenticity | Optional public certificate | None |
| Best for | Fast pre-purchase checks | Detailed verdicts and resale | Quick first filter |
CheckCheck also says on its site that it supports more than 365 brands and categories and that it is an official authentication partner of TikTok Shop, which matters if you buy from live sellers there. Legit Check offers a free learning section in its app, so you can study its guides for a model before you pay for a verdict, and it says its optional public certificate is hosted on its own domain. Both services issue a certificate you can show a buyer if you resell the pair, and both say a certificate can help a pair sell faster — Legit Check reports that its users see faster sales, which is the company’s own claim rather than an independent finding.
Which one should you choose? If you need an answer before a listing ends or a seller moves on, CheckCheck’s five-minute option is the faster route. If you want the most detailed explanation of why a pair passed or failed, Legit App’s four-or-more-reasons format gives you more to learn from. If the pair is cheap and the risk is low, run the free self-check in this guide and skip the paid step. If the pair costs more than you can afford to lose, pay for the verdict — the fee is small next to the price of a fake pair you cannot return.
Worked example: checking a pair of Air Jordan 1s on Depop
This is an illustrative walkthrough of the method, not a report of a real purchase, and outcomes vary from pair to pair. A buyer finds a pair of Air Jordan 1 Retro High OG trainers listed on Depop at a price well below the usual resale range. The listing uses five photos: both shoes from the side, a top view, and two close-ups of the tongue label.
Step one, the buyer runs a reverse image search on the listing photos. The same photos appear in two other listings under different seller names, which is a warning sign, so the buyer asks the seller for the missing photos: the inside size label, the outsole, the box label and a photo of both shoes together. The seller sends them within an hour. Step two, the buyer works through the free self-check. The stitching looks even, the tongue label font matches the genuine release, but the box label shows a product code that does not match the colourway, and the outsole tread looks slightly shallow compared with photos of a genuine pair.
Step three, because two details do not match, the buyer sends the full photo set to CheckCheck and selects the 15-minute turnaround. The verdict comes back as a fail, with reasons pointing to the box label and the outsole. The buyer does not buy the pair and reports the listing. The lesson is the sequence, not the outcome: reverse image search first, free self-check second, paid verdict third, and never pay before the verdict arrives. A different pair could pass all three stages, and a pass would still be evidence from photos, not a guarantee.
How Do You Check a Seller’s Photos Before You Buy?
Checking the shoes is only half the job. You also need to check the seller, because many fake pairs are sold with genuine photos stolen from another listing. The most useful tool here is reverse image search, and it costs nothing. Save the seller’s photos, then run them through a reverse image search to see where else those exact images appear online. Our guide to how to reverse image search walks through the steps on phone and computer.
If the photos appear in an older listing, on a different marketplace, or on a social media account with a different name, ask the seller to send a fresh photo of the shoes with today’s date written on a piece of paper next to them. A genuine seller with the shoes in hand can do this in a minute. A seller using stolen photos cannot. If the seller refuses, or sends a photo that is clearly a different pair, walk away.
Also check the seller’s other listings and reviews. A seller with dozens of pairs of the same rare trainer, all at prices well below market, is almost certainly not selling genuine stock. A seller with a long history, detailed photos of each individual pair, and reviews that mention authenticity is a much safer bet. Our guide on how to check a seller’s photos on Depop covers these seller checks in detail, and the same method works on Vinted, eBay and Instagram sellers.
Finally, check the price against the market before you check the shoes. A price far below the usual resale range is the single most reliable warning sign there is, because genuine rare trainers do not sell for a fraction of their market value without a reason. Use a photo search to compare sold prices for the same model and size, and if the deal looks too good to be true, treat it as a fake until a paid verdict says otherwise.
What Happens After the Verdict?
A verdict is the start of a decision, not the end of one. If the verdict is a pass, you can buy with more confidence, but keep the verdict report, the certificate if one was issued, and the seller’s photos. If the pair arrives and looks different from the photos you checked, that paperwork is your evidence for a return or a dispute.
If the verdict is a fail, do not buy the pair. If you have already paid, act quickly. Contact the seller first and ask for a refund, quoting the verdict and its reasons. If the seller refuses, open a dispute through the marketplace or your payment provider, and attach the verdict report, the listing screenshots and your messages with the seller. Marketplaces and card providers treat a written authentication verdict as useful evidence, though the final decision is theirs, and a verdict does not guarantee a refund.
A certificate of authenticity is worth keeping if you plan to resell. CheckCheck issues a digital Certificate of Authenticity with every passed check, according to its site, and Legit App offers an optional public certificate hosted on its own domain. A certificate shows the next buyer that a human expert reviewed the pair, and it can make a listing more attractive — but remember that a certificate covers the pair in the photos, not a different pair. If you buy a certified pair, check that the certificate matches the shoes in front of you, including the model, size and any serial details shown.
There are also limits to what any photo service can do. Neither CheckCheck nor Legit App can inspect the physical pair, smell the materials, or feel the weight and stiffness of the shoe. If a pair passes a photo check but feels wrong when it arrives — wrong weight, chemical smell, stiff materials — trust your hands and open a return, even with a pass in hand. And if a seller will not let you use any authentication service at all, that refusal tells you everything you need to know.
FAQs
Can you legit-check sneakers from photos alone?
Yes, up to a point. A careful photo check can expose fakes through stitching, fonts, labels and box details, and paid services give verdicts from photos every day. But a photo cannot prove a pair is genuine beyond doubt, because it only shows what the camera captured, so treat a pass as strong evidence, not a guarantee.
How long does a CheckCheck result take?
According to CheckCheck’s own site, turnaround times are as fast as five minutes, and you can select a 15-minute or four-hour option when you submit. If the experts ask for more photos, the timer restarts once you send them, so uploading a complete photo set first is the fastest way to get a verdict.
Is a legit-check certificate proof a pair is real?
No. A certificate shows that a human expert reviewed photos of a pair and judged it authentic at that time. It is useful evidence for a buyer or a dispute, and it can help a pair resell, but it covers only the pair in the photos. Always check that the certificate details match the shoes in front of you.
What should I do if the seller will not send the photos I need?
Walk away. A genuine seller with the shoes in hand can photograph a size label or a box in a minute, so a refusal usually means the seller does not have the pair, or the pair would fail the check. Never pay first and hope the photos arrive later, and never accept a screenshot in place of an original photo.
Entrupy is not only for trainers: the same microscopic scan also covers handbags, so if you are weighing up a designer bag as well, learn how to authenticate a designer handbag before you pay for it.
The same photo-first discipline works for other luxury buys: learn how to authenticate a luxury watch from photos before you pay for a Rolex, using the same pattern — demand the right photos, check the macro tells and reverse-search the listing.
