


🔎 Reverse Image Search
Image search techniques made simple: upload a photo or paste a URL and search 6 engines at once. 100% free, nothing stored.
🔒 Your image is never stored on our servers longer than 24 hours and is never shared.
Quick Answer: Facebook has no built-in reverse image search, so save the photo properly (open it full-size first, do not screenshot a compressed preview if you can avoid it) and search it with Google Lens, TinEye, Yandex and Bing. Open the photo, save the largest version you can, upload that file to one of those tools, and compare the matching pages to find the earliest or most credible original source.
A Facebook photo can travel a long way from where it started. It may be reposted with a new caption, cropped, filtered, or shared without credit, and the person who posted it may not know where it came from. Learning how to do a reverse image search on Facebook photos gives you a practical way to check a picture before you believe it, share it, or use it. This guide explains the whole process in plain language, from saving the image correctly to reading the results with care.
If you are new to this kind of search, start with our complete guide to image search techniques. It explains the basic idea behind searching by picture rather than by words, and it will help you understand why the same photo can produce different results in different tools.
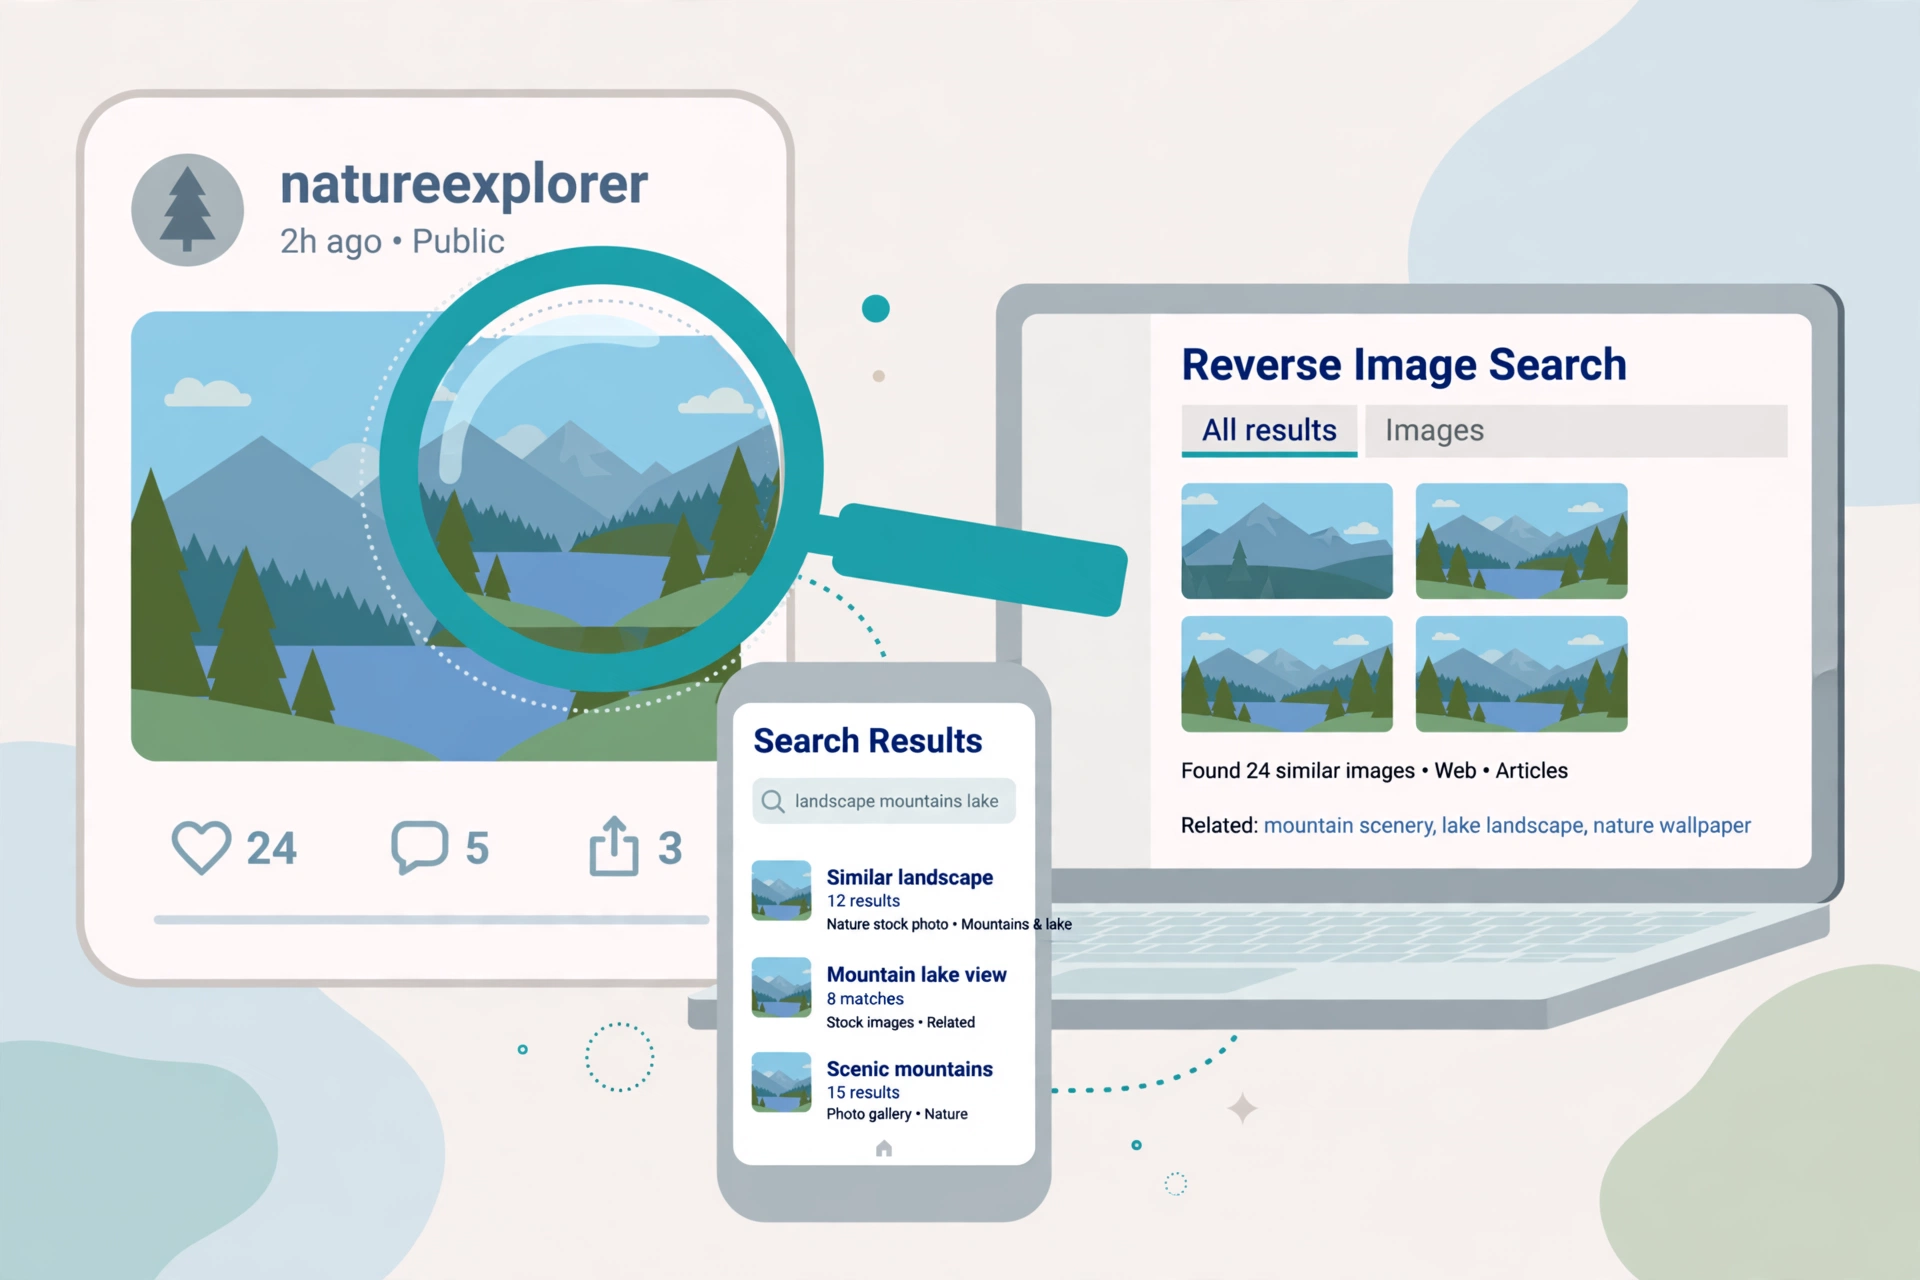
Why Facebook Has No Built-In Reverse Image Search
Facebook lets you search for people, pages, groups, and posts, but it does not offer a button that searches the web for visually similar images. That is an important distinction. Facebook search is designed to find content inside Facebook, while reverse image search is designed to find where an image appears across the wider web. A photo that began life on a news site, a photographer’s portfolio, or a brand’s website may therefore be invisible to Facebook’s own search even when it is widely published elsewhere.
There is another reason to use an outside tool. Facebook compresses and resizes many uploaded photos, and it strips away much of the original file information. The version you see in your feed is often smaller and softer than the original. That is why the first step is not searching at all: it is getting the best possible copy of the picture. A cleaner copy gives every search engine more detail to match, which usually means more accurate and more useful results.
Finally, Facebook’s privacy settings matter. A photo in a private group, a friends-only post, or a closed account is not meant to be public, and public search engines should not be able to index it. If a photo is truly private, a reverse image search will normally return nothing, or only unrelated images. That is not a failure of the method. It is a sign that the photo has not been published in a public, indexed place.
How to Save a Facebook Photo Properly
Before you search, take a moment to save the photo in the best quality available. A screenshot of a small preview is the weakest starting point because it adds screen borders, text, and extra compression. A direct save of the full-size photo is almost always better.
On a desktop computer: Click the photo to open it in Facebook’s full-size viewer. If the image still looks small, look for an option to view it at full size or open it in a new tab. Right-click the image and choose Save image as, then save it to a folder where you can find it again. If a right-click menu offers Copy image address, copy that address as well. Some search tools accept an image URL, so the direct address can save you a download step. Keep the original file name if you can, because it sometimes contains a useful clue, but do not rely on the file name alone.
On a phone: Tap the photo to open it full-screen. On most phones, you can then long-press the image until a menu appears and choose Save image, Download image, or Save to phone. On iPhone, the share menu may offer Save Image. On Android, the long-press menu or the three-dot menu usually offers a download option. If Facebook only offers a share link, open that link in your browser, open the photo full-size, and save it from there. Avoid taking a screenshot unless saving is not possible, and if you must screenshot, crop out menus, captions, and other screen elements so the search tool sees only the photo.
Check the saved file before you search. Open it and ask whether the subject is clear, whether faces or text are readable, and whether important edges have been cut off. If the photo is blurry, try opening the Facebook post again and saving a larger version. If the photo is a screenshot inside a screenshot, the search engine may match the frame rather than the picture itself, so crop carefully to the photo alone.
Method 1: Google Lens
Google Lens is a strong first choice for a reverse image search on Facebook photos because it is widely available, fast, and good at recognising objects, landmarks, products, and text in a picture.
- Save the Facebook photo at full size, following the steps above.
- Go to Google Lens in your browser.
- Upload the saved photo, or paste the image address if you copied one.
- Wait for Lens to show visually similar images and related results.
- Use the crop tool, if offered, to focus on the main subject and remove extra background.
- Open the most promising matches and check whether they are the same photo, a similar photo, or an unrelated lookalike.
Google Lens is especially helpful when a photo contains a recognisable product, building, animal, or piece of text. If the photo is a portrait, Lens may return similar-looking people rather than the same person, so treat those results as suggestions to check, not as proof of identity.
Method 2: TinEye
TinEye works differently from Lens. It specialises in finding exact and near-exact copies of the same image, which makes it very useful for tracing a photo back to an earlier publication.
- Save the Facebook photo at full size.
- Go to TinEye and use its upload option.
- Upload the saved photo, or paste the image address if you have one.
- Review the list of matching pages, paying attention to the oldest results.
- Sort or filter the results, where available, to see the earliest matches first.
- Open the earliest credible pages and compare the photo, caption, and publication date.
If you need help with TinEye’s features, the official TinEye help pages explain uploading, sorting, and interpreting results. TinEye is often at its best with photographs that have been reposted without major changes. Heavily cropped or filtered versions may match less reliably, which is why trying more than one tool is worthwhile.
Method 3: Yandex Images
Yandex Images is known for strong visual matching, including with cropped, resized, or slightly altered photos. It is a useful second or third check when Google Lens or TinEye returns too few results.
- Save the Facebook photo at full size.
- Go to Yandex Images.
- Use the camera or upload icon to upload your saved photo.
- Wait for Yandex to show similar images and pages containing the image.
- Browse the similar images carefully, because Yandex often surfaces visually close matches that are not the same photo.
- Open the strongest matches and check the source page, date, and context.
Yandex can be particularly helpful for photos that have been shared across many sites, including sites outside the English-speaking web. As with every tool, a match does not automatically prove that a page is the original source. Check the date and the surrounding article before you draw a conclusion.
Method 4: Bing Visual Search
Bing Visual Search is another free option, and it can find matches that the other tools miss. It is worth trying when you want a broader sweep, or when the first tools return conflicting results.
- Save the Facebook photo at full size.
- Go to Bing Visual Search.
- Upload the saved photo from your device.
- Review the visually similar images and the pages Bing suggests.
- Try cropping to the main subject if the first results are too broad.
- Open the best matches and compare them with the Facebook version.
Bing is often good at surfacing related products, places, and visually similar scenes. For source-finding, focus on pages that use the exact photo rather than pages that merely look similar. The exact photo, the earliest credible date, and a consistent caption together make a much stronger case than a single similar image.
How to Read Results and Find the Original Source
Finding matches is only half the job. The other half is judging them. Start by separating exact matches from similar images. An exact match uses the same photo, even if it has been resized or slightly compressed. A similar image may show the same place, product, or type of scene, but it is not the same photograph, and it does not prove where the Facebook photo came from.
Next, compare dates. The original source is often, though not always, the earliest credible publication. A news agency, a photographer’s own site, a museum archive, or an official brand page is usually more credible than an anonymous repost. Be careful with dates on repost sites, because a page can be updated long after it was first published, and a photo can be added to an older article later.
Also compare details in the image itself. Look for watermarks, logos, captions, and background details. A watermark may name the photographer or agency. A caption may name the event, location, or people in the photo. If the Facebook version is cropped, the wider original may reveal context that changes the meaning of the picture. If the Facebook caption claims one location or date, but the original source says another, trust the original source and treat the Facebook claim with caution.
Finally, check the page around the image. Is it a reputable publication, an official account, or a random aggregator? Does the article use the photo in a way that makes sense? A strong source will usually explain the photo, credit it, or link to further information. A weak source may use the photo without context, or alongside unrelated claims.
Comparison Table: Google Lens, TinEye, Yandex and Bing
| Tool | Accuracy | Speed | Privacy | Best for |
|---|---|---|---|---|
| Google Lens | High for objects, places, products, and text | Very fast | Uploaded images are processed by Google; avoid uploading sensitive photos | Everyday Facebook photos and quick identification of things in a picture |
| TinEye | High for exact and near-exact copies | Fast | Designed around image matching; avoid uploading private photos | Tracing a reposted photo to an earlier publication |
| Yandex Images | High for cropped and altered versions | Fast | Uploaded images are processed by Yandex; avoid uploading sensitive photos | Photos that other tools miss, including altered copies |
| Bing Visual Search | Good for similar images and related pages | Fast | Uploaded images are processed by Microsoft; avoid uploading sensitive photos | A broader second check and visually similar results |
No single tool is perfect for every photo, so the best approach is usually to try two or more and compare their results. If two tools point to the same early source, your confidence should rise. If they disagree, look more closely at dates, captions, and image details before deciding.
Troubleshooting: When Your Search Does Not Work
No results: The photo may be private, very new, or published only on Facebook. Try a larger or clearer copy, crop to the main subject, and try another tool. If the photo appears only in a private group or a friends-only post, public search engines may simply have no public copy to find.
Low-quality image: Facebook compression can blur detail and remove the fine patterns that search engines use to match photos. Save the full-size version, avoid screenshots, and crop out borders and text. If the only copy you have is small, try searching with the clearest section of the image rather than the whole frame.
Private photo not indexed: A photo that has never been published publicly cannot be found by a public reverse image search, even if you have the file. This is expected, and it protects the privacy of the people in the photo. Do not try to work around privacy settings, and do not upload someone else’s private photo to a public tool.
Wrong matches: Similar is not the same. Search engines often return lookalikes, especially for portraits, pets, landmarks, and products. Check whether the matched image is the same photograph, the same person, or merely a similar subject. Cropping to a distinctive detail, such as a sign, a logo, or an unusual background object, can improve the results.
Conflicting sources: When two pages claim to be the original, compare publication dates, image quality, watermarks, and captions. The higher-resolution version, the fuller crop, and the more credible publisher are useful clues. When the evidence is unclear, say so rather than presenting a guess as a fact.
Privacy and Safety
Reverse image search is a powerful checking tool, and it comes with responsibilities. Only search photos you have a right to check, such as a photo you own, a photo shared publicly for a legitimate purpose, or a photo you are trying to verify before sharing. Do not upload private photos belonging to other people, and do not use search results to identify, stalk, or harass strangers.
Remember that a photo can reveal more than its subject. It can reveal a location, a workplace, a school, a home, or the identities of people who never agreed to be searched. Before you upload a photo, ask whether you would be comfortable if someone did the same with a photo of you. If the answer is no, do not upload it.
Also be careful with what you do after a search. Finding a person’s other social profiles, workplace, or home address from a photo is not a harmless curiosity; it can put that person at risk. Use reverse image search to verify information, check for scams, and avoid spreading misleading photos. Do not use it to expose, embarrass, or target private individuals.
Finally, private photos cannot be found by public search engines, and that limit should be respected. If a search returns nothing for a private photo, that is the system working as it should. The right response is to leave the photo alone, not to seek another way to expose it.
Frequently Asked Questions
Does Facebook have a reverse image search?
No. Facebook does not offer a built-in reverse image search for finding a photo across the web. You need to save the photo first and search it with Google Lens, TinEye, Yandex Images, or Bing Visual Search.
Can I reverse image search a Facebook photo on my phone?
Yes. Open the photo full-screen, long-press it, and save it to your phone. Then open Google Lens, TinEye, Yandex Images, or Bing Visual Search in your mobile browser and upload the saved file.
Why does my Facebook reverse image search return no results?
The photo may be private, unpublished elsewhere, heavily compressed, or too new to be indexed. Try a larger, clearer copy, crop to the main subject, and try a second tool before concluding that no public source exists.
Can I find the original source of a cropped Facebook photo?
Sometimes. Yandex and Google Lens are often good with cropped versions, but a heavy crop removes the details that search engines use to match. If possible, find a fuller version of the photo, or search using its most distinctive remaining detail.
Is it legal to reverse image search a Facebook photo?
Searching a publicly shared photo to verify its source is generally a normal use of a public search tool, but downloading, reposting, or commercially using someone else’s photo may require permission. Always respect copyright, privacy, and Facebook’s terms, and do not use results to harass or identify strangers.
Which tool is best for a reverse image search on Facebook photos?
Google Lens is a good starting point for most photos, TinEye is strong for exact copies, Yandex is strong for altered copies, and Bing provides a useful broader check. For important photos, try at least two tools and compare the earliest credible matches.
Related Guides
If you need to trace photos from other platforms, our Instagram reverse image search guide and our Twitter reverse image search guide follow the same save-first approach, with platform-specific tips. Our Pinterest reverse image search guide is also useful, and Pinterest’s visual search help explains how visual search works inside Pinterest itself.
For a quicker start, try the free reverse image search tool on the homepage and upload the Facebook photo you have saved. If the first search does not find the source, work through the four methods above, compare the earliest credible matches, and check the original page before you share the photo again.
