


🔎 Reverse Image Search
Image search techniques made simple: upload a photo or paste a URL and search 6 engines at once. 100% free, nothing stored.
🔒 Your image is never stored on our servers longer than 24 hours and is never shared.
A menu in Lisbon, a warning sign in Tokyo, a screenshot of a chat in Arabic — reading foreign text used to mean typing it into a translator character by character. Google Lens removes that step: point your camera at the words, or open a photo you already have, and Lens lays a translation directly over the image, right where the words sit. This guide covers the Translate feature step by step.
One quick boundary: this is a feature guide, not a full Lens tutorial. For everything else Lens does, see our complete guide to Google reverse image search and Lens. Here, we stay on translation.
What Lens Translate does
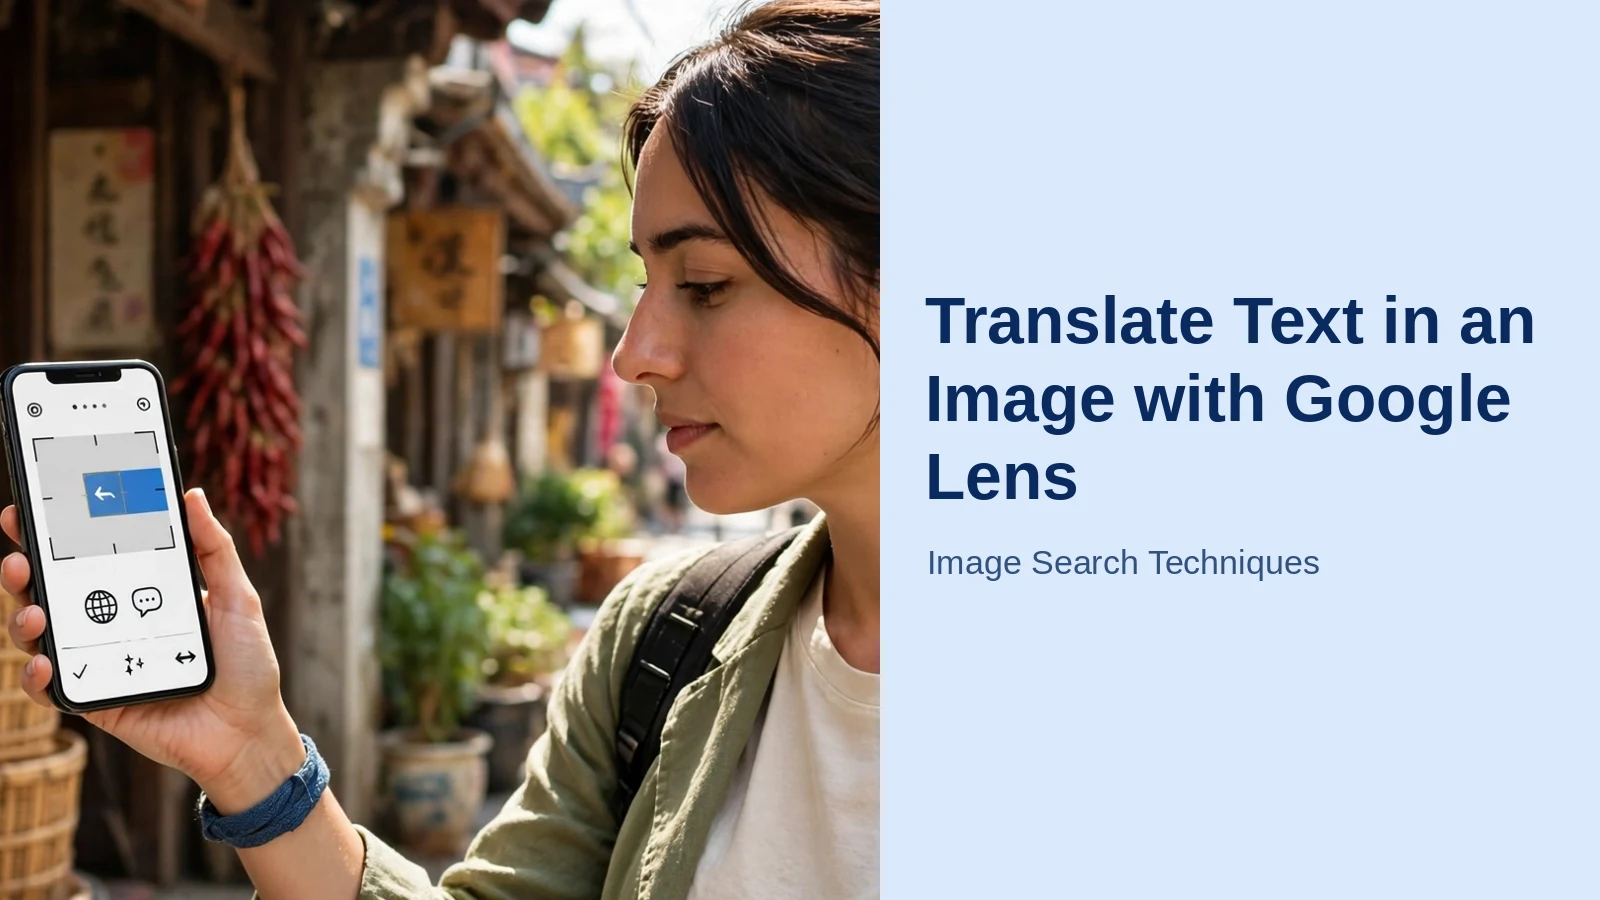
Lens Translate works in two ways. The first is live camera mode: point your phone at a sign, label or page, and the translated words appear on screen as an overlay, in roughly the same position as the original.
The second is photo mode: pick a picture from your gallery — a photo taken earlier, a screenshot, an image someone sent you — and Lens translates the text inside it, with the same overlay effect on a still image you can zoom into and re-read.
Both modes handle printed text well: menus, signs, posters, packaging, documents. Clear printed fonts are the sweet spot; handwriting is supported but far less reliable, as the tips below explain. For more on the point-and-read experience itself, see our guide to live camera image search.
How to translate text in an image on Android
On most Android phones, Lens is built into the Google app and often into the camera itself:
- Open the Google app and tap the Lens icon in the search bar (or open the standalone Google Lens app).
- Select Translate from the row of modes at the bottom of the Lens screen.
- Point the camera at the text and hold steady for a second — Lens detects the text and paints the translation over it automatically.
- Tap the shutter button to freeze the frame if you want to read it without holding the phone up.
- Tap any translated block to hear it spoken or copy it as plain text.
For a photo you already took, tap the gallery thumbnail inside Lens instead of using the camera.
How to translate text in an image on iPhone
On iPhone, Lens lives inside the Google app (there is no separate Lens app for iOS):
- Open the Google app and tap the Lens camera icon in the search bar. Allow camera access if asked.
- Choose Translate from the modes along the bottom.
- Point at the text and wait for the overlay to settle, or tap the photo icon to pick an existing image from your library.
- Tap the shutter to capture a still version you can pinch to zoom and re-read.
Translating a saved screenshot or image
Saved images are where many people use this most: a screenshot of a foreign website, a product label photo from a group chat, a captioned meme. Open Lens, switch to Translate, tap the gallery icon and pick the image — Lens overlays the translation in place.
Two practical notes. First, crop a busy image to the text you care about — cropping sharpens the result and gives Lens less to misread. (The same habit matters when you search a screenshot visually; our walkthrough on how to reverse image search a screenshot explains why.) Second, if part of the overlay looks wrong, tap that block: Lens shows the original text alongside, so you can check its reading first.
Languages: auto-detect, choosing a pair, and downloads
By default, Lens sets the source language to Detect language, which works well for most signs and documents. You can set the pair yourself at the top of the screen — worth doing when auto-detect confuses similar languages (Spanish vs Portuguese menus are a classic). Your target language, set on the right, is remembered.
You can also download language packs for offline use. Google’s own Lens help pages describe the current options: with a pack installed, basic translation can work without a connection — useful in a basement restaurant or on a flight. Treat it as a backup, though: availability varies by language, features change over time, and connected results are generally more complete.
Tips for accurate results
- Light it properly. Even light, no glare — reflections on glossy menus and laminated signs are the top cause of scrambled readings.
- Square up. Hold the phone parallel to the page or sign. A steep angle distorts letters and accuracy drops fast.
- One sign at a time. Frame a single sign, label or paragraph rather than a whole wall of text; work through a document section by section.
- Get closer, not zoomier. Move nearer instead of pinching to zoom from far away — a closer, sharper image beats a magnified blurry one.
- Be sceptical of handwriting. Neat, print-style handwriting sometimes works; joined-up or decorative scripts often do not.
- Sanity-check important text. For medicine labels or anything safety-related, compare the overlay with the original words and cross-check with a second tool.
Google Lens or the Google Translate app: which should you use?
The standalone Google Translate service and its app have their own camera mode, and honestly the two overlap heavily — the underlying translation is similar. Lens wins on convenience: it sits in your search bar and camera flow, with an instant overlay as you encounter signs and photos. The Translate app wins when translation is the whole job: conversation mode, a clearer history, easier copying of long passages. Rule of thumb: Lens in the moment; the Translate app for documents and conversations.
Common problems and fixes
- Mixed languages in one image. A sign in both French and English can confuse auto-detect. Fix: set the source language manually at the top of the screen.
- Stylised or decorative fonts. Neon signage, gothic lettering and designed logos often misread or get skipped. Fix: capture a straight, close photo; if it still fails, the font is the problem — type the words into a translator manually.
- Low light. Dim rooms produce noisy images and garbled overlays. Fix: use your phone torch, or take a flash photo and translate it from the gallery instead of live mode.
- The overlay keeps shifting. Live mode repaints as you move. Fix: tap the shutter to freeze the frame, then read the still version.
- Only some text translated. Small print at the edges is often missed. Fix: crop or zoom into that section and run it again on its own.
A quick privacy note
Translating with Lens sends the image to Google for processing, just like a normal Lens visual search — it is not an on-device trick (downloaded offline packs aside). For an ordinary menu or street sign that is a non-issue, but it is a reason not to point it at private documents, ID cards or other people’s personal letters. Our explainer on whether reverse image search is safe walks through exactly what happens to a photo after you send it to a search service.
One final pointer: Lens reads the words in a picture, but if you want to know where a picture itself comes from — who published it first, or where else it appears — that is a reverse image search. Run one in seconds with our free reverse image search tool, which checks your image across six engines at once.
FAQs
Can Google Lens translate text in a screenshot?
Yes. Open Lens, choose Translate, tap the gallery icon and select the screenshot. Lens finds the text blocks and overlays the translation; cropping the screenshot to the relevant passage first usually gives a cleaner result.
Does Google Lens Translate work offline?
Partly. With the language pack for the language you need downloaded, basic translation can work without a connection. Coverage differs by language and the feature set changes over time, so treat offline mode as a helpful backup rather than a guarantee.
Why is my Lens translation wrong or garbled?
Usual causes: poor light, glare, a steep camera angle, decorative fonts or handwriting. Square the phone up to the text, improve the light, frame one block at a time, and set the source language manually if the image mixes two languages.
Is Google Lens Translate free?
Yes. Translate mode inside Google Lens is free on Android and iPhone through the Google app, including photo translation and spoken playback of translated text.
