


🔎 Reverse Image Search
Image search techniques made simple: upload a photo or paste a URL and search 6 engines at once. 100% free, nothing stored.
🔒 Your image is never stored on our servers longer than 24 hours and is never shared.
Quick Answer: A source finder is a reverse image search tool that finds where an image came from. Upload the image, or paste its link, into Google Lens, TinEye, Yandex Images, Bing Visual Search or SauceNAO, then compare the matches, dates and original pages to identify the earliest credible source. Use more than one tool, because no single search engine indexes every image on the web.
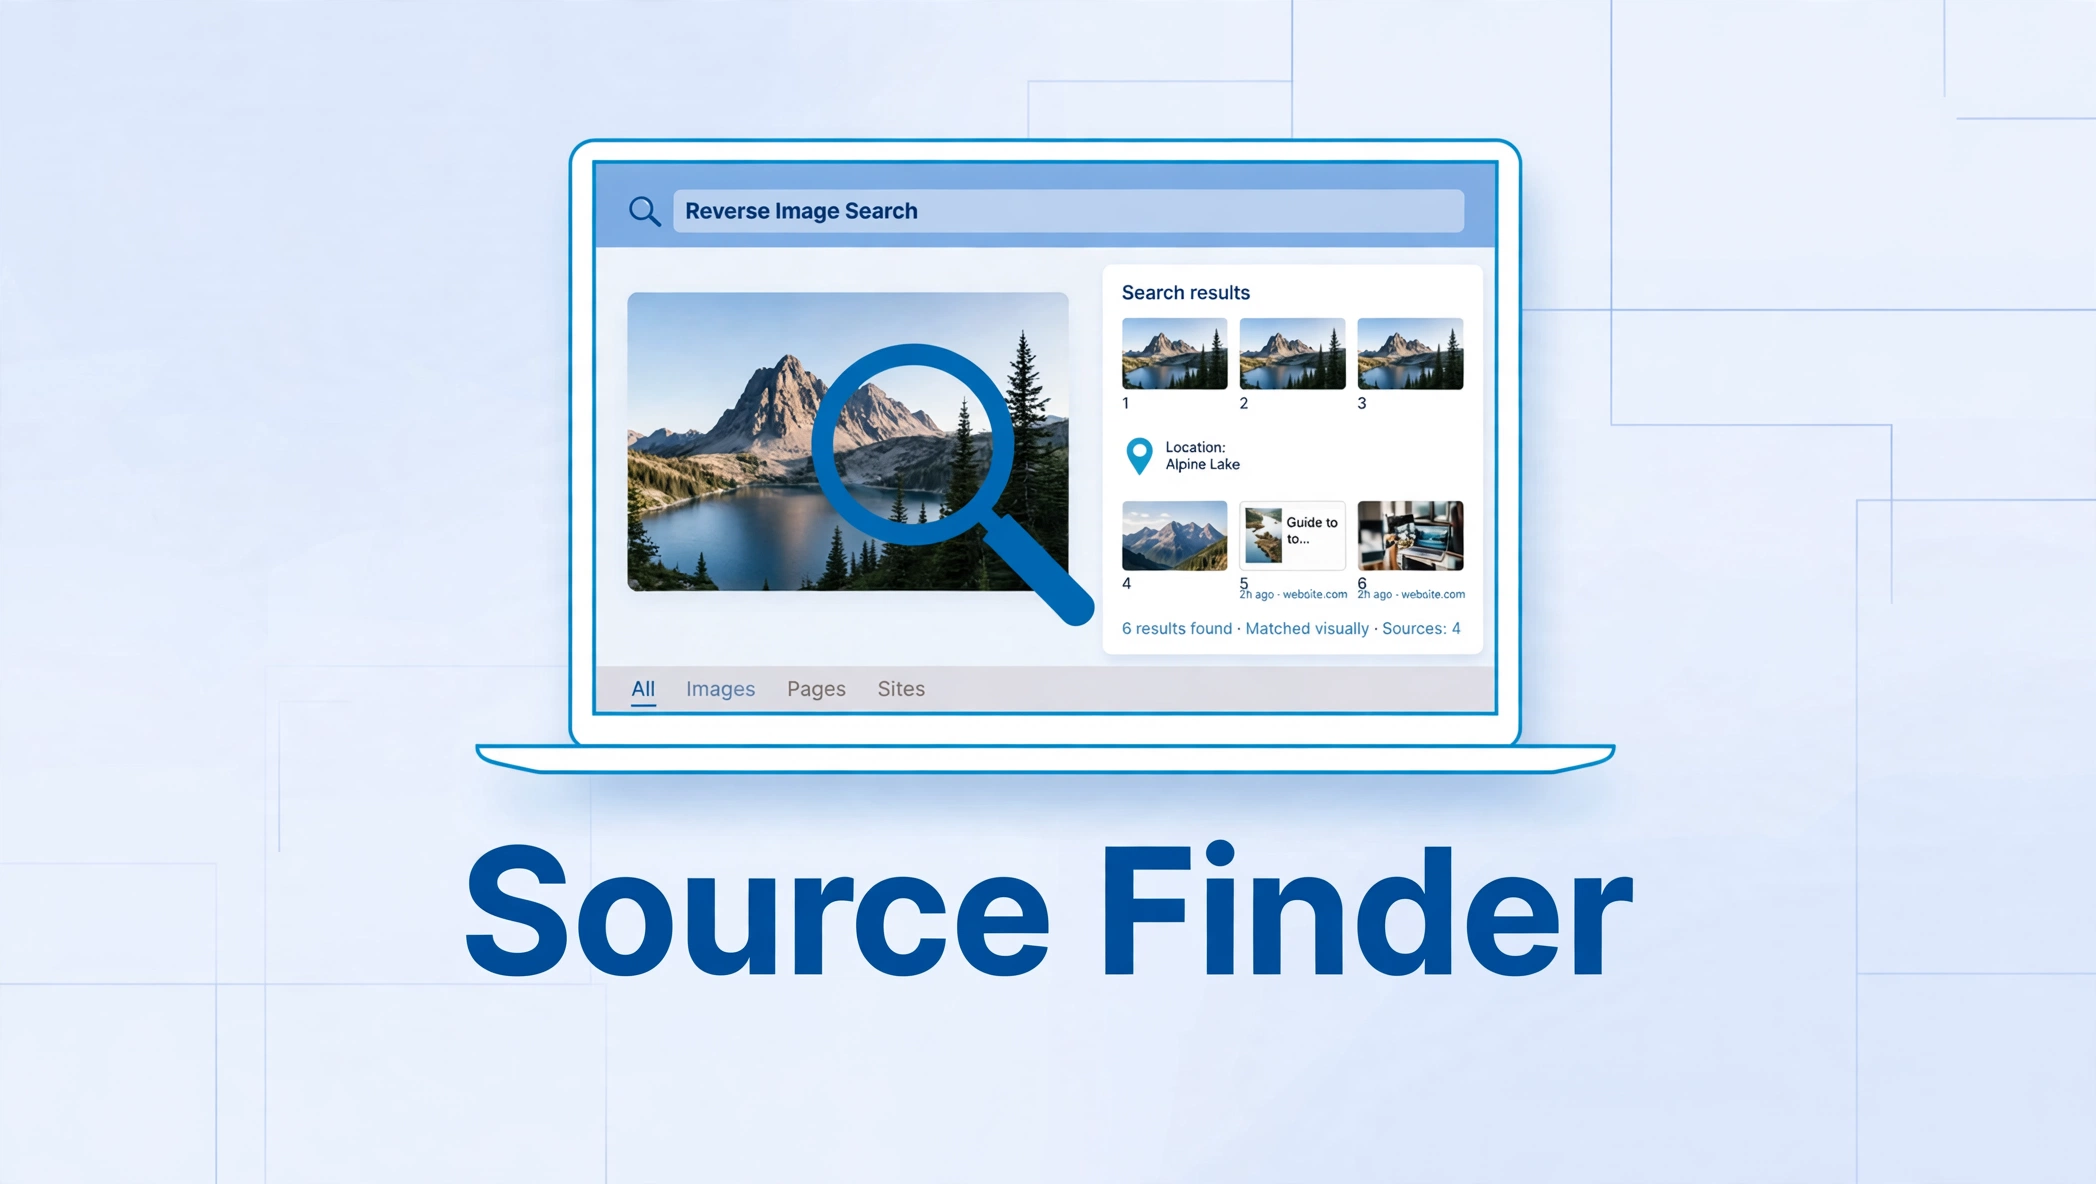
Have you ever saved a picture, seen it shared on social media, or received it in a message and wondered where it originally came from? That question is more common than ever. Images are cropped, compressed, reposted, watermarked, filtered and renamed as they travel across the internet, and by the time you see one, its original caption, photographer, artist or article may be long gone. A source finder helps you work backwards from the picture itself to the page, person or publication that first shared it.
This guide explains what a source finder is, how to use one step by step, and how the main tools compare. You will learn how to check whether a match is really the original, what to do when results conflict, and how to search responsibly. If you want a broader introduction first, read our complete guide to image search techniques, which covers the foundations behind every method in this article.
What Is a Source Finder?
A source finder is any tool that searches by image rather than by words. Instead of typing a description, you give the tool the image itself. It analyses visual features such as shapes, colours, textures and patterns, and then looks for visually similar or identical images elsewhere online. The results usually include pages that contain the same image, a cropped version of it, a resized copy, or a visually similar picture.
That distinction matters. A source finder does not magically know who created an image. It finds where copies appear. Your job is to weigh those copies, follow them back to the most credible early publication, and check the surrounding evidence. A stock photo library, a news article, a portfolio page and a random repost can all contain the same picture, but only one is likely to be the true origin.
People use a source finder for many legitimate reasons. A designer may want to credit the original artist. A journalist may need to verify a viral photograph before publishing it. A shopper may want to find the original listing for a product. A photographer may want to see whether their work has been copied. A student may want to cite an image correctly. In each case, the same principle applies: start with the image, gather matches from several tools, and confirm the source before you act on it.
How to Find an Image’s Source: Step-by-Step Method
Follow this method in order. It is slower than a single quick search, but it is far more reliable, especially for cropped, edited or widely shared images.
- Save the best available copy. Download the largest, clearest version you can find. Avoid screenshots of screenshots, because extra borders, captions and compression make matching harder. If you only have a link, keep that link as well.
- Note what you already know. Write down where you saw the image, when you saw it, any caption or username attached to it, and any visible text, watermark, logo or landmark. Those clues can confirm a match later, even if the search results are ambiguous.
- Search with Google Lens first. Open Google Lens, upload the image, and review the exact matches before the similar images. Open the most promising results and check the page, the date and the context around the picture.
- Run the same image through TinEye. TinEye is especially useful for finding the earliest indexed version and for sorting results by oldest first. Check TinEye’s help pages if you need guidance on filters, sorting and match settings.
- Try Yandex Images and Bing Visual Search next. Yandex often finds matches that Google misses, particularly for images shared in different regions or languages. Bing Visual Search, at Bing Visual Search, can also surface shopping, news and visually similar results that other tools overlook.
- Use SauceNAO for artwork and anime only when it fits. For illustrations, manga, anime stills and fan art, SauceNAO can trace an image to artist pages and image boards. Do not use it as a general-purpose tool for photographs of real people.
- Compare dates, captions and page authority. The earliest result is not automatically the original, because indexing dates can differ and a page can be updated later. Look for the original article, portfolio, agency page or creator profile, and check whether the caption, credit line and image quality support that conclusion.
- Try a cropped or reversed version if you get no match. If the image is a detail from a larger picture, crop out text, borders and stickers. If it may have been flipped, try a mirrored copy. A small change can unlock a match that the full image missed.
- Follow the image, not just the first result. Click through to the source page, look for a photographer credit, an artist name, a publication date, or a link to a larger original. A search result snippet alone is rarely enough evidence.
- Record your conclusion and your evidence. Save the source URL, the date you found it, and a short note explaining why you believe it is the original. This is especially important if you plan to credit, licence or publish the image.
Source Finder Tools Compared
Each tool below has a different index, different strengths and different privacy trade-offs. The best approach is usually to use two or three together, rather than relying on a single result.
| Tool | Accuracy | Best for | Privacy | Cost |
|---|---|---|---|---|
| Google Lens | Very strong | Everyday searches | Processed by Google – avoid private images | Free |
| TinEye | Strong for exact matches | Tracing earlier copies | Built for image matching – avoid private images | Free basic; paid upgrades |
| Yandex Images | Often strong where others miss | Cross-language searches | Processed by Yandex – avoid sensitive images | Free |
| Bing Visual Search | Good for shopping and news | Products and related images | Processed by Microsoft – avoid sensitive images | Free |
| SauceNAO | Strong for anime and artwork | Finding artists and original posts | Only search images you may use | Free with limits; paid options |
Google Lens
Google Lens is the easiest starting point for most people. It handles uploads and image URLs, recognises text and objects, and often links directly to articles, shops and reference pages. Its weakness is that it can prioritise popular or commercially relevant results over the earliest source, so always check the publication date and the original page.
TinEye
TinEye focuses on finding the same image rather than merely similar pictures. Its ability to sort by oldest first makes it particularly valuable when you want to see how an image spread. If TinEye finds nothing, that does not prove the image is new; it may simply not be in TinEye’s index yet.
Yandex Images
Yandex Images, at Yandex Images, is worth trying when Google and TinEye disagree or return nothing. It has a different index and different matching behaviour, and it is often useful for images that circulated outside English-language sites. As with every tool, verify the source page rather than trusting a thumbnail.
Bing Visual Search
Bing Visual Search is a useful second opinion. It can find product pages, visually similar images and related content, and it sometimes surfaces pages that other engines rank lower. Use it alongside Google Lens rather than as a replacement for it.
SauceNAO
SauceNAO is a specialist tool, not a general source finder. It is most useful when the image is artwork, an anime still, a comic panel or an illustration, and when you need the artist’s original post. For photographs, news images and product pictures, start with Google Lens, TinEye, Yandex or Bing instead.
If you are comparing Lens with other options in more depth, see our guide to Google Lens alternatives for reverse image search.
Checklist for Confirming the True Original Source
Use this checklist before you describe any result as the original source:
- The source page shows the image at a high resolution, without a later watermark or heavy recompression.
- The publication date, or the earliest credible date you can verify, fits the image’s history.
- The page credits a creator, agency, publication or seller in a way that matches the image.
- The surrounding article, portfolio or listing makes sense for the picture.
- Other reputable pages link to, credit or republish from that same source.
- The image does not appear earlier on a more credible page with a different credit.
- You have checked at least two source finder tools, not just one.
- You have considered whether the picture is a crop, edit, screenshot or composite rather than a single original photograph.
If several items on this checklist fail, say that the source is unconfirmed. That honesty protects you, the creator and anyone who relies on your finding. A probable source is not the same as a proven source.
Troubleshooting: When a Source Finder Finds Nothing
A blank result is frustrating, but it is also information. It may mean the image is private, very new, heavily edited, low resolution, or simply not indexed by that tool. Try the steps below before giving up.
Try a larger or cleaner copy
Low-resolution images, screenshots with interface elements, and pictures with large text overlays are harder to match. Crop to the main subject, remove borders and stickers where you legitimately can, and try again.
Try another tool
Indexes differ. An image that Google Lens misses may appear in Yandex, TinEye or Bing, and vice versa. Running the same file through several tools is one of the most effective troubleshooting steps available.
Try a reverse crop or a detail
If the full image fails, crop to a distinctive detail: a face in an illustration, a building, a product label, a unique pattern or a signature. A distinctive detail can match even when the full composition does not.
Search by visible clues
Use any visible text, landmark, logo, uniform, vehicle or product name as a text search as well. Combining a visual search with a keyword search often finds the article or listing that the image search missed.
Accept that some images cannot be traced
Private photographs, images shared only in closed groups, and pictures that have never been published online may have no public source to find. In that case, the responsible conclusion is that the source is unknown, not that the first similar result must be the original.
Privacy and Safety: Search Responsibly
Reverse image search is powerful, and that power comes with responsibility. Only search images you own or have rights to use. Do not upload someone else’s private photographs, confidential documents, medical images, identity documents or other sensitive material to a public search tool. Once an image is uploaded, you may not control how it is processed or retained.
Do not use results to identify or harass private people. A match is not proof of ownership or identity. The same photograph can be used by different people, a picture can be mislabelled, and a visually similar image can belong to someone else entirely. Do not contact, accuse or publish details about a person based only on a reverse image search result.
Be careful with images of children, images that appear to be intimate or non-consensual, and images that may be illegal. Do not share, repost or investigate those images through public tools. If you believe an image involves harm or wrongdoing, report it through the appropriate platform or authority rather than spreading it further.
Finally, respect copyright and licensing. Finding the original source does not give you the right to reuse the image. Check the licence, ask the creator for permission when needed, and credit the source accurately when you are allowed to use it. If you need to trace artwork back to its creator, our guide on how to find the original artist of an image explains that process in more detail.
Frequently Asked Questions
What is the best source finder for any image?
There is no single best tool for every image. Google Lens is the best starting point for most everyday searches, TinEye is excellent for finding earlier copies, Yandex is a strong alternative when other tools fail, and SauceNAO is best for artwork and anime. Use at least two tools for an important search.
Can a source finder find the original photographer?
Sometimes, but not always. A source finder can lead you to a page that credits the photographer, agency or artist. It cannot prove authorship by itself, especially if the image has been reposted without credit or if several pages claim the same picture.
Why do different source finders show different results?
Each tool has its own index, matching method and ranking system. Some focus on exact matches, others include visually similar images, and some cover particular regions, languages or types of content better than others. Different results are normal, which is why cross-checking matters.
Does a match prove who owns an image?
No. A match is not proof of ownership or identity. It shows that an image appears on a page. Ownership depends on who created the work, how it was licensed, and the legal facts behind it, not on search ranking alone.
What should I do if I cannot find the source?
Try a cleaner copy, another tool, a cropped detail and a keyword search based on visible clues. If those steps fail, treat the source as unknown. Do not present a similar image, a repost or a guess as the original.
Is it safe to upload any image to a source finder?
No. Only search images you own or have rights to use, and avoid private, sensitive or confidential images. Read the tool’s terms before uploading anything that could identify a person or reveal personal information.
Related Guides
- Image search techniques: the complete guide
- Google Lens alternatives for reverse image search
- How to find the original artist of an image
- How to find your doppelganger with reverse image search
Try a Source Finder Now
The fastest way to understand these tools is to try one with an image you already own. Start with the free reverse image search tool on the Image Search Techniques homepage, run the same image through a second tool, and compare the results using the checklist above. With practice, you will quickly learn which tool is best for photographs, products, artwork and viral images, and you will be far less likely to mistake a repost for the original source.
