🔎 Reverse Image Search
Image search techniques made simple: upload a photo or paste a URL and search 6 engines at once. 100% free, nothing stored.
🔒 Your image is never stored on our servers longer than 24 hours and is never shared.
Short answer: To find a spare part from a photo, photograph your appliance’s data plate first, the model and serial numbers on it, then photograph the broken part from four angles with a ruler beside it. Search the manufacturer’s parts portal by model number, check the part number, dimensions and supersession, and only then order.
A photo of a broken part feels like it should be enough. It usually is not. Two drain pumps can look identical and still differ by a connector, a mounting hole or 5 mm of width, and a listing photo will not tell you which one fits your machine. The photo that actually finds the right spare part is not the one of the broken part. It is the photo of the small metal plate on the appliance itself, the data plate, because that plate carries the model number, and the model number is what every parts catalogue is organised around. This guide shows you how to photograph both, how to read what you photographed, and how to verify the part before you pay. It covers home appliances and household items only. If you need to identify a car part from a photo, that is a different job with its own workflow.
A spare part is any replacement component made to fit a specific appliance model, from a washing-machine drain pump to a fridge shelf. The data plate, also called a rating plate or type plate, is the label fixed to the appliance that lists its model number, serial number, voltage and power rating. The part number is the manufacturer’s own code for one exact component. Supersession is the manufacturer’s formal process of retiring one part number and replacing it with another. A data plate is the file of facts about your machine; a photo of the broken part is only a picture of one piece of it. You need both, in that order.
What should you photograph first?
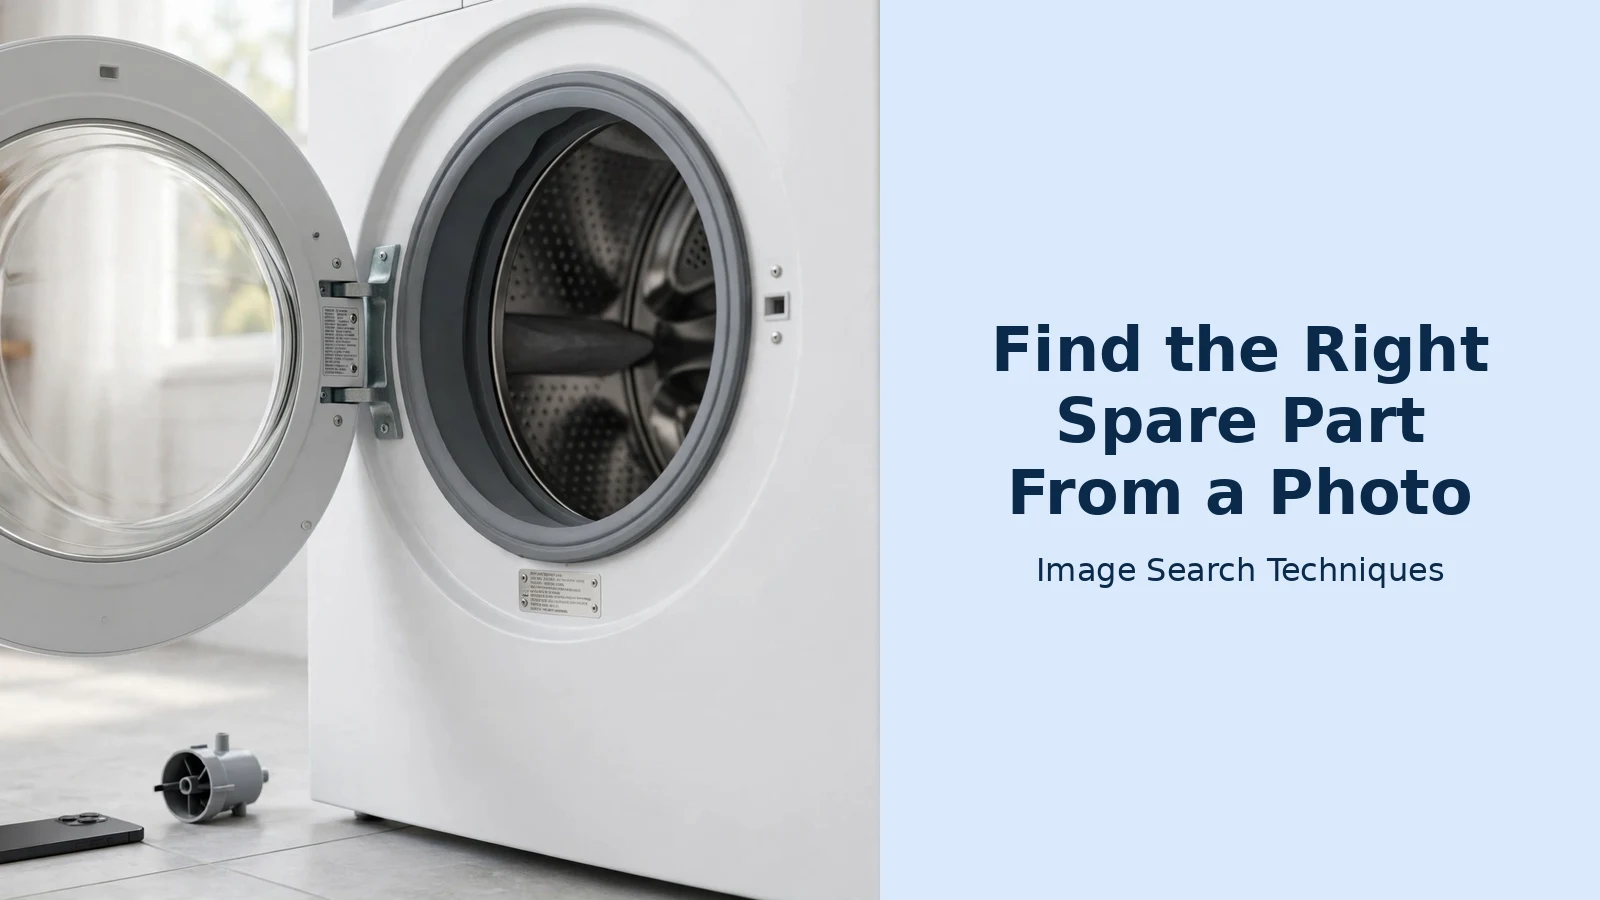
Photograph the data plate before you touch the broken part. The plate tells you which machine you own, and everything else follows from that. Before you start, unplug the appliance, grab a torch for dark corners, and have a ruler and your phone camera ready. Do not remove any cover, disconnect any wiring or release any pressure just to identify a part. Identification is a looking job, not a dismantling job.
Every appliance hides its plate in a different spot. The table below lists the usual places. If the first place is empty, check the others before you give up.
| Appliance | Where the data plate usually is |
|---|---|
| Washing machine | Behind the door, inner rim, or back panel |
| Fridge or freezer | Inside the door frame, or behind the crisper drawer |
| Dishwasher | Side of the door, or the inner edge |
| Oven or cooker | Frame behind the door, or the back panel |
| Tumble dryer | Inside the door opening, or the rear panel |
| Hob | Underneath, use the manual, do not pull it out |
| Small appliance | Moulded into the underside, or on the base |
If the plate has faded, photograph it under bright light and zoom in, wipe it gently with a damp cloth, and check your purchase receipt, warranty card or the technical manual that came with the appliance. The manual often repeats the model and serial numbers. As a last resort, the supplier can sometimes identify the machine from a clear photo of the plate plus the serial number, so keep both.
How do you photograph a data plate so the numbers are readable?
A data-plate photo is only useful if every character is legible. A blurry photo of a plate is worse than no photo, because it invites guessing. Work through the five steps below every time. They take two minutes and they are the difference between ordering the right part and ordering a lookalike.
- Clean the plate first. Wipe dust and grease off with a dry cloth, then a damp one. A thin film of grease is the most common reason a plate photo is unreadable.
- Light it from the side. Hold a torch at an angle so the stamped or printed characters cast a slight shadow. Straight-on flash flattens engraved text and washes out printed labels.
- Fill the frame with the plate. Move the phone close until the plate fills the screen. Do not photograph the whole appliance and crop later, the numbers will not survive the crop.
- Take two shots. Take one straight-on shot for reading, and one slightly angled shot that shows where the plate sits on the machine. The second shot proves which appliance the plate belongs to.
- Read it back from the photo, not from memory. Zoom into the photo on your phone and read the model and serial numbers character by character. Compare them against the plate itself before you type them anywhere.
Read the model number and the serial number as two different things. The model number tells you which parts fit. The serial number tells you when your exact unit was built, and it matters when a manufacturer changed a component mid-production. A common mistake is reading the serial number as the model number and searching with the wrong one. Watch the lookalike characters: O and 0, I and 1, and S and 5 are the most common transcription errors. Full suffix letters matter too, a production revision can change wiring or controls, so copy the whole code, not the first half of it.
How do you photograph the broken part itself?
Once the plate is photographed, turn to the part. Photograph it only after the appliance is unplugged and safe to handle, and only if removing it is straightforward, a filter, a shelf, a door seal, a knob. If the part is buried behind panels or wired in, photograph it in place and leave the removal to a technician.
Photograph the part from four angles: front, back, top, and the connector side. Put a ruler beside it in at least one shot, so the supplier can see its real size. Photograph any label or number printed or moulded on the part itself, that number is often the part number, and it is more reliable than a faded data plate. Photograph the connector: count the pins, note the shape, and check whether it is keyed to fit only one way. A 4-pin connector will not mate with a 3-pin socket, whatever the listing says.
Measure the part at its widest points, including any shaft, spindle or pipe diameter, and measure the distance between mounting holes. A 2–3 mm difference in hole spacing is enough to stop a part fitting. Note left or right, upper or lower, and the angle of any bracket. A part can have identical hole spacing but a bracket bent at the wrong angle. These measurements are what you check the listing against, not the photo. The same photo-first method works part by part: our guide to identifying a tap cartridge from a photo applies it to one fiddly part, with the five photos and four measurements that name the cartridge before you order.
How do you find a spare part from a photo of the broken part?
If you have the broken part in hand but no readable plate, a reverse image search is your starting point, not your answer. Upload the clearest photo of the part, the one with the ruler and the label visible, to Google Lens and see what it returns. Lens can sometimes name the component type and surface listings that use the same photo. Our guide to Google reverse image search walks through the upload steps on phone and desktop. For a fuller method, including searching by image URL and comparing engines, see our guide on how to reverse image search. If the part is something you cannot name at all, start with our guide to identifying what a picture shows before you search for the part itself.
Treat whatever the engines return as a lead, not a verdict. A photo search matches pictures, not specifications. It cannot tell you whether the part in the listing is the 30 W version or the 40 W version, whether its connector has three pins or four, or whether it fits your model. That is why the worked test below matters: when we ran real part photos through the engines, the results were far weaker than most guides admit. Use the search to get a part name and a candidate part number, then verify that number against your model, never order on a visual match alone.
If the part has a number printed on it, search that number directly. A part-number search is more reliable than an image search, because it queries the catalogues rather than the pictures. If the image search returns nothing, try searching by component function instead, for example, “drain pump for Bosch washing machine”, then filter by your brand and model series. This bypasses the gaps in image indexing.
How do you check the part fits before you pay?
Verification is the step that saves you the return postage, the restocking fee and the second week of waiting. Run the checklist below on every part before you pay. Every row must pass. One fail means you stop and ask the supplier, in writing, to confirm the part against your model number.
| Check | What to confirm | How |
|---|---|---|
| Part number | Exact code, full suffix | Match it to the old part’s label |
| Model match | Your model in the fits list | Manufacturer portal, by model number |
| Supersession | Old number replaced, chain clear | Look for “replaces” or “superseded by” |
| Dimensions | Length, width, depth, hole spacing | Measure old part, compare to listing |
| Fittings | Connector pins, hose or seal size | Count pins, check keying and diameter |
| Side and position | Left or right, upper or lower | Compare with the old part in place |
| Voltage and rating | Volts, watts, amps match the plate | Read the plate, read the part label |
| Returns | Return policy before ordering | Check electrical parts are returnable |
Start the check at the manufacturer’s own parts portal, searching by your model number rather than by the part number. That shows you the currently active part for your machine. Miele, for example, states on its spare parts page that it aims to keep original spare parts available for many years after the end of series production, typically up to 15 years, and its complete spare parts catalogue lets you search by model. Then enter the old part number into a cross-reference tool or a reputable supplier catalogue, which maps retired numbers to their replacements. Look for a “replaces” or “superseded by” note on the listing. If a supplier lists both the old and the new part number as available, treat that as a warning sign: genuine supersession means the old number is no longer manufactured, so ask which one is current stock before ordering.
Supersession is where most wrong orders happen. A superseded part is not automatically compatible with every model that used the original. Sometimes the replacement fits the whole range; sometimes it is model-specific, and the supersession notice states which models the new number covers. Read that list and confirm your model appears on it. A real example shows how long these chains run: one aftermarket listing for a Bosch and Siemens washing-machine drain pump lists part 00144978 as replacing ten older numbers, 00141874, 00141896, 00142052, 00142300, 00142361, 00142370, 00143995, 00144305, 00144890 and 00172340, and the same pump family is listed under the producer number 00145787. If you searched only for the number printed on your ten-year-old pump, you would never find the current listing. Search the chain, not just the number.
OEM parts are made by the company that built your appliance; aftermarket parts are made by other companies to fit the same machine. Neither is automatically the right choice. Compare them honestly before you decide.
| Factor | OEM part | Aftermarket part |
|---|---|---|
| Fit | Exact match to your model | Varies by maker |
| Price | Usually higher | Often lower |
| Warranty | Manufacturer-backed | Seller-backed |
| Availability | Can be discontinued | Often easier to find |
| Quality | Consistent | Mixed, check reviews |
For electrical components such as boards, sensors and motors, an OEM part is the safer choice, because the ratings and connectors are guaranteed. For a mechanical item such as a door seal or a shelf, a well-reviewed aftermarket part can work well if you have verified the dimensions and mounting points. Whichever you choose, confirm the dimensions against your model number in writing with the supplier if you cannot measure the old part yourself. And check the return policy before you order, not after: many suppliers accept returns on unused parts in original packaging, but some classify electrical components as non-returnable for safety reasons, and special-order or discontinued parts are frequently non-refundable.
What did our worked test actually find?
On 11 November 2026 we ran a genuine worked test, with no logins, on two real photos. The first was a Wikimedia Commons photograph of the data plate on a Miele 700 drum washing machine, a museum machine from the 1950s. We read the plate ourselves first: Type T. Wa. 700, number 12471, motor 500 W, 220/380 V, 50 Hz, made by Mielewerke A.G. in Gütersloh. The second was a Wikimedia Commons close-up of a washing-machine drain pump. We then ran both photos through Google Lens, TinEye and Bing visual search, and searched Miele’s spare parts catalogue for the model. The results are in the table below, and they are the most useful finding in this guide.
| Photo and engine | What happened |
|---|---|
| Data plate, Lens | Blocked: unusual-traffic page, no results shown |
| Data plate, TinEye | 0 matches out of 86.7 billion images searched |
| Data plate, Bing | 0 pages with this image; described the plates correctly |
| Pump photo, Lens | Failed: “Something went wrong / No image at the URL” |
| Pump photo, TinEye | 1 result: a Hebrew Wikipedia reuse, from 4 March 2012 |
| Pump photo, Bing | Misidentified as telescope-mirror cleaning; 1 page found |
| Miele catalogue, “Miele 700” | “No result was found for the search term” |
| Miele catalogue, “T. Wa. 700” | “No result was found for the search term” |
Read the table honestly and the lesson is clear. No engine found the source page of either photo. Lens was blocked on the plate and failed outright on the pump. TinEye searched 86.7 billion images and found nothing for the plate, and only one old reuse for the pump. Bing described the data plate accurately, it recognised the Mielewerke plates and the motor and voltage details, but listed zero pages carrying the image. On the pump it did worse: it called the photo a guide to cleaning a telescope mirror and matched it to round reflective objects. The pump photo is a tight, abstract close-up with no label and no scale, and the engines had nothing to grip.
That does not make the photos useless. It makes them useful in a different way. A data-plate photo is for your eyes and your supplier’s eyes, not for a search engine. You read the model number off it, and the supplier matches the number. A part photo works the same way: it shows the supplier the shape, the connector and the label, so they can confirm the part. A battery photo works the same way: our guide to identifying a battery type from a photo reads the shape, the printed code and the voltage so you buy the right replacement. Reverse image search is a good tool for naming an unknown object and finding listings that reuse a photo. It is a poor tool for reading a data plate or identifying a close-up of a component. Photograph the plate to read it yourself. Photograph the part to show it to someone who knows it.
What if the part is discontinued or the portal finds nothing?
A “no result” from a manufacturer’s catalogue does not always mean the part is gone. It can mean the search tool could not reconcile your input, especially on very old machines, our Miele 700 search returned nothing at all, not even a “no longer available” message. Work through the steps below before you give up.
- Re-check the model number character by character. Compare it against your photo of the plate, not your memory. O and 0, I and 1, and S and 5 are the usual suspects.
- Search by part number instead of model number. If the old part carries a number, that number is often more reliable than a faded label.
- Search by component function. Try “drain pump for [brand] washing machine” and filter by brand and series. This bypasses model-number indexing gaps.
- Try a cross-reference tool. Supplier catalogues map part numbers across brands and supersession chains, and they often hold the number your model search missed.
- Search by appliance series, not exact model. Some databases index at series level, so a Series 4 search can succeed where a single model search fails.
- Ask the supplier to run a compatibility check. Send them the plate photo and the part photo together, and ask for written confirmation that the part matches your model.
If all six steps fail, the part may genuinely be discontinued with no listed substitute. At that point your options are a used original part from a breaker or a specialist, a pattern part made to the same specification, or a generic equivalent, and that is where the visual verification in this guide becomes essential, because you are comparing the candidate against your old part with no catalogue to back you up. Measure everything, photograph the old part next to a ruler, and get the supplier’s confirmation in writing before you pay. For a machine as old as the Miele 700 in our test, the realistic route is a restorer or a specialist dealer, not the manufacturer’s catalogue.
Which jobs should you leave to a technician?
Finding the part from a photo is safe. Fitting it is a different question, and some parts should never be a DIY job. Never open a microwave: its capacitor can hold a dangerous charge even when the appliance is unplugged and switched off. Do not remove covers, disconnect wiring, release pressure or remove safety components solely to identify a part. If a part is wired in or pressurised, photograph it in place and stop there.
Electrical parts such as control boards, sensors and motors are technician work unless you are confident and the manufacturer instructions say otherwise. Gas parts are not a DIY photo-identification topic at all: if a gas appliance needs a part, the identification and the fitting both belong to a Gas Safe registered engineer. If anything goes wrong while you are working, a shock, a burn, a smell of burning, stop, unplug the appliance, and get help. Electrical Safety First’s first aid guidance sets out what to do if someone has had, or is getting, an electric shock, including never touching the person while they are still in contact with the source. When in doubt, the right spare part is the one a qualified person fits.
One last boundary: this guide covers appliances and household items. Vehicles have their own parts systems, their own catalogues and their own risks, and they are covered in our guide to identifying a car part from a photo. Use that guide for anything with an engine, and keep this one for the machines in your home. Once you have the right part number, verified against your model, you can compare prices and sellers, our guide to finding an item by image shows how to search by a photo of the product to check what a fair price looks like before you order.
FAQs
Can I find a spare part from a photo alone?
Yes, as a starting point, but not as the whole job. A photo can name the component and surface listings that reuse the same image, but it cannot confirm voltage, connector pins or dimensions. Photograph the data plate, read the model number, and verify the part number against that model before you pay.
What if the data plate is faded or missing?
Photograph it under bright side light and zoom in, wipe it gently with a damp cloth, and check your receipt, warranty card or manual, which often repeat the model and serial numbers. If the plate is gone entirely, send the supplier a photo of the appliance plus the part, and ask them to identify the model for you.
What does “superseded by” mean on a parts listing?
It means the manufacturer has retired the old part number and replaced it with a newer one. The replacement is not automatically compatible with every model that used the original, so check the supersession notice for the list of models the new number covers and confirm yours is on it before ordering.
Can I use a photo to identify a car part?
No, not with this guide. Vehicle parts use different catalogues, different part-number systems and different safety rules, and a wrong vehicle part can be dangerous. Use a dedicated car-part identification guide instead, and keep this guide for home appliances and household items only.