Quick Answer: Yes, a reverse image search on Chromebook is possible without installing an app. Right-click any image in Chrome and choose “Search image with Google,” or go to
Google Lens, upload an image, or paste an image URL. In most cases you will see matching and visually similar images within seconds.
A Chromebook is one of the easiest devices for a reverse image search, because the tool you need is already there. ChromeOS is built around the Chrome browser, and Chrome includes Google Lens, the visual search tool that can identify a picture, find where it first appeared, and show similar images. You do not need to download an Android app, install an extension, or switch to a Windows or Mac computer.
In this guide to reverse image search on Chromebook, you will learn four ways to search by image on a Chromebook, how to find the image file first, how Google Lens compares with TinEye, Yandex Images, and Bing Visual Search, and what to do when a search returns no useful results. If you are new to the idea, start with our
main guide to image search techniques, which explains how reverse image search works in general.
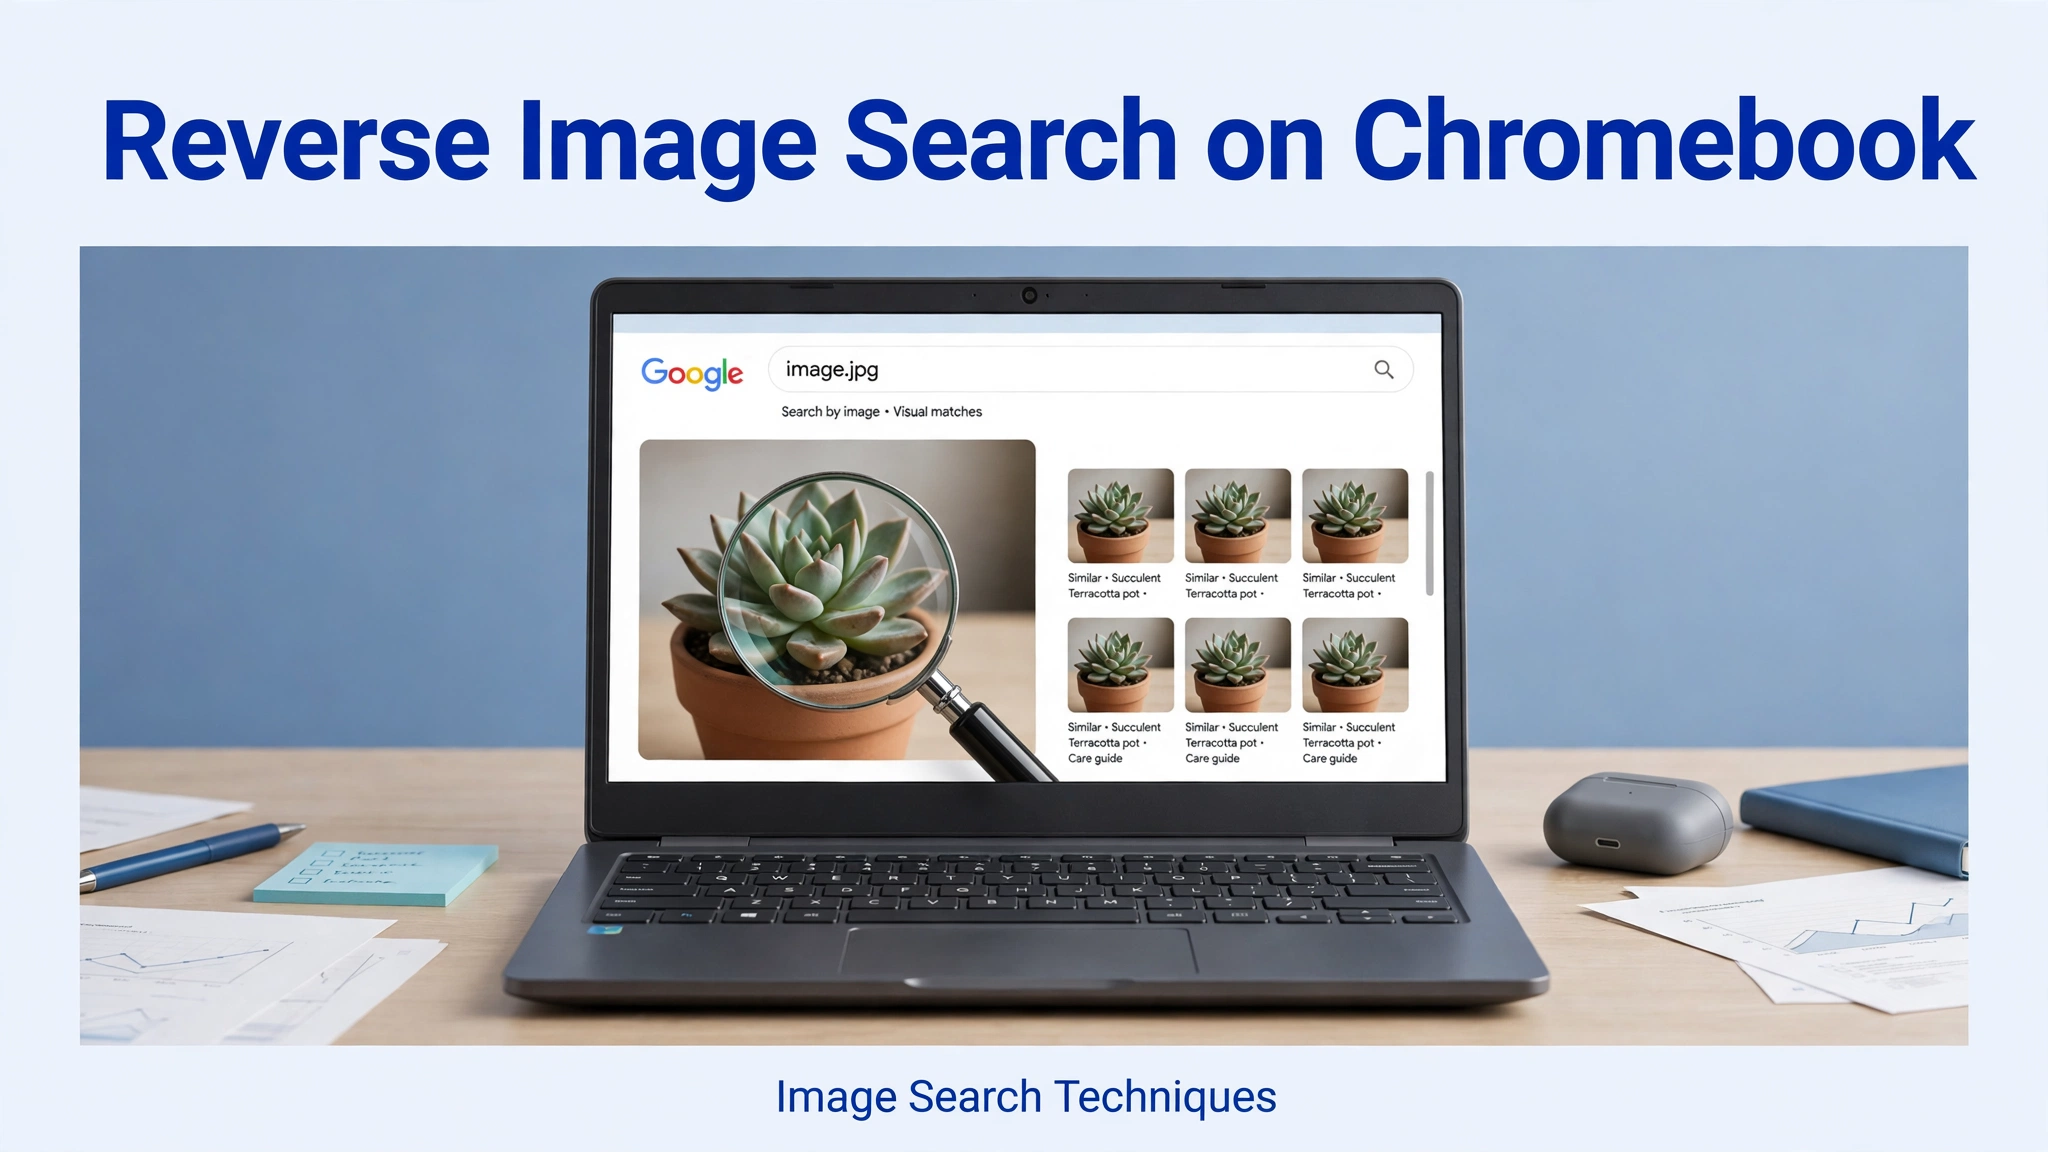
Method 1 — Right-click “Search image with Google” (Google Lens) in Chrome
This is the fastest method on a Chromebook, because you never leave the page you are already viewing. It works for almost any image on a website, a social media post, or a news article, and it takes only a few seconds.
- Open Chrome on your Chromebook and go to the page that contains the image.
- Move your cursor over the image you want to check.
- Right-click the image. On a Chromebook trackpad, tap with two fingers, or hold the Alt key and click with one finger.
- Choose “Search image with Google” from the menu that appears.
- Google Lens will open in a side panel or a new tab. It will highlight the image and show matching results, similar images, and, where available, the pages where the image appears.
- Use the crop handles in Lens to focus on one part of the image if the result is too broad. For example, crop to a single product, a face in a group photo, or a logo on a shirt.
- Click any result to open the source page and check whether it is the original, a repost, or a different version of the same picture.
The right-click method is ideal when you spot a photo while browsing and want a quick answer: is this picture real, where did it come from, and has it been used before? Because Lens searches the live web, it is especially useful for checking viral images, product photos, and profile pictures that may have been copied from elsewhere. If the menu does not show the option, see the troubleshooting section below, because some sites block right-clicking or serve images in a protected viewer.
Method 2 — Upload an image to Google Lens (lens.google.com)
Use this method when the image is already saved on your Chromebook, for example in your Downloads folder, on a USB drive, or in Google Drive. Uploading gives you more control, because you can choose exactly which file to search.
- Go to lens.google.com in Chrome.
- Click the upload area, or drag the image file from your Files app into the browser window.
- Choose the image from your Chromebook, then wait a moment while Lens analyses it.
- Review the results. Lens will show exact matches first, followed by visually similar images and related pages.
- Crop or adjust the selection if Lens picked up the wrong object, then look again at the refined results.
- Click a result to visit the page it came from and confirm the context, date, or seller.
Uploading works well for screenshots, saved memes, old photos, and pictures someone sent you. It also works for images that are not on a public web page at all, such as a photo you took with your Chromebook camera. Keep the original file if you can, because a full-size, clear image gives far better results than a small thumbnail or a photo of a screen. For more detail on the upload method on other devices, see our guide to
reverse image search on iPad, which uses the same Lens upload idea in a different browser.
Method 3 — Search by image URL
If the image is already online but you cannot right-click it, searching by its URL is a useful alternative. You do not need to download the file first, which is handy on a school or work Chromebook where downloads may be restricted.
- Find the image on a website and copy its image address. Right-click the image and choose “Copy image address,” or long-press it on a touchscreen Chromebook.
- Go to lens.google.com in Chrome.
- Choose the option to paste an image link or search by URL, if shown, and paste the address you copied.
- Press Enter or click Search, then wait for Lens to load the image and show its results.
- Compare the results with the page where you found the image, and open the most credible source to check the original context.
A URL search is also the safest option for a sensitive picture, because you are not uploading a private file to a search engine. If the image is behind a login, on a private account, or hosted on a site that blocks hotlinking, the URL method may fail. In that case, download the image if you have permission to do so, or take a screenshot and upload that instead.
Method 4 — Try TinEye and Yandex Images on a Chromebook
Google Lens is the best starting point, but it is not the only engine. TinEye and Yandex Images sometimes find matches that Google misses, especially for older images, stock photos, and pictures that have been cropped or edited. Both work in the Chrome browser on a Chromebook, with no app to install.
- Go to TinEye and upload your image or paste its URL. TinEye is strong at finding exact and near-exact copies, and it can sort results by oldest first, which helps when you want the original source.
- Go to Yandex Images, click the camera icon, and upload your image or paste its URL. Yandex is often good at finding similar images and different sizes of the same picture.
- Also try Bing Visual Search by uploading an image or pasting a URL. Bing can be useful for products, landmarks, and shopping results.
- Compare the results from at least two engines before you draw a conclusion. If one engine finds nothing, another may find the source.
Trying a second engine takes only a minute, and it can change the answer completely. A photo that returns no match in Lens may appear in TinEye because it was indexed years ago, while a heavily cropped image may be recognised more easily by Yandex. Keep notes on which engine found the best result, so you can go straight to it next time.
Finding the image file on a Chromebook first
Before you can upload an image, you need to know where it is stored. Chromebooks keep files in the Files app, and most downloads and screenshots go to predictable places.
- Open the Files app from the shelf or the Launcher, then open the Downloads folder. Most images you save from the web land here.
- Check Google Drive in the Files app if you, or someone else, saved the image to the cloud rather than to the device.
- To save an image from a website, right-click it and choose “Save image as,” then pick Downloads and remember the file name.
- To take a screenshot, press Ctrl + Show windows, then drag to select the area you want. The screenshot is saved in Downloads by default.
- To photograph a physical picture, open the Camera app, take the photo, and find it in Downloads or in the Camera folder.
- Give the file a clear name, such as “blue-jacket-shop-photo.jpg,” so you can find it again quickly in Lens or TinEye.
If you cannot find a file, use the search box in the Files app and type part of the file name, or sort Downloads by date and look for the most recent items. Files saved from an Android app on a Chromebook may be in a separate folder, so check the “Play files” section if the image does not appear in Downloads.
Comparison table
Each engine has a different strength. Use this short comparison to pick the right one for your search.
| Tool |
Best for |
Needs upload |
Free |
| Google Lens |
Everyday searches |
No, right-click works |
Yes |
| TinEye |
Finding originals |
Yes, or URL |
Yes |
| Yandex Images |
Similar images |
Yes, or URL |
Yes |
| Bing Visual Search |
Products, landmarks |
Yes, or URL |
Yes |
Troubleshooting
No right-click option. Some websites disable right-clicking, and some image viewers use a format Lens cannot read directly. Try opening the image in a new tab, saving it and uploading it to Lens, or searching by its URL instead. If you are on a school Chromebook, the option may also be disabled by an administrator.
Image too small or blurry. A tiny thumbnail, a heavily compressed image, or a photo of a screen rarely gives a good match. Use the largest version you can find, crop out distracting background, and avoid screenshots of screenshots. If the picture is blurry, try a different engine, because each one handles low-quality images differently.
No results. No results does not always mean the image is original. It may be new, private, or not yet indexed. Try cropping to the main subject, try TinEye or Yandex, and search with a few words that describe the image as well. Also check that the file uploaded completely and that you did not accidentally search a blank or cropped area.
Upload fails. Check the file size and format first. Very large files, unusual formats, and corrupted downloads can fail to upload. Convert the image to JPG or PNG if needed, try a smaller copy, and check your internet connection. On a managed Chromebook, uploads to some sites may be blocked, in which case the right-click or URL method may still work.
Privacy and safety
Reverse image search is a powerful tool, but it involves sharing a picture with a search engine, so use it with care. Avoid uploading private photos, pictures of children, identity documents, medical images, or anything that could identify you or someone else. If you only need to check a public image, the right-click or URL method is usually enough, and you do not need to upload a personal file at all.
For sensitive images, prefer a URL search, crop out faces and personal details before you upload, and delete uploads where the service allows it. Remember that a photo can reveal more than you expect: a background, a name tag, a number plate, or a location can all be visible in the results. Never use reverse image search to harass, stalk, or identify a private person, and never upload a photo that belongs to someone else without a good reason. If you are checking a profile picture or a dating profile, stick to public information and treat the result as a clue, not proof, until you have checked the original source.
FAQ
Can you reverse image search on a Chromebook without an app?
Yes. A reverse image search on Chromebook works in Chrome with Google Lens: right-click an image and choose “Search image with Google,” or upload an image at lens.google.com. No app or extension is needed.
Does it work on a school Chromebook?
Usually, yes, but school settings can block right-clicking, downloads, or some websites. If one method is blocked, try the URL method, or ask your teacher or administrator which search tools are allowed.
Why is the right-click option missing?
The site may have disabled right-clicking, the image may be in a protected viewer, or your Chromebook may be managed with restrictions. Open the image in a new tab, save it, or search by its URL instead.
Which engine is best?
Google Lens is the best starting point for most searches on a Chromebook. TinEye is often better for finding the oldest copy, while Yandex Images can be better for similar images. Try two engines for important checks.
Can I search a screenshot?
Yes. Take a screenshot with Ctrl + Show windows, find it in Downloads, and upload it to Google Lens, TinEye, or Yandex Images. Crop the screenshot to the image itself for the best results.
Is it free?
Yes. Google Lens, TinEye, Yandex Images, and Bing Visual Search all offer free reverse image search in the Chrome browser, with no payment or app install required.
Related guides
To learn more, read our
main guide to image search techniques, our guide to
reverse image search on iPad, and our guide to
reverse image search on Firefox. Each one covers the same core methods on a different device or browser, so you can use whichever device is in front of you.
Ready to try it? Go to the
Image Search Techniques homepage and try the free reverse image search tool. Upload a picture, paste an image URL, or start with the image you have open right now, and see what the web already knows about it.
Related guides



