


🔎 Reverse Image Search
Image search techniques made simple: upload a photo or paste a URL and search 6 engines at once. 100% free, nothing stored.
🔒 Your image is never stored on our servers longer than 24 hours and is never shared.
Quick Answer
To reverse image search on Firefox, right-click any image and choose “Search Image with Google” (in newer Firefox versions), or install a free extension such as “Search by Image” from Mozilla Add-ons, or open lens.google.com and upload the image. All three methods work on desktop Firefox, and the manual upload method also works on Firefox for Android.
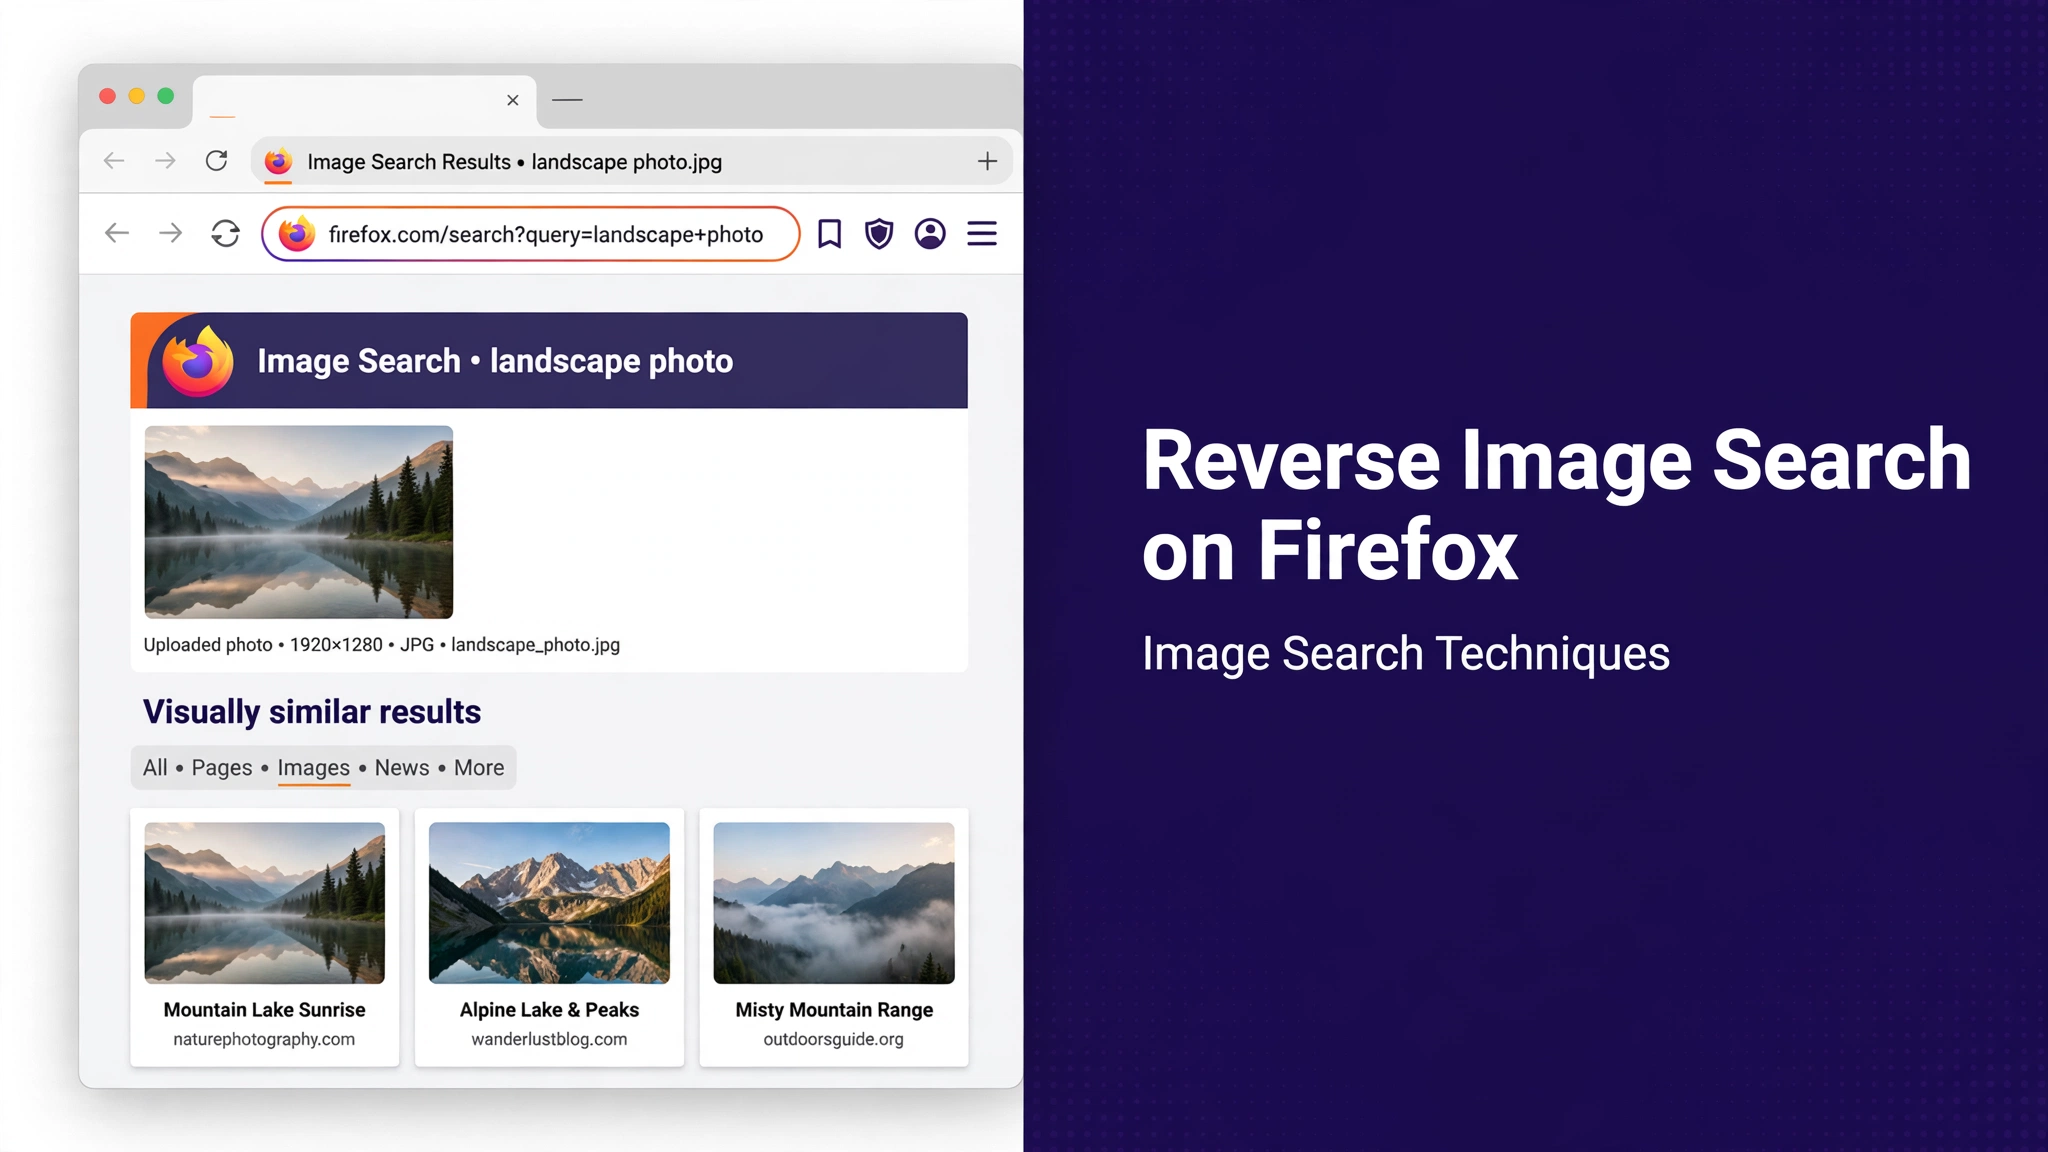
Why Firefox Makes Reverse Image Search Easy
Firefox is one of the best browsers for reverse image search because it gives you three routes to the same result: a built-in right-click search, free extensions that add more engines, and the manual upload method that works everywhere. You do not need to install a separate app or switch browsers. If you already use Firefox as your daily browser, you can check the source of any photo in a few seconds without leaving the page you are on. Firefox also respects your privacy more than most browsers. It blocks many third-party trackers by default, and when you search by image the photo goes to the search engine you choose, not to Firefox itself. That matters when you are checking a photo someone sent you, a profile picture that looks suspicious, or an image you want to reuse and need to credit properly. In this guide you will learn the built-in method first, then the extension method for power users, then the manual method that works on any device. The steps below were written for the current desktop version of Firefox, with notes for Firefox on Android and iOS where the steps differ.Method 1: Use the Built-in Right-Click Search in Firefox
Newer versions of Firefox include a built-in image search option in the right-click menu. It is the fastest method because there is nothing to install.Step-by-step
- Open Firefox and go to the page with the image you want to check.
- Right-click the image to open the context menu.
- Click “Search Image with Google” (the wording may vary slightly by Firefox version).
- A new tab opens with Google Lens results for that image.
- Scroll through the results to find visually similar images and pages that use the same photo.
- Click “Find image source” or a matching result to open the page where the image appears.
Method 2: Install a Reverse Image Search Extension
Extensions add more search engines to your right-click menu, so you can search the same image with Google Lens, TinEye, Yandex and Bing without uploading it four times. This is the best option if you check images often.Step-by-step
- In Firefox, open the menu (three lines, top right) and click “Add-ons and themes”.
- Search for “Search by Image” and open the extension page on addons.mozilla.org.
- Click “Add to Firefox”, then “Add” when Firefox asks for permission.
- Go to any page with an image, right-click it, and hover over “Search by Image”.
- Pick an engine — Google Lens, TinEye, Yandex Images or Bing Visual Search.
- A new tab opens with that engine’s results for the image.
Which extension should you choose?
A simple extension that only adds search engines is enough for most people. Avoid extensions that ask for permission to read all your browsing data or that promise to identify people in photos. A reverse image search extension only needs permission to read the image you right-click. If an extension asks for more, pick a different one. You can remove any extension at any time from the Add-ons and themes page.Method 3: The Manual Upload and URL Method (Works Everywhere)
The manual method needs no extension and no built-in menu option. It works in Firefox on Windows, Mac, Linux, Android and iOS, which makes it the most reliable option when the other two methods are not available.Search by uploading an image
- Save the image to your device, or take a screenshot of it.
- Open Firefox and go to https://lens.google.com.
- Click the camera icon in the search box.
- Choose “Upload a file” and select the saved image.
- Wait for Google Lens to show matching and similar images.
- Click a result to open the page that uses the image.
Search by image URL
- Right-click the image on the web page and choose “Copy Image Link”.
- Open https://lens.google.com in a new tab.
- Click the camera icon, then paste the copied link into the URL field.
- Press Enter and review the results.
Reverse Image Search on Firefox for Android and iOS
Firefox on mobile does not have the same right-click menu, so the manual method is the one to use. On Android, long-press an image to save it, then open lens.google.com in Firefox and upload it. You can also use the “Desktop site” option in the Firefox menu if the upload button does not appear on the mobile page. On iOS, Firefox uses the same manual method: save the image to Photos, then open lens.google.com and upload it. TinEye also has a mobile-friendly upload page at tineye.com that works in Firefox on iOS. If you check images often on your phone, bookmark lens.google.com and tineye.com in Firefox so they are one tap away.Which Search Engine Should You Pick?
Different engines find different things, so trying more than one often finds the source when the first engine fails. Use the table below to choose.Quick comparison
| Engine | Best for | Cost | Needs upload |
|---|---|---|---|
| Google Lens | Exact matches, products | Free | Yes, or URL |
| TinEye | Oldest copy, exact copies | Free | Yes, or URL |
| Yandex Images | Faces, similar photos | Free | Yes, or URL |
| Bing Visual | Similar images, shopping | Free | Yes, or URL |
Troubleshooting: When Reverse Image Search in Firefox Does Not Work
The right-click option is missing
Update Firefox to the latest version. If it is still missing, the built-in option may not be available in your region yet — use the extension or manual method instead.The extension does not appear in the menu
Restart Firefox after installing the extension. If it still does not appear, check that the extension is enabled on the Add-ons and themes page.Lens says it cannot read the image
The file may be corrupted or in an unusual format. Try saving it as a JPG or PNG, or take a screenshot of it and upload the screenshot.No results, or only unrelated results
Crop the image to the main subject and remove text, borders or watermarks, then search again. A cleaner, tighter crop often changes a failed search into a match. If one engine finds nothing, try TinEye and Yandex Images before giving up.The image is too small or blurry
Enlarge it first if you can, or search for a larger copy of the same picture. A tiny or heavily compressed image gives every engine very little to match.The page blocks right-clicking
Some sites disable the right-click menu. Take a screenshot of the image instead, then upload the screenshot to Google Lens.Privacy and Safety in Firefox
Reverse image search uploads the image to a search engine, so do not upload private photos of yourself, your family or your home, and never upload a photo of a child. Use the URL method instead when the image is already public on a website, because then nothing leaves your device. Firefox’s Enhanced Tracking Protection blocks many trackers on the pages you visit, but it does not stop a search engine from keeping the image you upload, so treat every upload as public. Also be careful about what the results tell you. A photo can be used out of context, and a match does not prove who a person is. Never use reverse image search to identify a private individual, harass someone, or dox them. Use it to verify sources, check your own work, and spot scams and stolen photos.Frequently Asked Questions
Does Firefox have a built-in reverse image search?
Yes. Newer versions of Firefox include “Search Image with Google” in the right-click menu, which opens Google Lens results for the image. If your version does not show it, update Firefox or use an extension or the manual upload method.What is the best reverse image search extension for Firefox?
The “Search by Image” extension from Mozilla Add-ons is a good choice because it adds Google Lens, TinEye, Yandex Images and Bing Visual Search to your right-click menu. Pick an extension that only asks for the permissions it needs.Can I reverse image search on Firefox for Android?
Yes. Save the image, open lens.google.com in Firefox, tap the camera icon and upload it. The built-in right-click menu is not available on mobile, so the manual method is the way to go.Is reverse image search on Firefox free?
Yes. The built-in search, the extensions listed here, Google Lens, TinEye and Yandex Images are all free for basic image searches. You do not need to pay or create an account for a normal search.Can I search by image URL in Firefox without downloading the image?
Yes. Right-click the image, choose “Copy Image Link”, then paste the link into the camera search box on lens.google.com. The search engine fetches the image from the page, so nothing is uploaded from your device.Why does reverse image search find no results in Firefox?
The image may be too small, blurry, cropped or new, or the engine may not have indexed it yet. Try a cleaner copy, crop to the main subject, and try another engine such as TinEye or Yandex Images before you conclude the image has no source.Related Guides
- Reverse image search techniques: our complete main guide to finding the source of any photo: https://imagesearchtechniques.co.uk/image-search-techniques/
- How to reverse image search on Telegram: https://imagesearchtechniques.co.uk/reverse-image-search-on-telegram/
- How to reverse image search on TikTok: https://imagesearchtechniques.co.uk/tiktok-reverse-image-search/
- How to reverse image search on Snapchat: https://imagesearchtechniques.co.uk/reverse-image-search-on-snapchat/
- How to find your doppelganger with reverse image search: https://imagesearchtechniques.co.uk/how-to-find-your-doppelganger/
