


🔎 Reverse Image Search
Image search techniques made simple: upload a photo or paste a URL and search 6 engines at once. 100% free, nothing stored.
🔒 Your image is never stored on our servers longer than 24 hours and is never shared.
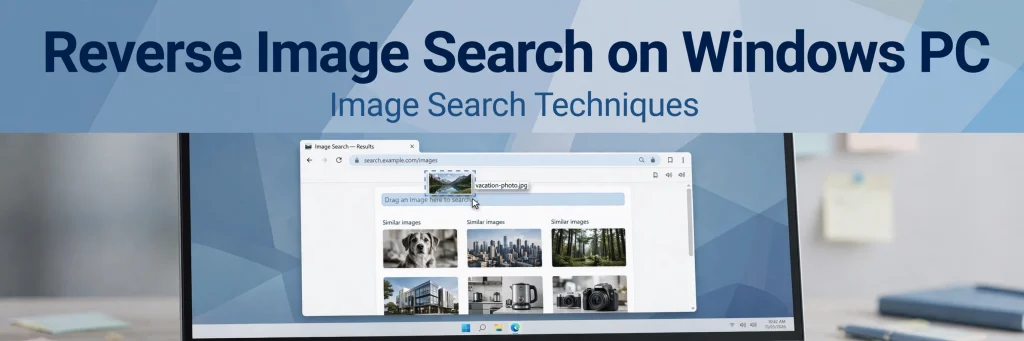
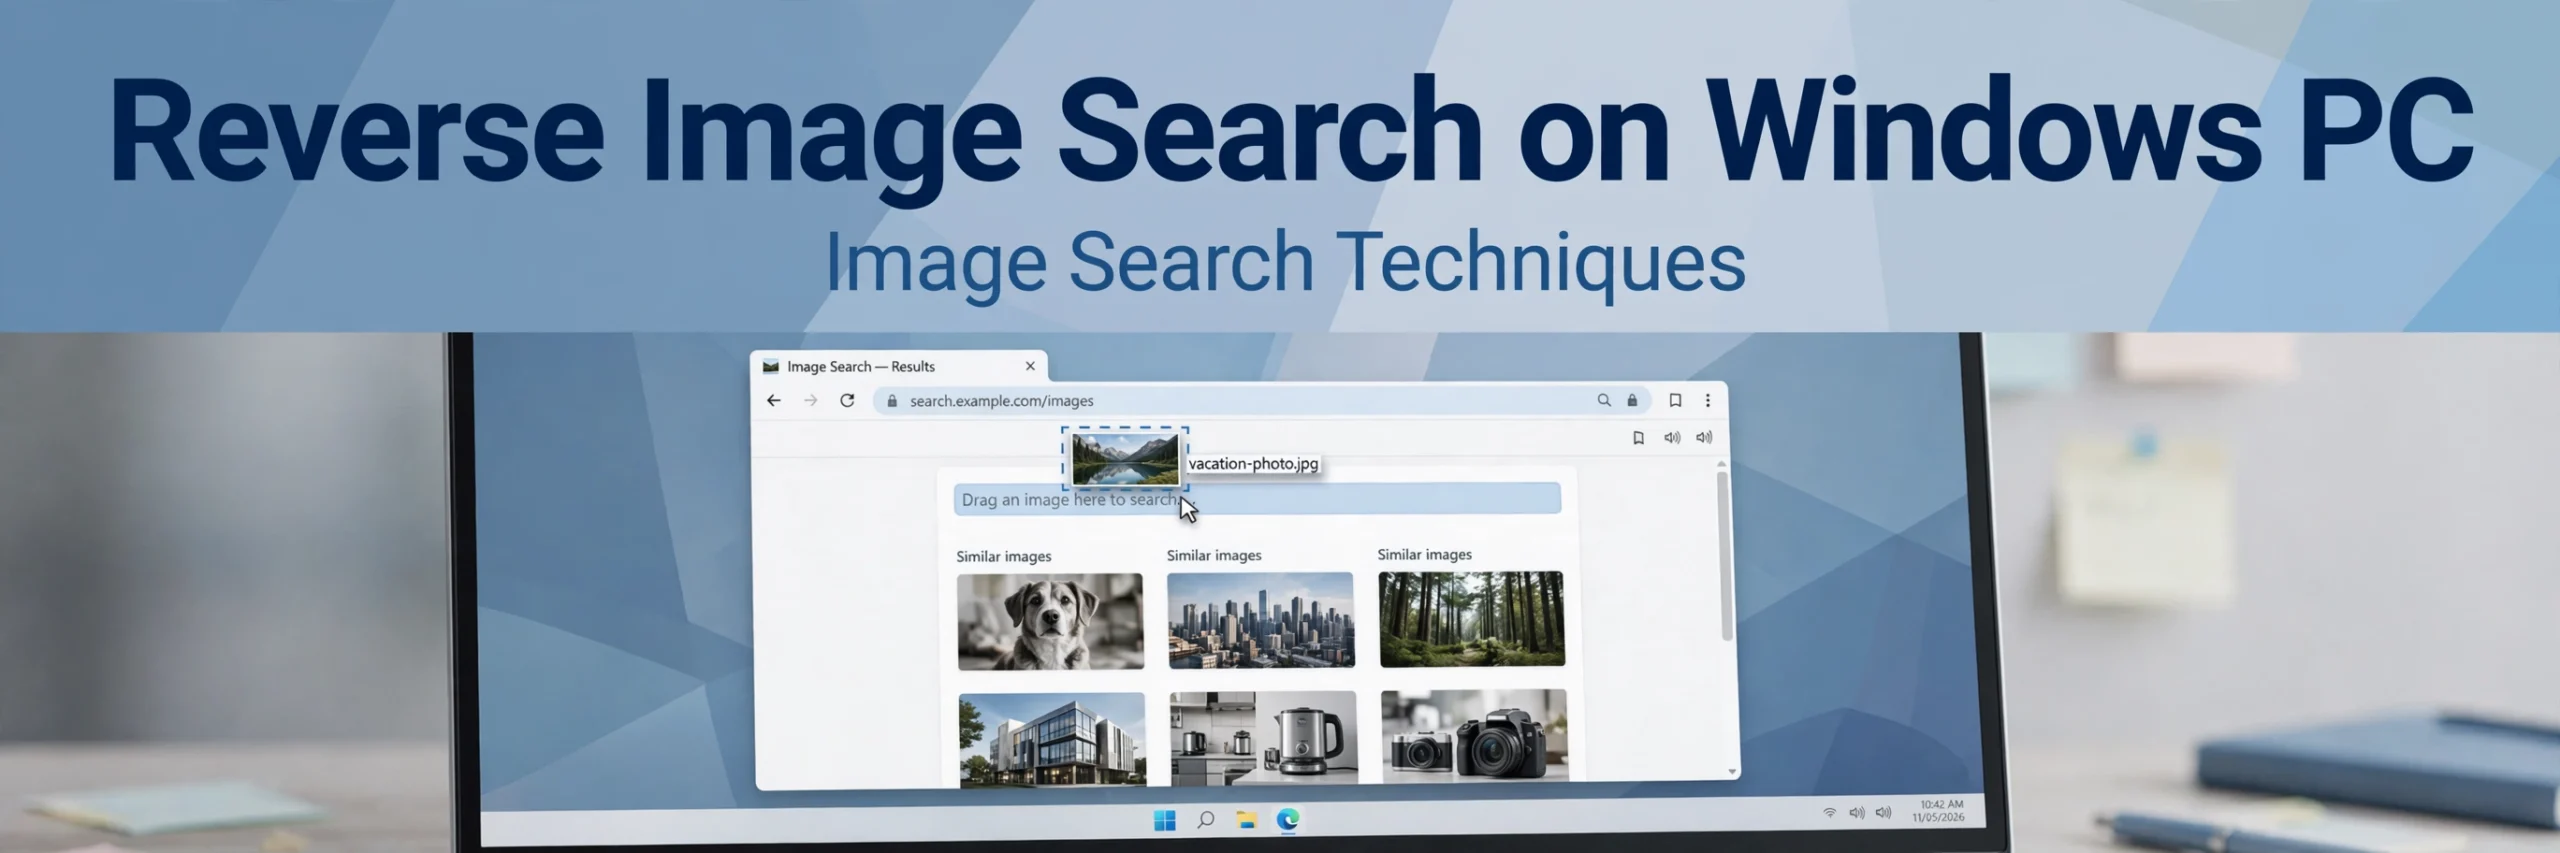
Quick Answer: On a Windows PC you need no app to reverse image search. In Chrome or Edge, right-click an image and choose “Search image with Google Lens.” Or go to lens.google.com and upload the image, or paste an image URL. If Lens finds nothing, try TinEye, Yandex Images, and Bing Visual Search.
That short answer covers most cases. The rest of this guide shows each method step by step, explains how to save an image properly before you search it, and helps you fix the common problems that make a search return nothing useful. You do not need to install a new program, sign up for a service, or change your browser to get started. A modern Windows PC and an internet connection are enough.
Method 1: Right-click in Chrome and Edge
This is the fastest method when the picture is already open in your browser. Google Lens is built into Chrome, and Microsoft Edge has its own visual search option. You stay on the same page, and the results open in a new tab so you do not lose your place.
Steps in Google Chrome
- Open the web page that contains the image in Chrome.
- Right-click the image you want to identify.
- Choose “Search image with Google Lens.”
- Wait for Lens to analyse the picture and show visually similar images.
- Click a result to open the page where that image appears, or use the side panel to refine the search.
- If you want to search only part of the picture, drag the selection box around that area.
Chrome may ask you to confirm the search the first time you use it. After that, the option appears in the right-click menu for most ordinary images. It works best with clear photographs, product pictures, logos, landmarks, and artwork. Very small thumbnails, heavily cropped pictures, and images with large amounts of text can be harder for Lens to match.
Steps in Microsoft Edge
- Open the web page that contains the image in Edge.
- Right-click the image you want to identify.
- Choose “Search image” from the menu.
- Review the visual search results in the side panel or new tab.
- Click a result to visit the source page, or try a different result if the first match is only similar, not identical.
Edge’s visual search is convenient because you do not need to download anything first. If the “Search image” option is missing, the image may be protected, inside a video player, or part of a page that blocks right-clicking. In that case, use Method 2 and upload a saved copy instead.
Method 2: Upload a photo at lens.google.com
Uploading is the best choice when the picture is on your computer, in your Downloads folder, or attached to an email. It also works when right-click search is unavailable. You can upload almost any common image file, including JPG, PNG, and WebP files.
- Go to lens.google.com in any modern browser.
- Click the upload icon, or drag the image into the upload area.
- Choose the image file from your Windows PC and click Open.
- Wait while Lens analyses the image and loads matching results.
- Browse visually similar images, web pages that contain the image, and any text Lens recognised in it.
- Click a result to check the original source, a larger version, or related information.
For the best results, upload the largest, clearest version you have. A sharp original photograph will usually match far better than a compressed thumbnail copied from a social media feed. If your image is a screenshot, crop it tightly to the subject before uploading, and remove unrelated menus, borders, or captions when you can.
Method 3: Search by image URL
Searching by URL is useful when you do not want to download the image, or when you are working on a shared computer. You only need the direct link to the image file itself, not the link to the web page that contains it.
- Right-click the image on a web page and choose “Copy image address” or “Copy image link.”
- Go to lens.google.com.
- Choose the URL or link option if it is offered, and paste the copied address.
- Press Enter or click Search, then wait for the results to load.
- Open a result to confirm whether it is the same image or only a similar one.
If the URL search returns an error, check that you copied the image address, not the page address. A page address usually ends in a word or a slash, while an image address usually ends in .jpg, .png, .webp, or a similar file type. Some websites block direct image links, so if a URL search fails, save the image and try Method 2 instead.
Method 4: Try TinEye, Yandex Images and Bing Visual Search
No single search engine finds every image. Different services index different parts of the web, so a picture that is invisible to one tool may be easy for another to find. Try them in order, and compare the results before you decide which match is correct.
TinEye
- Go to TinEye and click Upload, or paste an image URL.
- Choose your image file and wait for TinEye to scan its index.
- Review exact matches first, then use the filters to sort by oldest or newest result.
TinEye works best when you need to find where an image first appeared, or whether the same picture has been used on many websites. It is especially useful for checking older images and for finding unedited copies of a photograph.
Yandex Images
- Go to Yandex Images.
- Click the camera icon to upload an image or paste an image URL.
- Review similar images and pages that contain the same picture.
Yandex Images works best for faces, landmarks, products, and images that appear widely across international websites. Its similar-image results are often strong when Google Lens returns only loosely related pictures.
Bing Visual Search
- Go to Bing Visual Search.
- Click the visual search icon and upload an image or paste a URL.
- Browse matching images, related products, and pages that use the picture.
Bing Visual Search works best as a quick second opinion, and for product and shopping images. If Lens and TinEye both fail, Bing may still find a product listing, a news article, or a stock photo page that explains the image.
| Tool | Best for | Watch out |
|---|---|---|
| Google Lens | Fast, everyday searches | Weak on rare images |
| TinEye | First use, exact matches | Smaller image index |
| Yandex Images | Similar images worldwide | Results may vary |
| Bing Visual Search | Products, second opinion | Fewer exact matches |
Saving images properly on Windows first
A good search starts with a good copy of the image. Many failed searches are caused by a low-quality file, not by the search engine. Take a few seconds to save the picture correctly before you upload it.
Right-click the image and choose “Save image as,” then save it to a folder you can find again, such as Pictures or Downloads. Keep the original file name when you can, and avoid saving a thumbnail when a larger version is available. If a page offers a “view full size” or “open image in new tab” option, use it first, then save that larger version. Avoid screenshots of thumbnails, because enlarging a tiny picture does not add detail; it only makes blur and compression more obvious. Use the original file whenever possible, and do not add filters, heavy cropping, or text over the subject before you search. If you must crop, keep the main subject large and clear, and leave some background around it so the search engine can use context as well as shape and colour.
Troubleshooting
- No results: Try a larger or clearer version of the image, then try TinEye, Yandex Images, and Bing Visual Search. Crop tightly to the subject and remove borders or captions.
- Upload fails: Check your internet connection, try a smaller file, and convert an unusual format to JPG or PNG. Try a different browser if the upload button does not respond.
- Lens button missing in Chrome: Update Chrome, restart the browser, and right-click a different image. Some protected pages, videos, and web apps do not offer the right-click Lens option; upload a saved copy at lens.google.com instead.
- Image too small: Find the original or a larger version, and do not enlarge a tiny thumbnail before uploading. If only a small version exists, crop to the subject and accept that results may be similar rather than exact.
- Results in the wrong language: Use the search engine’s language or region settings, add a short English keyword to the text search, and open the source page in your browser’s translation tool if needed. The image match matters more than the language of the first results page.
Privacy and safety
When you upload a photo for a reverse image search, your uploaded photo is sent to the search engine you choose. That service analyses the image and compares it with its index. Do not upload private photos, identity documents, medical images, or other people’s sensitive photos. Even a harmless-looking picture can contain location details, faces, licence plates, or personal information in the background. Check the image before you upload it, and delete uploads where possible. If a service offers a search history or upload history, clear it after you finish, especially on a shared or public computer. For personal photographs, prefer the right-click method on a page you already trust, or search with a similar public image instead of your private original.
Frequently asked questions
Do I need to install an app?
No. On a Windows PC, you can use Chrome, Edge, or another browser to search by image. No app is required for Google Lens, TinEye, Yandex Images, or Bing Visual Search.
Does it work in Firefox too?
Yes. Firefox does not have the same built-in right-click Lens option, but you can still upload an image at lens.google.com, or use TinEye, Yandex Images, and Bing Visual Search in Firefox.
Why does Lens show no results?
Lens may show no results if the image is too small, too blurry, heavily edited, or not indexed by Google. Try a larger original, crop to the subject, and check another search engine.
Can I search a screenshot?
Yes, but results are better when the screenshot is sharp and tightly cropped to the subject. Remove menus, cursors, and unrelated screen elements before you upload it.
Is reverse image search on Windows free?
Yes. The basic image search features of Google Lens, TinEye, Yandex Images, and Bing Visual Search are free to use in a browser, with no app purchase required.
Is my photo stored?
That depends on the service and your account settings. Your uploaded photo is sent to the search engine for analysis, so avoid private or sensitive images and delete uploads or history where the service allows it.
Related guides
For a broader overview, start with the main image search techniques guide, and try the free reverse image search tool on the homepage. If you use Chrome every day, see the reverse image search on Chrome guide. Mac users can follow the reverse image search on Mac guide, and if Lens is not enough, compare the options in the Google Lens alternatives guide.
Try the free tool on the homepage today: upload an image, check its source, and find the original in minutes, with no app needed.
