Quick Answer
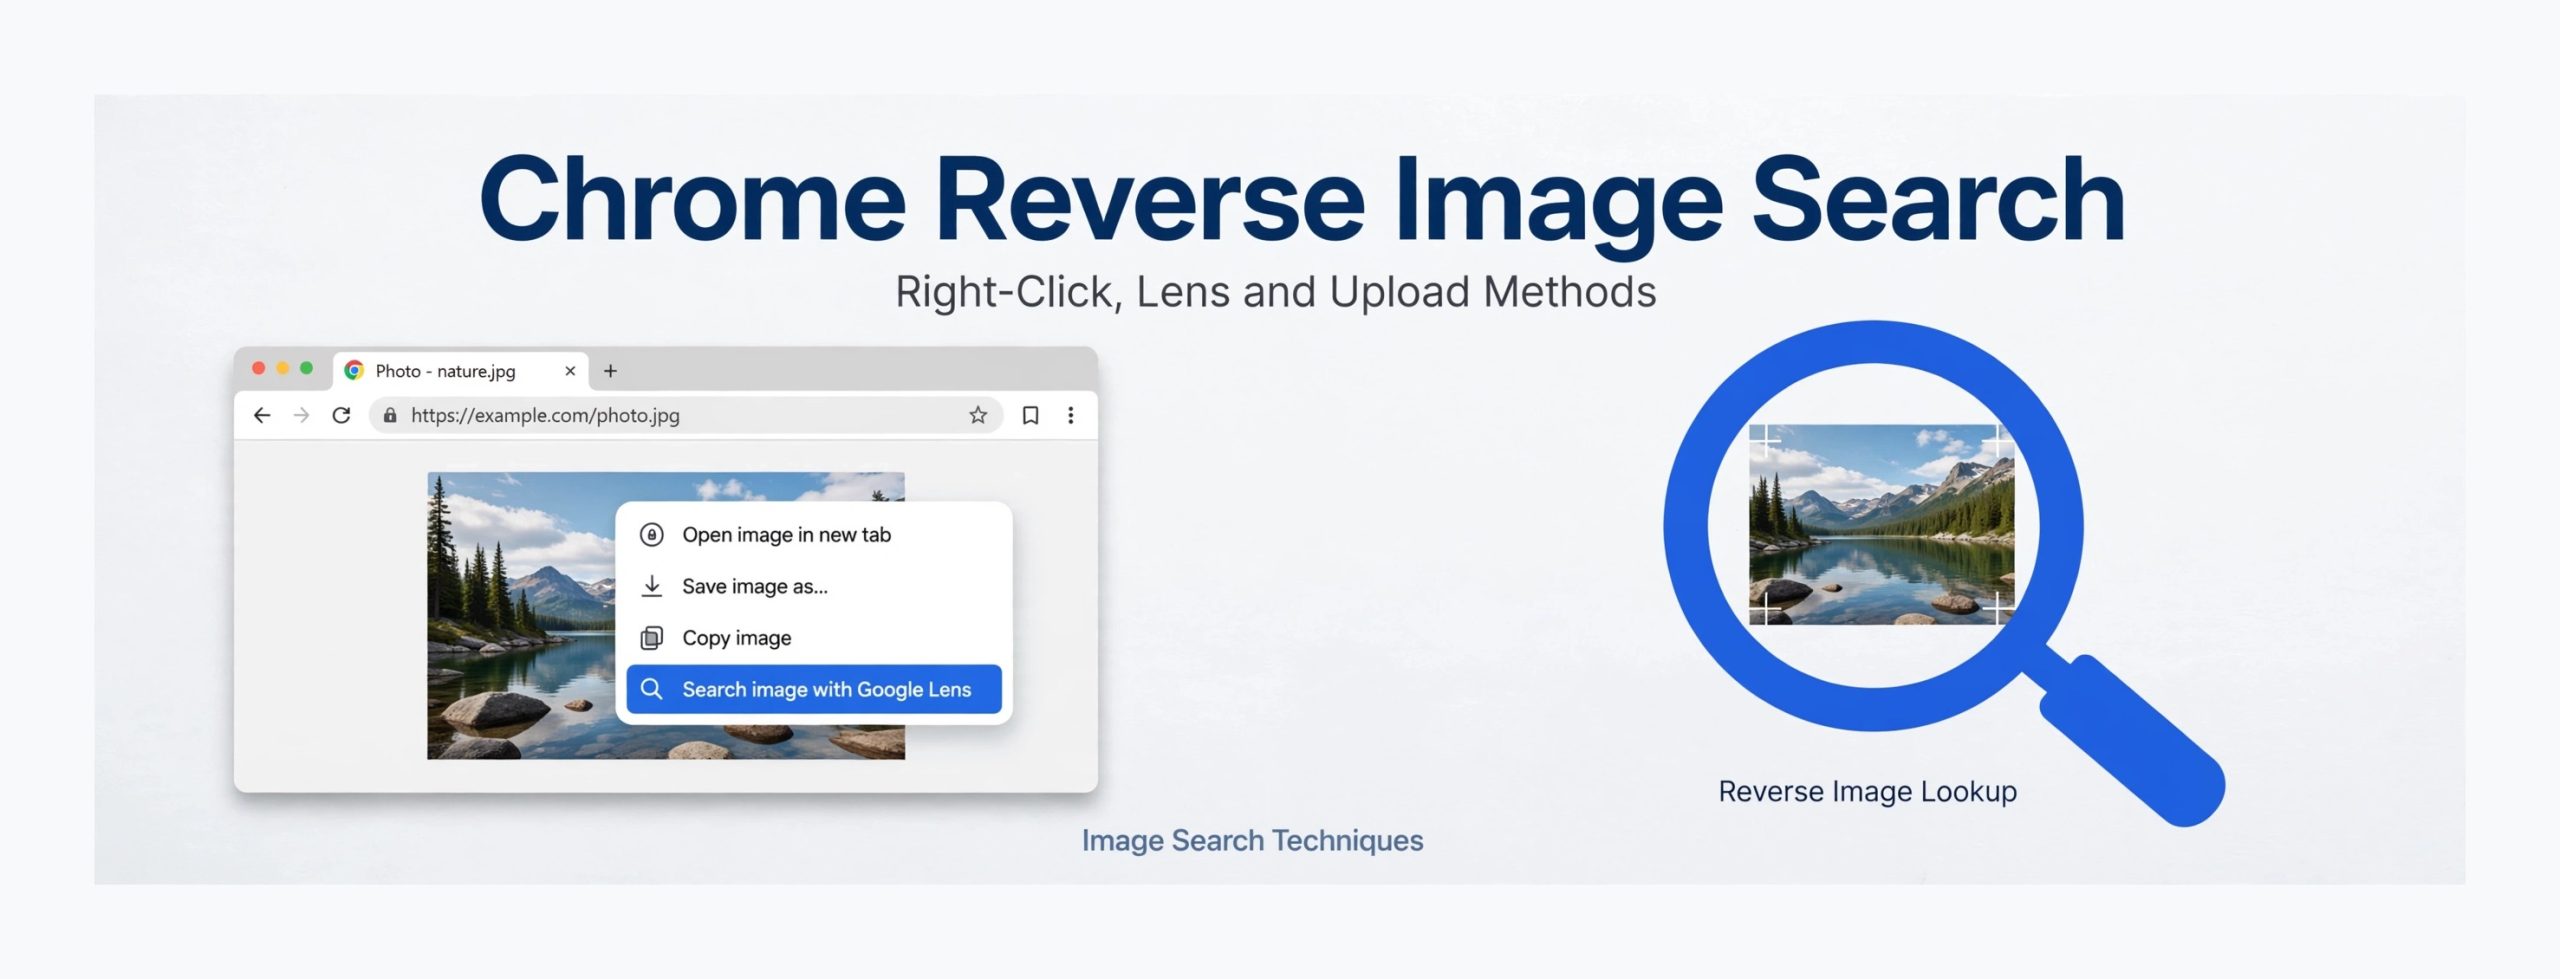
To do a reverse image search on Chrome, right-click any image on a web page and choose Search image with Google Lens. You can also open
Google Lens, upload a photo, or paste an image URL to find visually similar images, matching pages, and possible sources in seconds.
Reverse image search on Chrome is one of the fastest ways to identify a picture, check where it came from, or find a larger or clearer version. Chrome builds Google Lens directly into the browser, so you do not need to install an extension or download a separate app to start. Whether you are checking a product photo, a profile picture, a meme, or a photograph you took yourself, the process takes only a few clicks. This guide explains every reliable method in Chrome on desktop and mobile, shows how to refine your results, and helps you avoid common problems.
If you are new to this kind of search, start with the
complete image search techniques guide for a broader overview. It explains how visual search works and when it is more useful than a normal text search. For a quick check without leaving this site, you can also try the
free reverse image search tool on the homepage before you move on to the detailed methods below.
What Reverse Image Search Does in Chrome
A reverse image search works in the opposite direction from a normal search. Instead of typing words and getting pictures, you provide a picture and Chrome looks for pages, products, and visually similar images that match it. Google Lens analyses shapes, colours, text, objects, and patterns in the picture, then compares them with images indexed on the web. That is why it can often identify a landmark, a plant, a product, or a well-known artwork even when you do not know its name.
The results usually include exact matches, visually similar images, and pages that contain the same picture. On many results you will also see shopping links, related searches, and information about the object in the image. Results are strongest for public, widely shared, or commercially available images. A private photo that has never been published online will rarely return an exact match, although Lens may still identify objects, text, or places shown in it.
Method 1: Right-Click an Image and Search with Google Lens
This is the fastest method when the picture is already open in Chrome on a computer. It works on most websites and does not require you to save the image first.
- Open the web page that contains the image in Chrome.
- Right-click the image you want to check.
- Choose Search image with Google Lens from the menu.
- Wait for the Lens panel to open on the right side of Chrome.
- Review the matches, similar images, and source pages shown in the panel.
- Click any result to open it in a new tab and check it in full.
If you only want part of the picture, drag the selection box in the Lens panel around the object that matters. Lens will search again using only that cropped area. This is especially useful when a photo contains several objects, people, or a busy background that confuses the first result.
Method 2: Upload a Photo at Google Lens
Use this method for a photo saved on your computer, a screenshot, or a picture you received by email or messaging. It is also the best option when right-clicking is not available.
- Open Google Lens in Chrome.
- Click the upload area and choose the image from your computer.
- Wait for Lens to analyse the image and show its matches.
- Use the selection tool to crop to the most important part of the image if needed.
- Open the most relevant result and compare it carefully with your original picture.
For the best results, upload a clear, well-lit image that is not heavily cropped or compressed. A blurry screenshot of a small thumbnail will often return generic matches. If you have the original file, use that instead of a photo of your screen. You can also learn about other tools in our guide to
Google Lens alternatives if Lens does not return a useful match.
Method 3: Search by Image URL
Searching by image URL is useful when you do not want to download a picture, or when you are working with an image hosted on another website. You only need the direct link to the image file.
First, right-click the image in Chrome and copy its image address. Then open
Google Lens, choose the option to paste an image link, and paste the address you copied. Lens will fetch the image from that address and search for matches in the same way as an upload. If the site blocks direct access, the search may fail, in which case saving the image and uploading it manually is a better option.
This method is also handy for checking an image you found in a news article or a social media post. Our
source finder guide explains how to trace an image back to its earliest published version and how to judge whether a claimed source is reliable.
Method 4: Reverse Image Search in Chrome on Android and iPhone
Chrome on mobile uses the same Lens technology, but the gesture is different because there is no right mouse button. The steps below work on both Android and iPhone, although the exact menu wording can vary slightly by Chrome version.
- Open the image or web page in the Chrome app.
- Long-press the image until the menu appears.
- Choose Search image with Google Lens.
- Wait for Lens to show visual matches and related pages.
- Tap a result to open it, or adjust the selection box to search a smaller area.
On iPhone, you can also save a photo to your library and upload it through Lens in Chrome if long-press does not offer the Lens option on a particular site. On Android, Lens is often integrated more deeply, so you may also see a Lens option when sharing an image from another app. If you use a Mac as well, see our guide to
reverse image search on Mac for the desktop steps on that platform.
How to Refine Results by Cropping and Selecting Part of an Image
Refining a search is often the difference between a useless result and an exact match. Start with the whole image, then narrow the selection to the object you care about. In the Lens panel, drag the corners of the selection box until only that object remains, then let Lens search again. You can repeat this process several times, focusing on a logo, a face, a building, a product label, or a distinctive pattern.
Also try the text option in Lens if the image contains readable words. Lens can extract text from signs, labels, and documents, which can lead to a much more precise result than a purely visual match. If the first crop returns nothing useful, widen the selection slightly or try a different object in the same photo. A distinctive background detail, such as a street sign or a shop name, can sometimes identify a location when the main subject cannot.
Comparison of Chrome Reverse Image Search Methods
| Method |
Best for |
Speed |
| Right-click Lens |
Web images |
Fastest |
| Lens upload |
Saved photos |
Fast |
| Image URL |
Linked images |
Fast |
| Mobile long-press |
Phone browsing |
Fast |
Troubleshooting Common Problems
No Lens option in the right-click menu
First, make sure Chrome is up to date, because older versions used a different image search menu. Also check that you right-clicked directly on the image itself, not on a link or a background area around it. Some sites replace the normal right-click menu with their own menu, which can hide the Lens option.
No results found
No results usually means the image has not been indexed, is very new, or is too generic. Try cropping to a distinctive detail, uploading a clearer version, or searching by image URL instead. You can also try another official visual search service, such as
Bing Visual Search or
Yandex Images, to see whether either indexes the picture.
Wrong results or similar but different images
Lens ranks by visual similarity, not by certainty, so a similar product in a different colour or a lookalike location can appear first. Crop tightly to the unique feature, add text from the image to a normal web search, and compare details such as labels, backgrounds, and watermarks before accepting a match.
Image too small or low quality
Small, blurry, or heavily compressed images give Lens very little to work with. Use the largest version you can find, avoid enlarging a tiny thumbnail, and take a new screenshot or photo if the original is unclear. For help with difficult cases, the
TinEye help pages explain how image matching handles size, cropping, and edited versions.
Site blocks right-click
Some websites disable right-clicking to discourage copying. In that case, try uploading a screenshot through Lens, using the image URL method, or opening the page source only if you are comfortable doing so. Do not use workarounds to bypass paywalls or to copy protected work for reuse. If an image is important for research, note the page address and describe the image in a text search as an alternative.
Privacy and Safety
Only search images you have the right to use. Do not upload private photos of other people, sensitive documents, identity cards, or images that could reveal someone’s location, workplace, or personal information. Once an image is uploaded to a search service, you cannot fully control how it is processed, even if the result is not published publicly.
Be especially careful with photos of children, medical images, and pictures taken in private settings. If you are checking whether your own photo has been reused, use a copy that does not contain extra personal details in the background. Remember that Lens results are not proof of ownership. A match shows that a similar or identical image appears online, but it does not prove who took the photo, who owns the rights, or whether a particular use was licensed.
For social and visual platforms, official guidance is useful. The
Pinterest help page on visual search features explains how visual search works inside Pinterest and what controls are available there. Always check the licence and the original source before reusing any image you find.
Frequently Asked Questions
Is reverse image search on Chrome free?
Yes. Searching with Google Lens in Chrome is free, and you do not need a paid account to right-click an image, upload a photo, or search by image URL.
Can I reverse image search a screenshot in Chrome?
Yes. Save the screenshot, open Google Lens in Chrome, and upload the file. Cropping to the relevant part of the screenshot usually gives much better results than searching the whole screen capture.
Why does Chrome show Search image with Google Lens instead of Search Google for image?
Google replaced the older image search menu item with Lens in modern versions of Chrome. Lens provides visual matches, object recognition, and text extraction in one panel, rather than only pages containing the same image.
Can reverse image search identify a person?
Lens can sometimes match a widely published public figure or a well-known image, but it is not a reliable identity check and should not be used to identify private individuals. Do not upload photos of other people without a legitimate reason and a clear right to do so.
Does reverse image search work on every website?
No. Some sites block right-clicking, block image downloads, or load images in a way that Lens cannot read directly. In those cases, try a screenshot upload, the image URL method, or another official visual search service.
Are Lens results proof that an image is fake or stolen?
No. Lens results are a starting point for investigation, not proof. A match can show an earlier publication or a similar image, but ownership, licensing, and authenticity need to be checked against the original source and other evidence.
Related Guides
Continue learning with the
complete image search techniques guide, our guide to
Google Lens alternatives, the guide to
reverse image search on Mac, and the
source finder guide for tracing an image to its origin.
Try It Now
Open Chrome, find an image you are curious about, and try the right-click Lens method first. If that does not work, upload the image at Lens and crop to the most distinctive detail. For a fast starting point on this site, use the
free reverse image search tool on the homepage and compare its results with the methods in this guide.
Related guides