


🔎 Reverse Image Search
Image search techniques made simple: upload a photo or paste a URL and search 6 engines at once. 100% free, nothing stored.
🔒 Your image is never stored on our servers longer than 24 hours and is never shared.
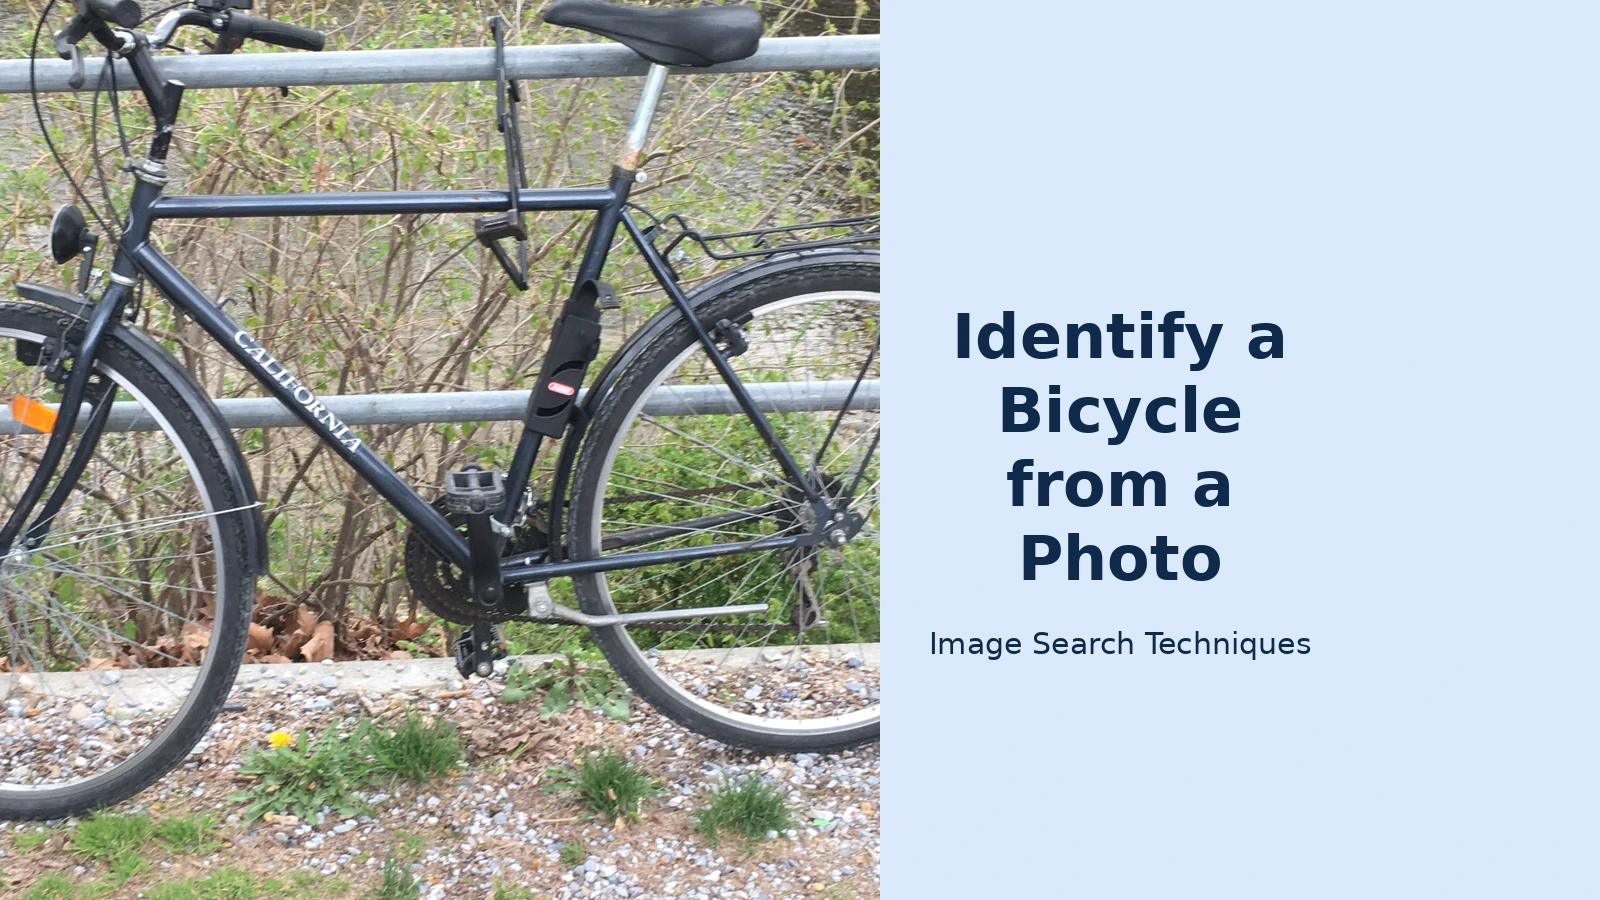
You have a photo of a bicycle and no name for it. Perhaps it is a second-hand bike you are thinking of buying, a frame you inherited, or a bike in an old family photograph. Whatever the reason, you need the brand, the model and, ideally, the year, and you need them from the picture alone. Most people start by typing “identify bike from photo” into a search engine, and this guide covers exactly that, step by step.
Short answer: To identify a bike from a photo, run a reverse image search on the bike, then read the decals on the down tube and the badge on the head tube, and check the stamps on the groupset. A serial number alone will not name the model, because only a few brands, such as Brompton, encode a date in it.
What Does It Mean to Identify a Bike from a Photo?
To identify a bicycle means to name three things: the brand, the model and the approximate year it was built. The brand alone is rarely enough. A “Trek” could be a £300 hybrid or a £3,000 road bike, and the model is what decides the value, the spares that fit and whether the asking price is fair. The year matters almost as much, because the same model name can be sold for five or six years with different parts fitted each time.
Photo identification is a detective exercise, not a single lookup. No website will name a bike from one picture on its own, because there is no public register of bicycles. Cars have number plates backed by DVLA records; bicycles do not. What you have instead is a set of clues in the photo, the shape of the frame, the words printed on it, the stamps on the parts, and a set of tools that can match those clues against catalogues and listings. The same photo-first method works for other vehicles too: our guides explain how to identify a car from a photo and how to identify a motorcycle from a photo using the same combination of image search and close reading.
It helps to know, before you start, which of the three answers each clue can actually give you. The decals and the badge give you the brand and usually the model. The groupset stamps give you the year, or at least a bracket of years. The serial number gives you almost nothing about the model, but it is still worth finding, for reasons this guide explains below. Keep that division in mind and you will not waste an evening typing a frame number into decoder websites that cannot possibly know the answer.
How Do I Identify Bike from Photo with Google Lens?
Start with a reverse image search. It is the fastest way to narrow the field, and it often names the bike outright when the model is a common one. Google Lens is the best tool for this job, because it matches the whole bike and lets you crop in on a single detail for a second, closer search.
- Take or choose a clear drive-side photo. Photograph the side of the bike that carries the chain and gears, with the whole frame in the picture. This is the side sellers and catalogues photograph, so it matches best.
- Open Google Lens and upload the photo. On a phone, open the Google app and tap the camera icon, or open Lens from Google Photos. On a computer, go to Google Images and click the camera icon to upload. Google’s own guide explains the steps in full, see Google’s guide to searching with an image.
- Read the first set of results. Lens returns visually similar bikes, usually from shops, listings and reviews. If several results agree on the same brand and model, you probably have your answer, but treat it as a lead, not proof, and confirm it against the decals in the next section.
- Crop in on the decals. Drag the crop box over the down tube, where the brand name sits, and search again. A close crop on a readable decal often returns exact model matches where the whole-bike search only returned lookalikes.
- Crop in on the badge. If the decals are worn, crop to the head tube badge instead. The shape and lettering of a badge are distinctive, and Lens is good at matching logos.
- Try a second engine. If Lens only returns lookalikes, run the same photo through TinEye. TinEye is weaker at “similar” matches but stronger at finding the exact same image elsewhere on the web, which can lead you to the original listing or catalogue page.
- Compare against the brand catalogue. Once Lens suggests a brand and model, open the brand’s own archive or a catalogue site and compare the frame shape, paint scheme and cable routing. Colour and cable routing are what separate one model year from the next.
If you are new to this kind of search, our guide to how to reverse image search covers the same workflow in more detail, and our Google reverse image search guide explains the desktop and mobile steps side by side. The honest limit of the method is that Lens matches appearance, not identity. Two bikes can look nearly identical, a gravel bike and an endurance road bike, for example, and a resprayed or rebadged frame will mislead any image search. That is why the photo search is step one, not the whole job.
| Method | What it finds | Best for | Limitation |
|---|---|---|---|
| Google Lens | Visually similar bikes | Common models | Matches looks, not identity |
| TinEye | Exact same image | Original listings | Weak on similar matches |
| Frame decals | Brand and model | Most bikes | Fade, peel or get removed |
| Head tube badge | Brand | Worn decals | Names brand, not model |
| Serial number | Build date (rarely) | Brompton, Schwinn | Never names the model |
| Groupset stamps | Year bracket | Dating the build | Dates the part, not the frame |
Which Photos Should I Take Before I Start?
A single whole-bike photo is enough to start, but six photos will usually finish the job. If you are buying the bike, ask the seller for these before you travel; if you already own it, take them in daylight against a plain background. Clean the frame first, decals under road grime are easy to miss, and a quick wipe can reveal a model name you would otherwise never see.
- The whole bike, drive side. Stand back far enough to fit both wheels in the frame. This is the photo Lens matches best, and it shows the bike type at a glance.
- The down tube decal, close up. Fill the frame with the brand name on the long tube running from the handlebars to the pedals. Shoot straight on, not at an angle, so the letters are undistorted.
- The head tube badge. Photograph the front of the short tube the handlebars pass through. Include any raised or moulded logo, and any sticker beside it.
- The rear derailleur and chainset. Photograph the mechanism by the back wheel and the chainrings by the pedals. The series names stamped here, Deore, Tiagra, 105, GX, are your dating evidence.
- The serial number. Photograph it where it sits, and take a second, tighter shot of the digits themselves. Note the location too: it tells you where to look next time.
- Anything unusual. Lugs on a steel frame, a distinctive weld, an odd paint scheme, a rack or dynamo, a motor at the pedals or in a wheel hub. Unusual features are the fastest way to separate one model from another.
Three photo habits make every one of these shots more useful. First, shoot in daylight and avoid flash, which glares off glossy paint and chrome and hides the letters. Second, fill the frame with the detail you are photographing, a decal shot from two metres away is no better than no decal shot at all. Third, keep the bike upright and square to the camera for the whole-bike shot; a bike leaning at an angle distorts the frame shape that Lens is trying to match.
How Do I Read the Decals, Badge and Serial Number?
Almost every bike carries its brand on the down tube and its model name somewhere on the frame, usually on the top tube, the chainstay or near the seat tube. Read the down tube first, then look along the top tube and chainstay for a second word or number: that is usually the model, and a number after the model name is often the trim level. A “Marlin 5”, for example, is a different specification from a “Marlin 7” in the same range, and the number is the detail that decides the value.
Decals have limits. They get removed, faded by sunlight or lost in a respray, and second-hand frames are sometimes rebadged, a cheap frame given expensive-looking stickers. If the frame has been repainted, treat any remaining decal with caution and rely on the badge and the components instead. A repaint is not proof of anything dishonest, but it is a reason to check harder.
The head tube badge is your backup. Most manufacturers put a badge, sticker or moulded logo on the head tube, and it often survives when the down tube decals have not. On steel frames, look for a stamped or riveted metal badge. A badge gives you the brand, not the model, and it will not help on the many frames that carry no badge at all, particularly direct-sold and budget bikes. Photograph it and search the shape if you do not recognise the name; a distinctive badge is one of the easiest things for Lens to match.
Then find the serial number, also called the frame number in the UK. Turn the bike over or put it in a stand and look under the bottom bracket, where the pedals meet the frame. If it is not there, check the rear dropouts, the head tube and the underside of the down tube. Photograph it clearly and keep a copy somewhere other than the bike. Here is the honest fact that saves the most wasted time: a serial number will not tell you the model. A bicycle serial is an internal manufacturer production record, not a registration number, and there is no central bicycle register and no public decoder that turns one into a make and model. Two frames from the same factory in the same week can carry sequences that look nothing alike, and manufacturers change their schemes between years without telling anyone. If a website offers to identify your bike from its serial number, be sceptical.
What the serial can do depends on the brand. A few manufacturers do encode a build date in the serial, and the table below shows which ones. Use it as a cross-check on the components, never as the answer on its own.
| Brand | Serial encodes a date? | How it works |
|---|---|---|
| Brompton | Yes | First 4 digits are year and month |
| Schwinn | Yes | Published key for its serials |
| Trek | No | No published key for current serials |
| Specialized | No | Serials do not show size, model or year |
| Most other brands | No | Production record only |
According to Brompton, the first four digits of its 10-digit serial number show the year and month of manufacture, so a serial starting 1903 means March 2019. According to Icebike’s serial-number guide, Trek publishes no key for its current serials and can identify a bike only if it was registered, while Specialized states that its serials do not indicate size, model or year. Some brands will look a number up for you if you contact them directly about a warranty claim, and a shop that sold the bike may still have the sale on its system, but those are human lookups against private records, not a service you can search.
The serial number is still worth finding for two other reasons. First, it is what a stolen-bike check needs. Before buying any used bike, run the frame number through BikeRegister, which describes itself as the UK’s national, police-preferred bicycle marking and registration database, and registration is free. A match means the bike has been reported stolen, and you should walk away. Our guide to how to find stolen bikes in resale listings explains the full check. Second, if the bike is ever stolen, the frame number is the single detail police and insurers ask for first, a photograph of it is worth more than any description of the bike.
How Do I Work Out the Year from the Components?
The groupset, the gears, chainset and brakes, is often the most reliable dating evidence on the whole bike, because component names change on a known schedule while frames stay in production for years. Start at the rear derailleur, the mechanism hanging by the back wheel, and read the name stamped on it, for example Shimano or SRAM, then the series name next to it, for example Deore, Tiagra, 105 or GX. Count the sprockets on the rear wheel: the number changed over time and helps date the build. Then check the chainset by the pedals for a matching or different series name.
Many Shimano parts carry a second, more precise clue. Shimano has stamped a two-letter date code on its components since 1976, according to the component-dating guides published by Ebykr and Cyclesite. The first letter is the year and the second is the month: the year letters run from A for 1976 to Z for 2001, then start again at A for 2002, and the month letters run from A for January to L for December. Look for the stamp on crank arms, rear derailleurs and hub bodies; front derailleurs do not always carry one. A code reading “VI” means September 1997 or September 2023, so most codes give two candidate years 26 years apart and you choose between them from the component model and the era of the bike. Older Sturmey-Archer hubs carry a similar clue: most have their model code, such as AW, stamped on the shell, along with the month and the last two digits of the year the hub was made.
One caution applies to all of this. Components get replaced, so they date the part rather than the frame. A worn bike often carries a newer derailleur than the frame it sits on, which puts your estimate too late rather than too early. Treat any date you derive from a component as a cross-check on the decals and the frame shape, not as the answer. If the derailleur says 2021 but the paint scheme matches the brand’s 2018 catalogue, trust the paint, and ask what else has been changed.
Once you have a brand, a category and an approximate year, you can usually pin the exact model by comparing against the brand range. Open the brand’s archive and filter to the category you identified from the handlebars, tyres and suspension: dropped and curled bars mean road or gravel, flat bars mean mountain, hybrid or commuter; narrow smooth tyres mean road, wide knobbly tyres mean mountain. Frame shape, cable routing and the colour scheme are what separate one year from the next, so compare those three things before anything else. Older and discontinued models thin out fast in any catalogue, and budget supermarket brands are often barely documented anywhere, if you get to brand and category and stop, that is still enough to value the bike and to check it.
Worked Example: A Second-Hand Brompton, Identified from Its Photos
Here is the whole method applied to one real bike, so you can see how the checks fit together. A folding bike appears in a second-hand listing with three photos and the seller’s claim that it is a Brompton. The price is not the question here, the question is whether the photos prove the claim, and when the bike was built.
Step 1, Run the whole-bike photo through Google Lens. The first search returns a page of visually similar folding bikes, including several Bromptons and a few lookalikes from other makers. That is useful but not conclusive: folding bikes share the same small wheels and hinged frame, so appearance alone cannot separate them. Treat the result as a shortlist, not an answer.
Step 2, Crop in on the head tube badge. The second photo is a close-up of the front of the bike. The badge is the Brompton name in its distinctive lettering, set into the head tube. A badge alone names the brand, not the model, but it confirms the seller’s claim about the maker, and a rebadged frame would usually fail this check, because a convincing fake badge is rare on a folding bike.
Step 3, Read the serial number. The third photo shows the serial on its plate at the rear of the seat tube. The number is 1903220161, the serial Brompton itself uses as its worked example in its own guidance. The first four digits are the build date: 19 is the year 2019 and 03 is the month, March. So this bike was built in March 2019. That is the one dating method on a Brompton that is mechanical rather than a guess, and it is worth more than any claim in the listing text.
Step 4, Cross-check the components. The listing photos also show the rear hub. Older Sturmey-Archer hubs carry their model code and a month-and-year stamp on the shell, so a buyer who can read that stamp can check it against the March 2019 serial date. If the hub stamp pointed to a much later year, that would mean the wheel had been replaced, useful to know, but it would not change the frame’s build date. In this case the checks agree, which is what you want to see.
Step 5, Run the stolen-bike check. Before paying anything, the buyer runs the frame number through BikeRegister. A clear result means no theft report is recorded against that number; a match means the bike has been reported stolen and the buyer should walk away. Either way, the check takes seconds and costs nothing, and there is no reason to skip it.
The result of the five steps is a bike identified from its photos alone: a Brompton, built in March 2019, with its brand confirmed by the badge, its date confirmed by the serial, and its history checked against the national database. No single step did that on its own. The image search suggested the brand, the badge confirmed it, the serial dated it and the register cleared it. That is the pattern to follow on any bike: each check answers one question, and the answers have to agree before you trust them.
Outcomes will vary with the bike. A common road bike may be named by Lens in seconds, while a rare or repainted frame may only ever yield a brand and a category. A serial that encodes a date, like a Brompton’s, is the exception, not the rule, on most bikes the serial will tell you nothing at all, and that is a result in itself, because it tells you to rely on the decals and the components instead.
Bicycles are only one thing you can work out from a picture. If you want the same approach for anything else, from a plant to a piece of furniture, see our guide to identifying anything in a photo.
FAQs
Can I identify a bike from its serial number alone?
No. A bicycle serial number is a production record, not a registration number, and there is no database that turns one into a make and model. Only a few brands encode a build date in the serial, Brompton is the example. Identify the bike from its decals, badge and components instead, and keep the serial for a stolen-bike check.
What is the best app to identify a bike from a photo?
Google Lens is the best starting point: it matches the bike and lets you crop in on a decal or badge. Upload a drive-side photo first, then crop to the down tube. If Lens only returns lookalikes, try TinEye and read the frame markings by eye, the search is a shortcut, not a substitute for looking at the bike. Dedicated AI bike identifier tools are another option when Lens and TinEye come up empty: upload the photo and they suggest a type, brand or model from the frame and components, but treat the result as a lead and confirm it against the decals and the serial number before trusting it.
How do I find out what year my bike is?
Start with the components, not the frame. Read the series name on the rear derailleur, count the sprockets, and look for the two-letter date code stamped on Shimano parts, the first letter is the year and the second is the month. Then cross-check the result against the frame’s paint and shape in the brand’s catalogue for that year.
What should I do if the bike has no decals or badge?
Work from the shape and the parts: handlebar style, tyre width, suspension, brake type and groupset narrow it a long way, and many frames carry a stamped mark near the bottom bracket even when stickers have gone. If a frame has been stripped of all marks and the seller cannot explain why, treat that as a reason to walk away.
The same three-photo method names other mystery objects too, see our guide to identifying a tool from a photo, which works for hand tools found in sheds and garages.
It works for mystery leads as well, see our guide to identifying a cable or connector from a photo, which names a connector from both ends, a pin count and a coin for scale.






