


🔎 Reverse Image Search
Image search techniques made simple: upload a photo or paste a URL and search 6 engines at once. 100% free, nothing stored.
🔒 Your image is never stored on our servers longer than 24 hours and is never shared.
Short answer: To identify a bird from a photo, upload a tight crop to Merlin Photo ID with the date and location set, then cross-check against Google Lens. Merlin is the most accurate free option because it filters by birds expected near you on that date. Neither tool is reliable on distant, blurry, or small brown birds.
A photo of a bird is a puzzle with three pieces: what the bird looks like, where it was, and when it was seen. Most people only use the first piece, and that is why most identifications go wrong. A sparrow photographed in a London garden in November and the same-looking sparrow photographed in Texas in June are rarely the same species, and no app can tell them apart from plumage alone. This guide shows you how to identify a bird from a photo properly: the Merlin Photo ID workflow, the Google Lens fallback, the iNaturalist and Seek alternative, and the honest limits every tool shares.
What is bird photo identification, and what can it actually do?
Bird photo identification is the process of matching a photograph of a bird to a species, using the bird’s plumage, shape, bill and behaviour together with the date and place it was seen. It is one of the most satisfying uses of identifying what is in a picture, but it only works when the photo gives the tools enough to work with.
That definition matters, because the tools most people reach for only do half the job. Google Lens compares your photo with pictures on the web and shows you what looks similar. Merlin Photo ID does something smarter: it compares your photo with millions of labelled bird photos from the Cornell Lab’s Macaulay Library and then filters the candidates by eBird data, which birds are actually expected at your location on that date. That second step is the decisive one, and it is the reason Merlin beats general image search for birds.
Photo identification works best when the bird is close, sharp, well lit, and shown whole, head, body, wings and tail in the same frame. It works worst on the birds beginners most want to identify: distant specks, birds half-hidden in leaves, and small brown birds that all look alike. No tool, however good, can invent detail your photo never captured. Treat every suggestion as a hypothesis to check, not a verdict. Cornell’s own guidance says the same: verify a surprising result against the reference photos and sounds in the app before you believe it.
How do I identify a bird from a photo with Merlin Photo ID?
Merlin Bird ID is the free bird identification app from the Cornell Lab of Ornithology, and its Photo ID feature is the benchmark other bird apps are measured against. It is free, with no subscription and no ads, and it works on iPhone, iPad and Android. Follow these steps.
- Download Merlin and install your region’s bird pack. Get the app from the official Merlin download page and let it suggest a bird pack for your location. Bird packs are free collections of photos, sounds and species information for your area; the Britain and Ireland pack, for example, covers 1,382 birds and needs about 613 MB, so install it over Wi-Fi. Download the pack before a trip, because Photo ID works completely offline once the pack is installed.
- Allow location access. This single permission does more for accuracy than anything else you do. Without it, Merlin must consider far more species, including birds that never occur where you are.
- Take the photo, or choose one from your camera roll. Fill the frame with the bird, focus on the head and body, and take several shots. A screenshot of your camera’s display works too, though a direct photo is sharper.
- Crop tightly around the bird. After you choose a photo, Merlin asks you to crop. Take this step seriously: a tight crop removes confusing background and gives the model a clean look at the plumage, bill shape and proportions. This is the single most effective thing you can do to improve a result.
- Confirm the date and location. Merlin uses the photo’s date and your location automatically where it can. If the photo is old or was taken somewhere else, set these by hand, a bird that is common in July may be absent in January, and Merlin knows that.
- Read the ranked list, then verify. Merlin returns a short list of likely species with photos for comparison. Tap a suggestion and compare your bird against the reference photos, range map and example sounds. If the top suggestion looks wrong, work down the list before deciding.
- Save it if it checks out. Tap “This is My Bird” to add the identification to your in-app life list. If you connect Merlin to eBird, the sighting can be logged with its location, which turns a casual identification into genuine citizen science.
If you have no photo at all, Merlin’s Step by Step ID asks a few quick questions, where and when you saw the bird, its size compared with familiar birds, and its main colours, and returns a short illustrated list. It is the same identification engine, driven by your memory instead of a picture. And if you can hear the bird but cannot see it, Sound ID listens and lists species in real time, which is often faster than any photo workflow.
How does Google Lens identify a bird from a photo?
Google Lens is the fastest way to identify a bird from a photo, and the weakest in one specific way: it does not know where or when your photo was taken, so it cannot filter by what birds are actually expected there. Use it as a second opinion, or when you do not have Merlin installed.
- Open Google Lens. Go to Lens in your browser, or open the Google app and tap the camera icon. No account or sign-in is needed.
- Upload the photo. Choose the image from your device. Lens accepts photos of birds taken on any camera, including screenshots.
- Crop tightly around the bird. Drag the crop handles so the bird fills the frame, the same as in Merlin. A loose crop full of branches and sky gives Lens too many things to match.
- Read the result, not just the first line. Lens may name a species at the top, or it may only show visually similar images. Scroll through the exact matches: if the same photo appears on a birding site or a wildlife database, that page usually names the species. If every match is a stock photo of a different bird, Lens has not identified yours.
- Check the suggestion against a field guide. Lens matches pictures, not birds. A visually similar species from another continent is a common false result, because Lens has no idea your photo was taken in Britain. Cross-check any Lens suggestion in Merlin or against a range map before you record it.
Lens is genuinely useful in one situation where Merlin struggles: birds photographed outside Merlin’s covered regions, and birds in artwork, books or on screens. But for a bird photographed in the wild in a covered region, Merlin’s date-and-location filter makes it the stronger first choice, and Lens the better second opinion.
Merlin vs Google Lens vs Seek: which tool fits which photo?
The three free tools solve the same problem in different ways. Merlin is a bird specialist with a location and date filter. Lens is a general image matcher with the whole web behind it. Seek, from iNaturalist, is a general wildlife identifier that covers birds alongside plants, fungi and insects, if you also want to name the plants in the background, see our guide to reverse image search for plants. It needs no registration and collects no user data. The table below is the honest comparison, choose by the photo you have, not by the app you like.
| Feature | Merlin Photo ID | Google Lens | Seek by iNaturalist |
|---|---|---|---|
| Cost | Free, no ads | Free | Free, no registration |
| What it identifies | Birds only | Anything, including birds | Birds, plants, fungi, insects |
| Date and location filter | Yes, eBird data, the decisive filter | No | Yes, general area only, precise location never stored |
| Regional packs | Yes, free packs per region, e.g. Britain and Ireland, 1,382 birds | None, one global index | None, uses nearby observations |
| Works offline | Yes, once the bird pack is downloaded | No, needs a connection | Partly, camera ID needs the app’s data |
| Result format | Ranked shortlist with reference photos and sounds | Species label if confident, otherwise visual matches | Suggested species with badges and challenges |
| Known weak spot | Small brown birds; juveniles; birds outside covered regions | No location filter, suggests birds from other continents | Generalist, less bird-specific than Merlin |
| Best for | First identification of a wild bird | Second opinion; birds in books, art or on screen | Families; identifying birds alongside other wildlife |
The practical routine is simple: try Merlin first, because its location filter removes the most wrong answers before you see them. If Merlin is unsure, run the same tight crop through Lens and see whether the two tools agree. If they disagree, trust the one whose suggestion matches the date and place, and if neither can name it, the photo probably cannot name it either, and that is an honest result.
Worked example: the same species, twice, adult robin vs juvenile robin
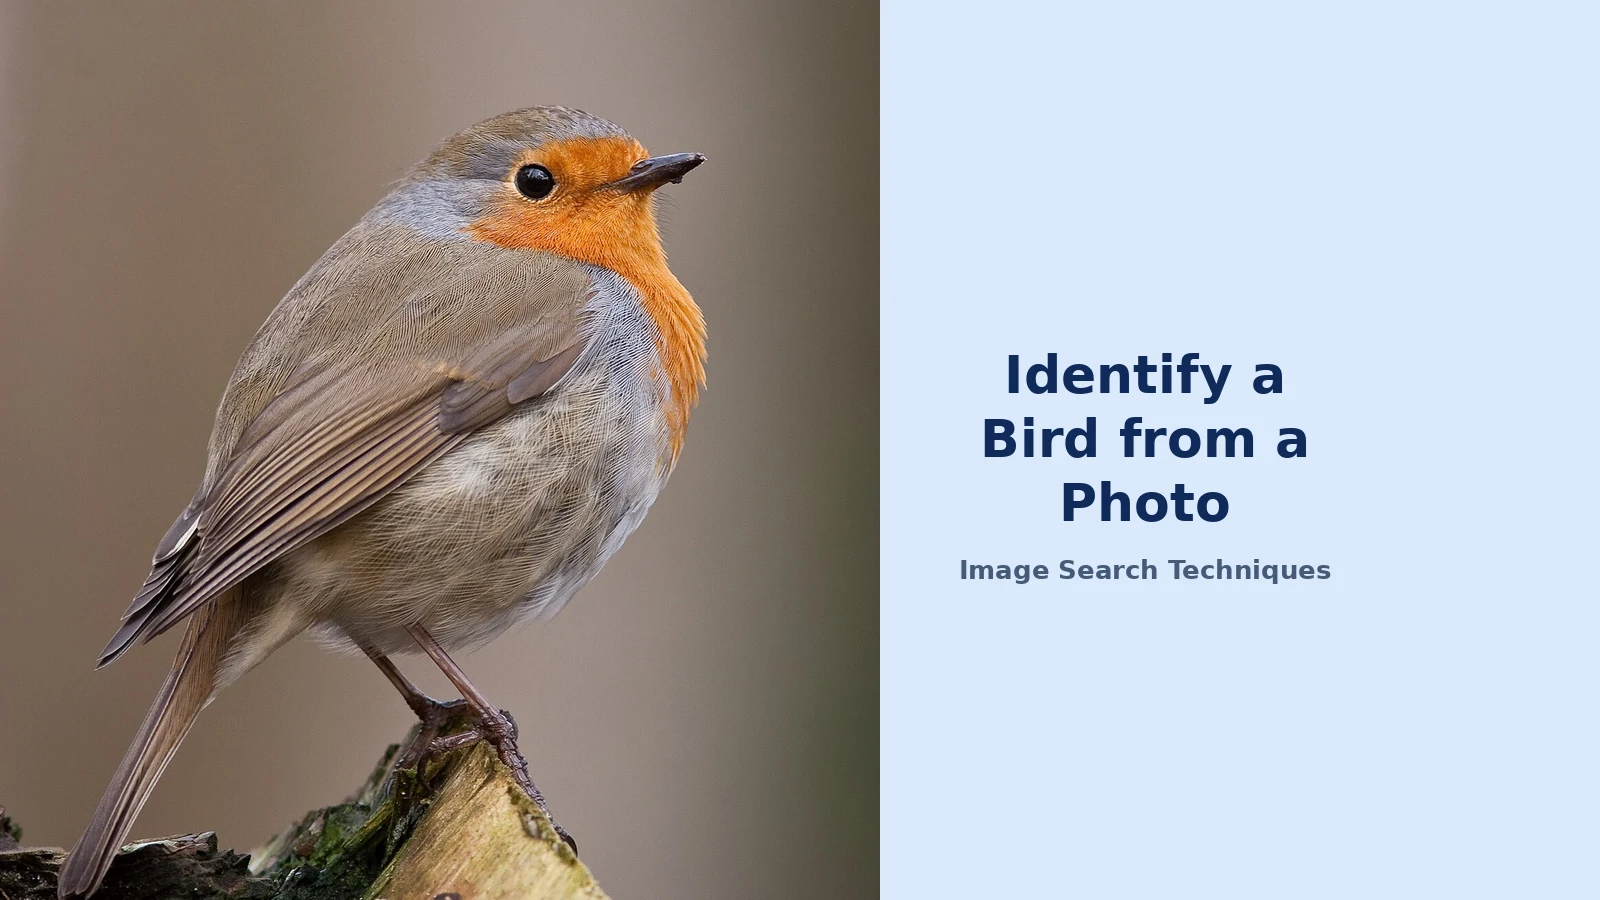
To test what actually happens, I ran two real photos through Google Lens on 10 November 2026, signed out, with no Google account. Both photos show the same species, a European robin, but one is an adult with the famous red breast and the other is a juvenile, speckled brown all over with no red at all. Both are Wikimedia Commons photos, so the correct answer is known in advance.
Test 1, the adult robin. The first upload hit Google’s “unusual traffic” check and needed a reCAPTCHA before results loaded, a reminder that Lens sometimes asks you to prove you are human before it searches. Once through, Lens’s AI Overview named it correctly: “European robin (Erithacus rubecula)”, described as a small, round-bodied passerine recognised by its bright orange-red face and breast. The results page showed tabs for AI Mode, All, Exact matches, Visual matches and Feedback, no shopping tab, and the first results were the Wikipedia European robin page, the Wikimedia Commons file, and a Flickr photo of the same species. Related searches offered “European robin”, “American robin” and “Leaden flycatcher”. The American robin is a different bird entirely, which is exactly why you check the result rather than trusting the first line.
Test 2, the juvenile robin. The second upload went straight to results with no check. Lens identified the bird as a juvenile European robin, noting its speckled brown-and-golden plumage rather than the bright red-orange breast of the adult. Lens’s AI Overview also noted that young robins typically develop the red plumage around 2 to 3 months of age. The first results were the exact Wikipedia file for the photo, the Natural History Museum’s robin page, and a Science Photo Library image. Related searches included “European robin” and “Collared bush robin”.
So Lens got both right, including the brown juvenile that the “small brown birds” section above warns about. The honest lesson is not that juveniles are easy; it is that photo quality decides. Both test photos were sharp, close, well-lit close-ups of a single bird against a plain background. A juvenile robin photographed at twenty metres through branches in November light would be a different test, and very likely a different result. When the photo is good, Lens is good. When the photo is poor, no tool can rescue it, and that is the real reason to take the better photo first.
Why do small brown birds defeat every tool?
Ask any birder which birds are hardest to identify from a photo and you will get the same answer: sparrows, female finches, juveniles, and anything small and brown at a distance. This is not a flaw in one app, it is a limit of the problem, and every tool in the table above shares it.
The first reason is that small brown birds genuinely look alike. A female house sparrow, a female chaffinch, a dunnock and a juvenile robin can all present as a small brown bird with a streaked breast in a poor photo. The field marks that separate them, a pale eyebrow stripe, a wing bar, the exact shape of the bill, are millimetres wide and vanish in a blurry or distant shot. Audubon’s own test of Merlin Photo ID found the same thing: a female house sparrow photographed on a phone gave useful information but no clean answer, and a set of mourning doves on a wire was “understandable, but disappointing” for a species most birders recognise at a glance.
The second reason is juveniles. A juvenile robin has no red breast at all, it is speckled brown all over, and looks more like a thrush than a robin. A juvenile gull can take three or four years to reach adult plumage, passing through a series of brown, mottled stages that no single photo can place without the date. When Merlin asks for the date, this is why: the same bird in July and in December can be a different identification problem.
The third reason is moult and season. Birds replace their feathers on a schedule, and a bird photographed mid-moult can look patchy, pale, or oddly proportioned. Add winter light, a bird half-hidden behind a branch, and a phone camera’s digital zoom, and the photo contains less information than the identification needs.
What to do when the tools stall on a brown bird: first, tighten the crop and re-run it, a second run on a better crop is not cheating, it is the workflow. Second, enter the date and location by hand if the app guessed them wrong. Third, switch to Merlin’s Step by Step ID and answer from what you saw, size, behaviour, habitat, because a bird hopping on the ground under a feeder is a different candidate list from one clinging to a tree trunk. Fourth, compare the top two suggestions side by side in the app’s reference photos, looking at one field mark at a time rather than at the overall impression. If the two still cannot be separated, say so: “sparrow species, probably house sparrow” is a better record than a confident wrong name.
How do I take a photo that can actually be identified?
Most failed identifications are failed photographs, not failed apps. A few habits make the difference between a suggestion and a shrug.
- Fill the frame. Move closer if you can do it without flushing the bird, or use optical zoom rather than digital zoom. A bird that fills a third of the frame gives the model far more to work with than a speck in a landscape.
- Show the whole bird. Head, body, wings and tail in one frame, in side profile if possible. A photo of a tail alone, or a head poking out of a hedge, rarely identifies.
- Take several shots. One photo catches the bird turning away; the next catches the wing bar. Burst mode costs nothing and often saves the identification.
- Note the behaviour and habitat. Was it hopping on the ground, clinging to a trunk, soaring, or swimming? Was it at a feeder, in deep woodland, or on open water? Behaviour is an underrated clue, and Merlin’s Step by Step ID asks about it for a reason.
- Record the date and place at the time. If your camera strips location data, or you upload a screenshot, write the date and place down before you forget them. They are half the identification.
- Do not disturb nests for a closer photo. Never approach a nest, flush a bird from cover, or use recorded calls through a speaker to lure a bird in. It stresses the bird, and in many parks and refuges it is restricted or prohibited. A distant photo of a relaxed bird is worth more than a close photo of a frightened one, and a nest photographed at close range can attract predators to it.
Finally, remember what the tools are for. Merlin, Lens and Seek are starting points for your own identification, not verdicts. The same photo-first approach works beyond birds, our guides to identifying a dog breed from a photo and identifying a cat breed from a photo show how the same strengths and limits apply to pets, and reverse image search for animals covers the wider wildlife case. The eBird review teams put it bluntly: “identified with Merlin” is not acceptable documentation for a sighting, back an unusual record with a recording, a photo, or a written description of what you observed. Learn the common birds first, verify every surprising result, and let the app teach you to notice field marks rather than replacing your eyes. The best identification is still the one you can explain: red breast, brown back, thin bill, hopping on the lawn in November, that is a robin, and no app needed to tell you. The same routine works for amphibians: our guide to identify a frog from a photo runs it on a garden frog, mask, legs and all.
FAQs
Can Google Lens identify a bird from a photo?
Yes, Google Lens can identify a bird from a photo when the image is clear and the bird is well known. But it has no date or location filter, so it can suggest visually similar species from other continents. Use it as a second opinion after Merlin Photo ID, and cross-check any suggestion against a range map.
Is Merlin Bird ID really free?
Yes. Merlin Bird ID is completely free, with no subscription, no in-app purchases for its identification tools, and no ads, funded by the Cornell Lab of Ornithology and its supporters. Bird packs for each region are also free, and Photo ID and Sound ID both work offline once your region’s pack is downloaded.
Why can’t Merlin identify the bird in my photo?
The usual reasons are a distant or blurry photo, a bird partly hidden, or a small brown bird such as a sparrow, female finch or juvenile, which all look alike in poor light. Tighten the crop, check the date and location are correct, and try Merlin’s Step by Step ID with the size, colours and behaviour you observed.
Can I identify a bird from a photo without downloading an app?
Yes. Google Lens works in the browser with no sign-in: upload a tight crop of the bird and read the species label or the visually similar results. iNaturalist’s website also accepts photo uploads for community identification. Both are weaker than Merlin on wild birds, because neither filters by the date and location the way Merlin’s eBird data does.
For insects, the same photo-first method applies, learn how to identify a butterfly from a photo, including wing patterns, lookalike pairs and moth differences.
The same photo-first method works for other animals too, learn how to identify a fish from a photo, including fin counts, lookalike pairs and the safety rules to follow first.
For chickens, the same photo-first method works too, learn how to identify a chicken breed from a photo, including comb types, a 12-breed chart and a worked Lens and TinEye test.
For ducks, the same photo-first method works too. Learn how to identify a duck breed from a photo, starting with posture, then the bill, the plumage and the wing patch, with a worked reverse-search test.






